
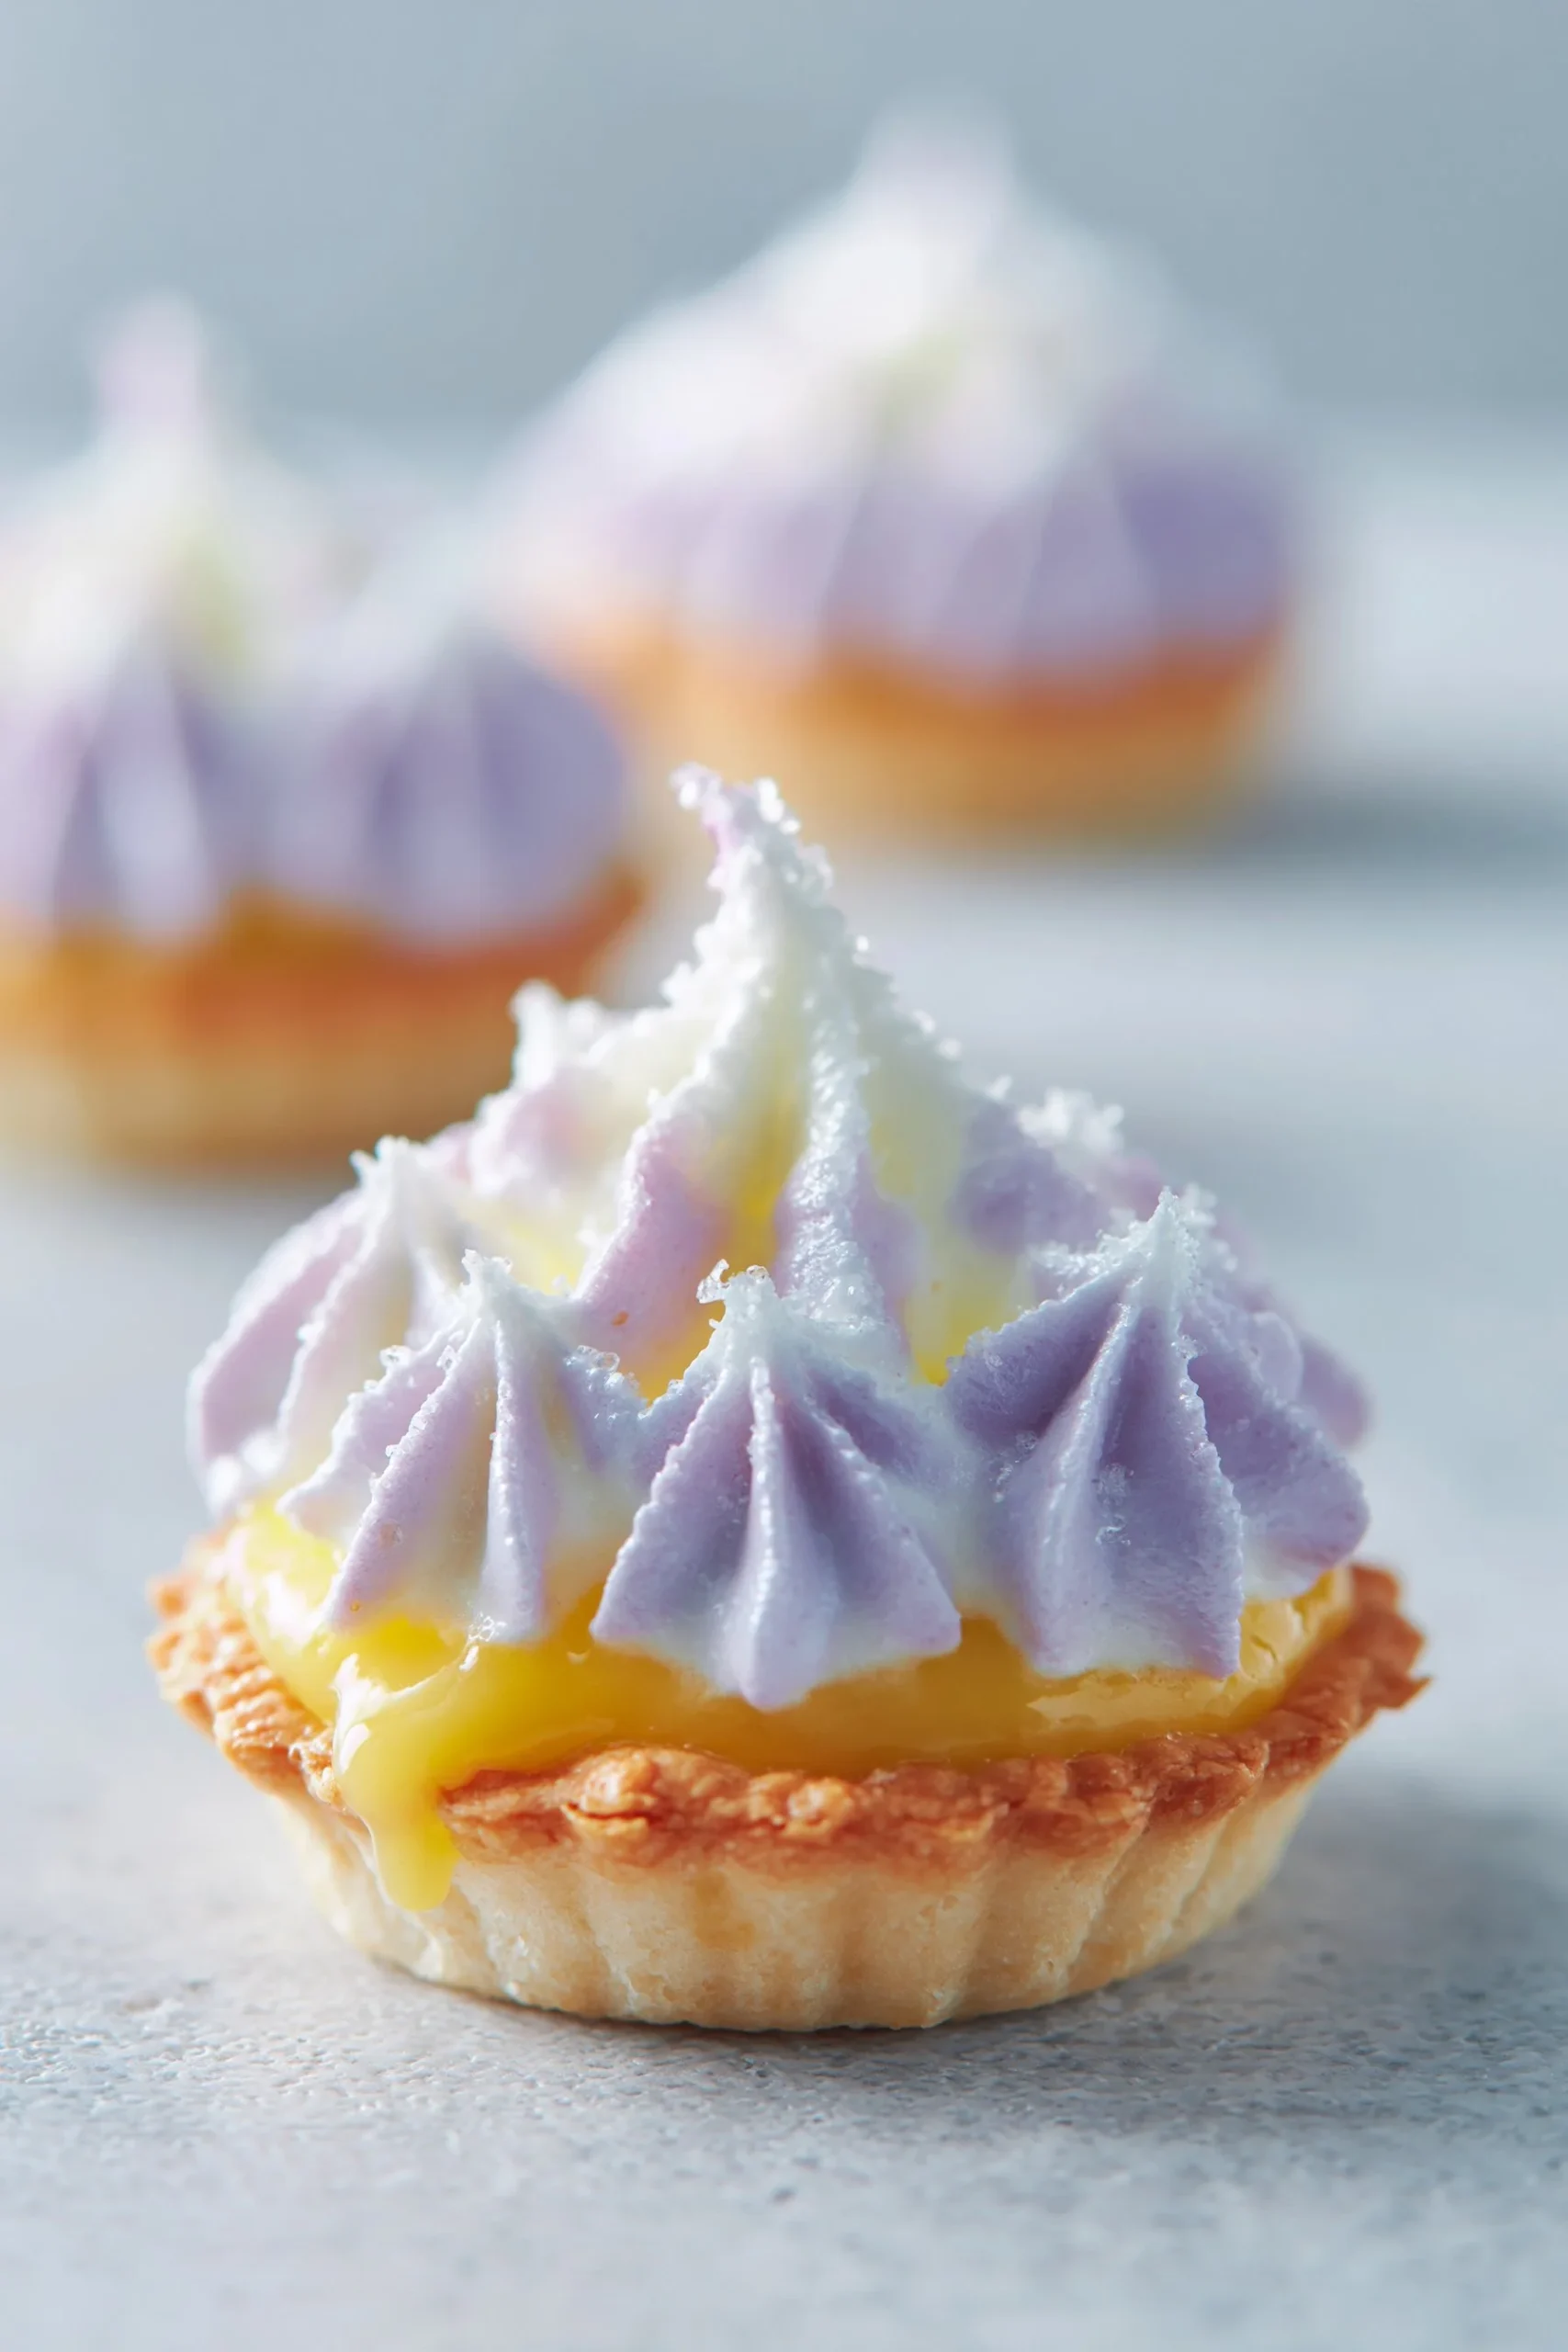
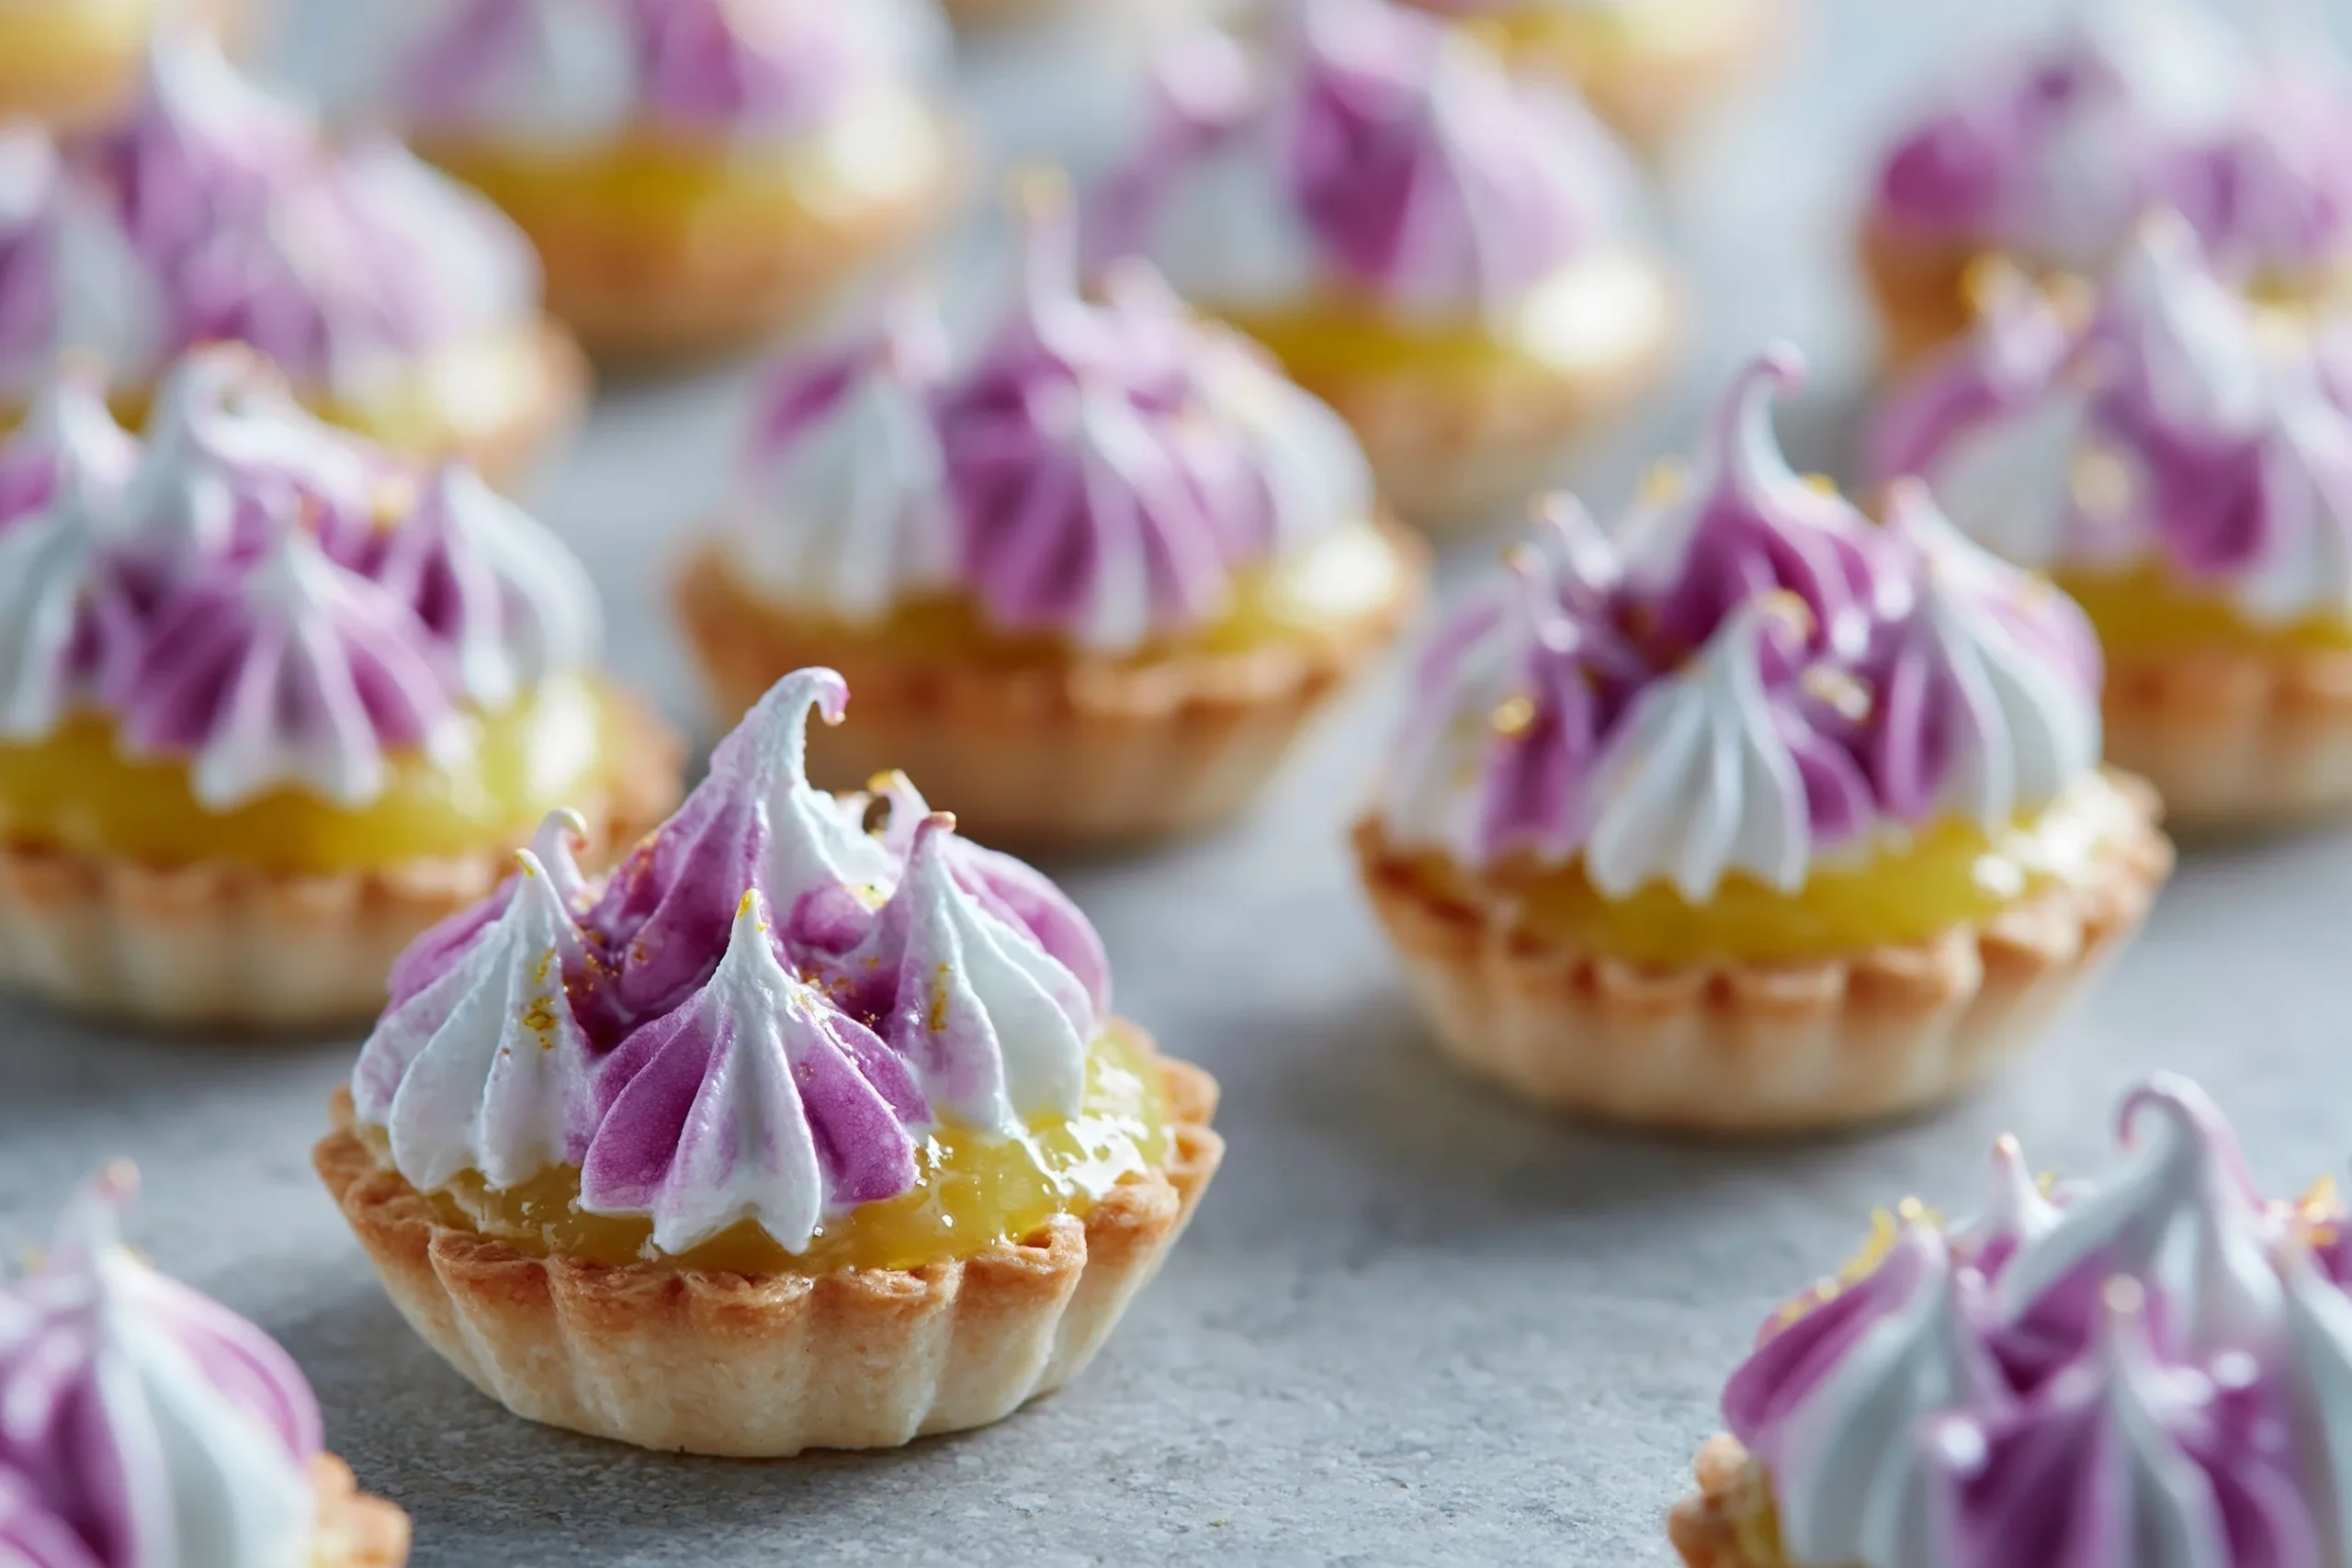
Mini tarts are my go-to when I want a dessert that looks polished but still fits into a normal afternoon in the kitchen. These Mini Lemon Tarts with Lilac Meringue are especially useful when you need something portioned (no messy slicing), make-ahead friendly, and bright enough to follow a heavier meal—like my lemon butter salmon with crispy potatoes and broccoli.
The payoff here is practical: crisp, tender tart shells; a lemon curd that sets up sliceably after a chill; and a silky meringue you can torch in seconds right before serving. The lilac tint and optional edible flowers make them feel special without adding extra steps.
Why This Recipe Works
- Shortcrust-style dough that behaves: powdered sugar and cold butter keep the tart shells tender and crisp, not tough.
- Curd sets without guesswork: cooking the lemon mixture until it noticeably thickens (8–10 minutes) gives you a curd that holds its shape once chilled.
- Bright, balanced lemon flavor: fresh juice plus zest delivers a clean citrus punch that cuts through the richness of butter and eggs.
- Meringue is stable and pipeable: warming the whites and sugar over simmering water helps the sugar dissolve, giving you glossy stiff peaks that torch well.
- Built-in make-ahead: shells can cool while you cook the curd; filled tarts chill for an hour, and you finish with meringue when you’re ready.
- Minimal cleanup for the “fancy” result: one food processor, one saucepan, one heatproof bowl—then just a piping bag (or a spoon) for the top.
Quick Kitchen Note
I like this format when I want lemon dessert energy without committing to a whole pie; you can pace it—dough first, curd while shells bake, meringue at the end—and you’re never stuck waiting around with nothing to do.
What It Tastes Like
These taste like bright lemon custard with a clean, buttery finish: sharp citrus up front, rich curd in the middle, and a lightly sweet meringue that melts rather than chews. The torched top adds a faint toasted aroma that rounds out the tang, and the crisp shell keeps every bite structured.
Ingredients
This recipe is essentially three parts: a buttery mini tart shell, a classic lemon curd, and a warm-whisked meringue tinted lilac. Fresh lemon juice and zest matter most for flavor. For color, violet food coloring is easiest, but a tiny mix of red and blue works too—go drop by drop so it stays soft lilac, not gray.
- 1 1/4 cups all-purpose flour
- 1/4 cup powdered sugar
- 1/2 cup unsalted butter, cold and cubed
- 1 large egg yolk
- 1–2 tbsp cold water
- 1/2 cup fresh lemon juice (about 2 lemons)
- 1 tbsp lemon zest
- 3/4 cup granulated sugar (for curd)
- 3 large eggs (for curd)
- 6 tbsp unsalted butter, cubed (for curd)
- 3 large egg whites (for meringue)
- 3/4 cup granulated sugar (for meringue)
- 1/4 tsp cream of tartar
- 1/2 tsp vanilla extract
- A few drops of violet food coloring or a mix of red and blue
- Optional: edible lilac flowers for garnish
Step-by-Step Instructions
-
Make the tart dough (quickly, and keep it cold).
In a food processor, pulse the flour and powdered sugar just to combine. Add the cold cubed butter and pulse until the mixture looks sandy with some pea-size bits—those butter pieces are what give you a crisp, tender shell. Add the egg yolk and 1 tablespoon cold water, then pulse until the dough starts to clump. If it still looks dry and won’t clump, add the remaining 1 tablespoon water and pulse a few times.
Turn the dough out, press into a disk, and chill for 30 minutes. -
Shape and blind bake the mini shells.
Preheat the oven to 350°F. Roll the chilled dough out and press it into mini tart pans. Prick the bottom of each shell with a fork (this helps prevent bubbling and puffing).
Bake for 10–12 minutes, until the shells look set and lightly golden at the edges. Cool completely before filling—warm shells can soften quickly under curd. -
Cook the lemon curd until it thickens (don’t walk away).
In a saucepan over medium heat, whisk together lemon juice, lemon zest, granulated sugar, and the 3 eggs. Stir constantly as it warms; you’re looking for the mixture to thicken noticeably in 8–10 minutes. It should go from loose and foamy to glossy and creamy, coating the back of a spoon.
Remove from the heat and whisk in the cubed butter until fully melted and smooth. Let it cool slightly (so it’s not piping hot), then divide the curd among the cooled tart shells. Chill the filled tarts for 1 hour, until the curd is cold and set. -
Make the lilac meringue (smooth, glossy, stiff peaks).
Set a heatproof bowl over a pot of simmering water (the bowl should sit above the water, not touch it). Add the egg whites, granulated sugar, and cream of tartar. Whisk until the mixture is warm and the sugar feels dissolved (it should look thinner and a little foamy).
Beat the mixture until stiff peaks form and the meringue looks glossy. Mix in the vanilla extract. Tint with a few drops of violet food coloring (or a careful drop-by-drop mix of red and blue) until you reach a lilac shade. -
Top, torch, and finish.
Pipe the meringue onto the chilled tarts (or spoon it on and swirl with the back of a spoon). Torch until lightly golden on the ridges and tips. Garnish with edible lilac flowers if using. Serve chilled for the best contrast between cool curd and toasted meringue.
Common Mistakes to Avoid
- Overworking or warming the tart dough: it can bake up tough or shrink. Fix: pulse just until clumping and chill the dough for the full 30 minutes.
- Filling shells before they’re fully cool: the crust can turn soft and lose its crisp bite. Fix: cool completely before adding curd.
- Under-cooking the curd: it won’t set cleanly and can seep into the shell. Fix: keep stirring over medium heat until it clearly thickens and coats a spoon (8–10 minutes).
- Torching before the curd is chilled: the filling can loosen and the meringue may slide. Fix: chill filled tarts for 1 hour, then add meringue.
- Adding too much color at once: lilac can quickly turn too dark. Fix: add coloring a drop at a time and stop early; torching deepens color slightly.
Variations and Swaps
- Skip the color: leave the meringue white and still torch for contrast; it stays modern and clean.
- Change the finish: if you don’t want piped peaks, spoon meringue on and create quick swirls—less equipment, same effect.
- Use a different garnish: the edible lilac flowers are optional; you can simply leave them off for a minimal look. If you’re into tea-and-citrus pairings, you might also like the flavor direction in my blueberry tart with Earl Grey tea (different dessert, same clean finish).
Serving Suggestions
Serve these straight from the fridge so the curd stays firm and bright. They’re a good follow-up to lemon-forward savory dishes like lemon garlic butter shrimp with asparagus, because the citrus feels continuous without being repetitive—the sweet-tart curd lands differently than savory lemon. If you’re serving a dessert spread, set these alongside a simpler slice-and-serve option like a no-bake lemon pie so you have both plated minis and an easy backup.
Storage and Meal Prep
- Best approach: store components as the finished tarts, chilled. The curd needs time to set, and the shells stay crispest when fully cooled before filling (which this method already builds in).
- Refrigeration: keep tarts chilled and covered. For the cleanest look, add and torch the meringue close to serving time; it’s the most stable and glossy then.
- Make-ahead game plan: bake shells and cook curd earlier in the day, assemble and chill for the hour, then whip/pipe/torch the meringue right before serving.
- Leftovers: keep chilled and eat cold; the torch flavor will soften over time, but the lemon curd stays bright.
FAQs
Can I make these ahead and finish later?
Yes. Bake the shells, fill with curd, and chill. Add and torch the meringue closer to serving for the best texture and definition.
How do I know the lemon curd is done?
It should look thicker and glossy after 8–10 minutes and coat the back of a spoon. If it still looks thin and foamy, keep whisking over medium heat.
My meringue won’t reach stiff peaks—what happened?
Usually the mixture wasn’t warmed enough for the sugar to dissolve, or it needed more beating time. Warm until it’s clearly warm to the touch, then beat until the peaks stand straight and look glossy.
Do I have to use edible lilac flowers?
No—totally optional. The lilac color in the meringue gives the visual cue on its own.
Final Tip
When you’re tinting the meringue, stop one shade lighter than you think you want; the glossy whites plus torching can deepen the color slightly, and a softer lilac reads cleaner on top of bright yellow lemon curd.
Conclusion
If you want to compare other lemon-and-floral tart ideas before you commit, I like browsing a lemon lavender mini tarts recipe for flavor inspiration, checking technique notes on lavender lemon meringue tarts, or looking at how tea flavors are paired in an Earl Grey-lavender and lemon tart.
Mini Lemon Tarts with Lilac Meringue
Ingredients
Method
- In a food processor, pulse the flour and powdered sugar just to combine. Add the cold cubed butter and pulse until the mixture looks sandy with some pea-size bits.
- Add the egg yolk and 1 tablespoon cold water, then pulse until the dough starts to clump. If it still looks dry and won’t clump, add the remaining 1 tablespoon water and pulse a few times.
- Turn the dough out, press into a disk, and chill for 30 minutes.
- Preheat the oven to 350°F. Roll the chilled dough out and press it into mini tart pans. Prick the bottom of each shell with a fork.
- Bake for 10–12 minutes, until the shells look set and lightly golden at the edges. Cool completely before filling.
- In a saucepan over medium heat, whisk together lemon juice, lemon zest, granulated sugar, and the 3 eggs. Stir constantly as it warms.
- Cook until the mixture thickens noticeably (8–10 minutes). It should go from loose and foamy to glossy and creamy, coating the back of a spoon.
- Remove from heat, whisk in the cubed butter until fully melted and smooth. Let cool slightly, then divide among the cooled tart shells. Chill for 1 hour.
- Set a heatproof bowl over a pot of simmering water. Add the egg whites, sugar, and cream of tartar. Whisk until warm and sugar feels dissolved.
- Beat until stiff peaks form and the meringue looks glossy. Mix in the vanilla extract and tint with violet food coloring until desired shade.
- Pipe or spoon the meringue onto the chilled tarts. Torch until lightly golden on the ridges. Garnish with edible lilac flowers if desired.
- Serve chilled for the best contrast between the cool curd and toasted meringue.
