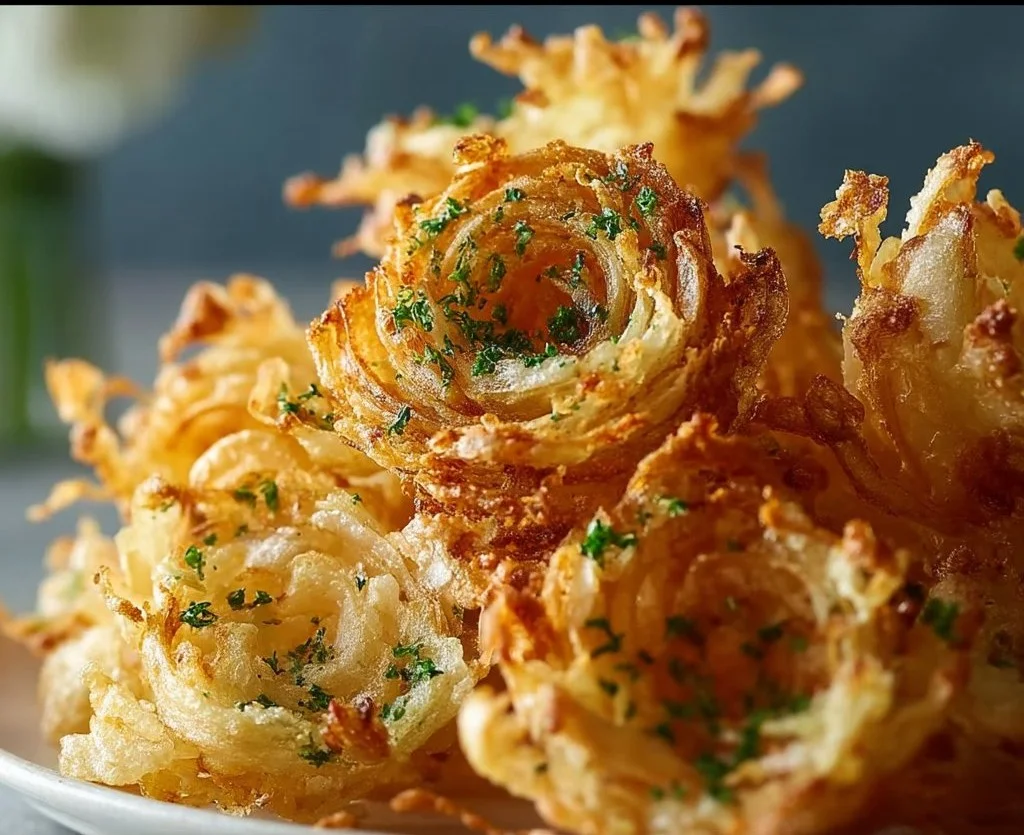
When you want the “blooming onion” effect without committing to a huge fryer pot of oil, these mini versions are the practical answer. Small onions cook through faster, the air fryer keeps cleanup light, and you still get that crisp, craggy coating in all the right spots.
This is especially useful when you need a snacky side that feels substantial—something crunchy and savory that can sit next to a simple main. If you’re already running the air fryer for something like crispy air fryer chicken parmesan, these are an easy add-on with the same no-grease, hands-off payoff.
Why This Recipe Works
- Mini onions cook evenly in the air fryer, so you’re less likely to end up with a browned coating and an undercooked center.
- A seasoned flour layer (paprika + garlic + salt + pepper) builds flavor into the crust instead of relying on a dip or sauce to do all the work.
- Eggs + buttermilk create a clingy “glue” that helps breadcrumbs stick into the onion’s cuts—key for that blooming texture.
- Breadcrumbs add crunch without deep-frying, especially when you spray the surface so the coating can crisp and brown.
- The assembly line is simple: flour, egg mixture, breadcrumbs, then air fry—no complicated battering or extra bowls beyond what you need.
- Portion-friendly: four small onions make it easy to serve a few people without dealing with one oversized onion that’s awkward to cook evenly.
Quick Kitchen Note
I lean on air-fried breaded sides like this when I want something crisp on the plate but don’t want oil splatter or a sink full of pans—especially on nights when the rest of dinner is already low-effort, like my 15-minute skillet with mushrooms, broccoli, and carrots.
What It Tastes Like
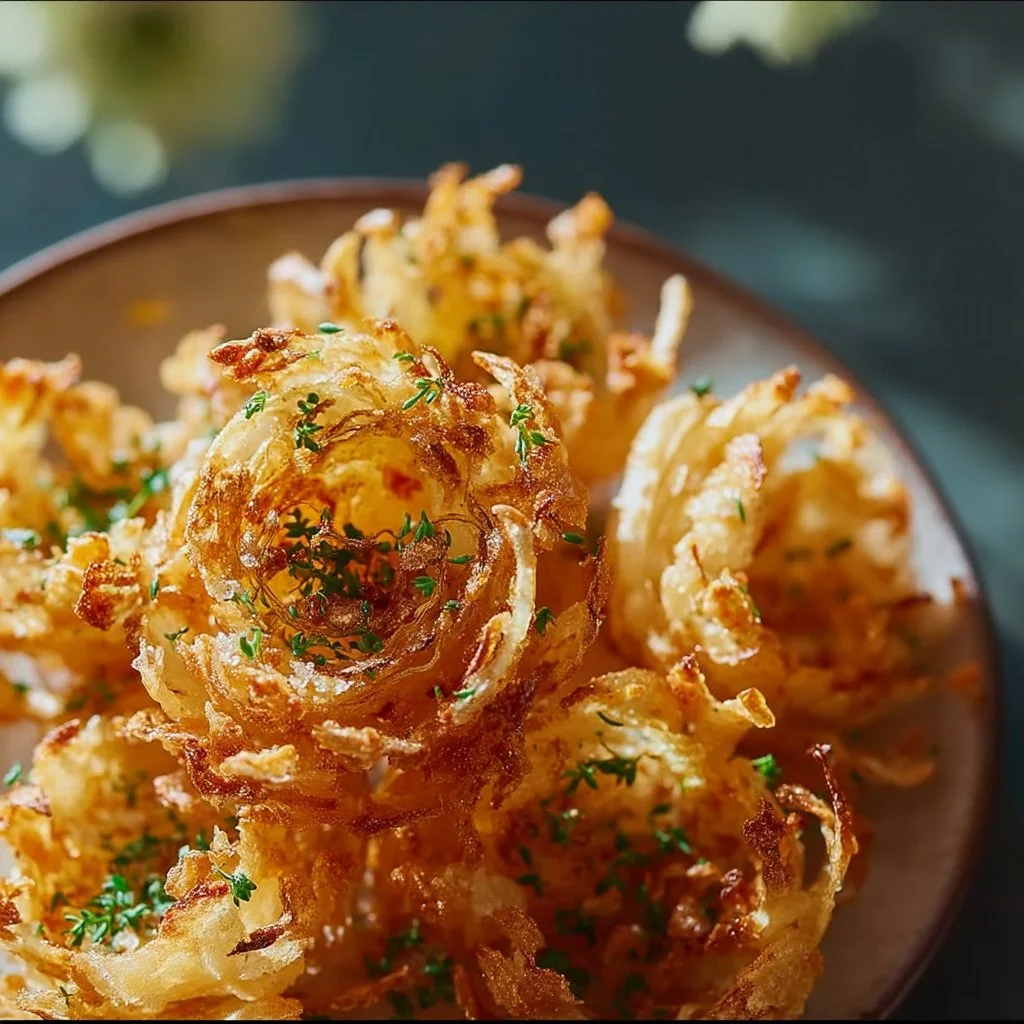
These come out savory and gently spiced, with a toasty breadcrumb crunch on the outside and tender onion layers inside. The paprika and garlic powder read warm and familiar, not smoky or hot, and the buttermilk adds a subtle tang that keeps the coating from tasting flat. You’ll notice the aroma right away—garlicky, peppery, and bready—and the finish is clean and crisp rather than greasy.
Ingredients
This recipe is built around a three-step coating that’s reliable: seasoned flour for base flavor, an egg-and-buttermilk dip for adhesion, and breadcrumbs for crunch. If you don’t have buttermilk, the recipe works best when you still use a similarly thin, pourable dairy-like dip—but for the most dependable results, stick to the listed ingredients.
- 4 small onions
- 1 cup all-purpose flour
- 1 teaspoon paprika
- 1 teaspoon garlic powder
- 1 teaspoon salt
- ½ teaspoon black pepper
- 2 large eggs
- 1 cup buttermilk
- 1 cup breadcrumbs
- Cooking spray
Step-by-Step Instructions
-
Prep the onions (the “bloom”).
Peel the 4 small onions. Trim just a thin slice off the root end if needed so each onion can sit flat, but keep the root area intact so the layers hold together. Make several vertical cuts down the onion to create “petals,” stopping short of cutting all the way through the base. Gently fan the layers open with your fingers—this is where the coating will tuck in. -
Mix the seasoned flour coating.
In a bowl, combine the flour, paprika, garlic powder, salt, and black pepper. Stir until the spices are evenly distributed so you don’t get salty pockets. -
Prepare the egg mixture.
In a second bowl, whisk together the eggs and buttermilk until smooth and uniform (no streaky egg whites). You want it pourable and well-mixed so it coats the onion evenly. -
Set up your breading station.
Place the seasoned flour, egg-buttermilk mixture, and breadcrumbs in three separate bowls (or shallow dishes). Keep a plate or tray nearby for the coated onions. -
Coat the onions: flour first.
Working with one onion at a time, coat it in the seasoned flour. Make sure flour gets down into the cuts—turn the onion and lightly open the layers as you go. Shake off excess; a thin, even flour layer helps the next step cling without getting gummy. -
Dip into the egg mixture.
Lower the floured onion into the egg-buttermilk mixture and spoon some over the top so it runs into the crevices. Let the excess drip off for a moment—too much liquid can make the breadcrumbs clump instead of crisp. -
Finish with breadcrumbs.
Press and sprinkle breadcrumbs over the onion, aiming to get coverage between the “petals.” Rotate the onion and gently open the layers to help breadcrumbs fall inside. This step is where the crunch comes from, so take an extra minute to get good coverage. -
Preheat your air fryer if you typically do.
If your air fryer benefits from preheating, do it now. (Some models don’t require it; follow what works for yours.) Either way, have the basket ready. -
Air fry until crisp and browned.
Place the coated onions in the air fryer basket in a single layer with space around them. Spray the tops lightly with cooking spray—this helps the breadcrumbs toast instead of staying pale. Air fry until the coating looks crisp and browned and the onion layers are tender when you gently pull a petal. If they’re browning too fast on top before the onion softens, reduce crowding and continue cooking in batches so air can circulate. -
Serve right away.
Let them sit for a minute or two so the coating sets, then serve while the crumb is at its crunchiest. -
Nutritional information.
Nutritional information isn’t provided here, but you can calculate it based on the exact brands of flour, breadcrumbs, buttermilk, and the amount of coating that adheres.
Common Mistakes to Avoid
-
Cutting all the way through the onion base: the onion won’t “bloom” and can fall apart.
Fix: Stop your cuts short so the root end holds the petals together. -
Not getting coating between the layers: you’ll end up with a mostly-breaded top and plain onion underneath.
Fix: Gently fan the onion open during each coating step and spoon mixtures into the cuts. -
Leaving the flour layer too thick: thick flour can turn pasty once dipped.
Fix: Shake off excess flour before the egg mixture. -
Skipping the cooking spray: breadcrumbs can stay blond and dry instead of crisp and golden.
Fix: A light, even spray over the top makes a noticeable difference in browning. -
Overcrowding the basket: cramped onions steam and soften rather than crisp.
Fix: Cook in batches and give each onion breathing room.
Variations and Swaps
- Spice level: Keep the base seasoning as written, but you can increase black pepper slightly for a sharper bite (it won’t change the coating structure).
- Texture: If you prefer a finer crunch, use finer breadcrumbs; for more rugged crunch, use coarser breadcrumbs. (Either way, spray well so the surface toasts.)
- Serving format: If your onions are slightly larger than “small,” cook fewer at a time so they don’t touch—this keeps the petals crisper.
Serving Suggestions
Serve these as a crisp side next to simple air fryer mains, or as a snack plate with something fresh and crunchy on the side. They’re also a fun contrast with lighter, sweet-leaning air fryer snacks—if you’re doing an air fryer spread, pair them with cinnamon sugar air fryer banana chips for a salty-sweet mix.
Storage and Meal Prep
These are at their best right after cooking, when the breadcrumbs are fully crisp. If you do have leftovers, store them covered in the fridge and reheat in the air fryer to bring back some crunch. For meal prep, I don’t recommend fully breading the onions far in advance—the coating can absorb moisture and lose its crisp potential. A better approach is to measure your dry ingredients and breadcrumbs ahead of time so the assembly goes faster when you’re ready to cook.

FAQs
Can I coat the onions ahead of time?
It’s better to coat and cook right away. Once breaded, the onions start releasing moisture, which can soften the coating before it ever hits the air fryer.
Why aren’t my onions getting crispy?
Most often it’s either crowding (trapping steam) or not using enough cooking spray on the breadcrumb surface. Give them space and lightly spray the tops.
How do I know they’re done?
Look for a browned, crisp coating and onion layers that pull apart easily and feel tender, not sharp or raw, when you bite into a petal.
Can I reheat them?
Yes—reheat in the air fryer to re-crisp. Microwaving will warm them, but it tends to soften the coating.
Final Tip
When you’re breading, treat each onion like a little “bowl” of layers: spoon the flour, egg mixture, and breadcrumbs into the cuts instead of only coating the outside. That one habit is the difference between a pretty top and a true mini bloom.
Conclusion
If you want to compare approaches for mini blooming onions—especially how different coatings and onion sizes behave—these references are useful: Air Fryer Mini Blooming Onions, Baby Blooming Onions, and Air Fryer Blooming Onion. For a sweet air fryer add-on on another day, I keep healthy air fryer churro bites in my back pocket, and if you’re building a more structured reset week, this 14-day no-sugar beginner guide with food list can help you plan your meals around what you’ll actually cook.
Air Fryer Mini Blooming Onions
Ingredients
Method
- Peel the small onions and trim just a thin slice off the root end. Make several vertical cuts down the onion to create petals, stopping short of cutting all the way through the base.
- In a bowl, mix the flour, paprika, garlic powder, salt, and black pepper until evenly distributed.
- In a second bowl, whisk together the eggs and buttermilk until smooth.
- Set up your breading station with the seasoned flour, egg mixture, and breadcrumbs in separate bowls.
- Coat each onion in the seasoned flour, making sure it gets into the cuts.
- Dip the floured onion into the egg mixture and let excess drip off.
- Press breadcrumbs over the onion, ensuring coverage between the petals.
- Preheat your air fryer if necessary.
- Place the coated onions in the air fryer basket in a single layer, spray the tops lightly with cooking spray.
- Air fry until the coating looks crisp and browned, approximately 10-15 minutes, checking for tenderness.
- Let them sit for a minute and serve immediately for optimal crispiness.