
Why This One Delivers
This Classic Bakery Style Suger Free Protein Pudding works because it borrows the structure of a traditional pastry cream, then rebuilds it with smarter, protein rich swaps. Instead of eggs, starch, and a lot of sugar, you use Greek yogurt and protein powder to create body and creaminess that hold up in the fridge for a few days. The nut butter gives you that bakery style richness and a silky mouthfeel, so the pudding tastes indulgent even without added sugar. A touch of cocoa powder or vanilla lets you steer the flavor, which means you control both the taste and the nutrition in a very practical way.
You also get reliable texture, which is usually the hard part with Suger Free Protein Pudding. Greek yogurt thickens instantly, protein powder tightens the mix as it hydrates, and optional chia seeds add gentle lift without turning everything into a dense gel. If the pudding looks a bit loose at first, a short rest in the fridge lets it firm into that spoonable, bakery counter style consistency with golden, glossy edges and a tender center. You can portion it into jars for grab and go breakfasts, layer it into a simple trifle with berries, or use it as a high protein base under granola or toasted nuts for something closer to a full meal.
From Prep to Finish
Start your Suger Free Protein Pudding by setting up a clean mixing bowl and whisk, so you can move quickly once everything is measured. Add the Greek yogurt first to create a creamy base, then sprinkle the protein powder evenly over the top to avoid dry clumps. Spoon in the nut butter while it is still at room temperature, since cold nut butter tends to stay lumpy and resist blending. If you plan to use cocoa powder, sift it in to prevent bitter pockets of dry powder. Once everything is in the bowl, whisk slowly at first, then a bit more vigorously until the mixture looks glossy and smooth with no streaks of protein powder.

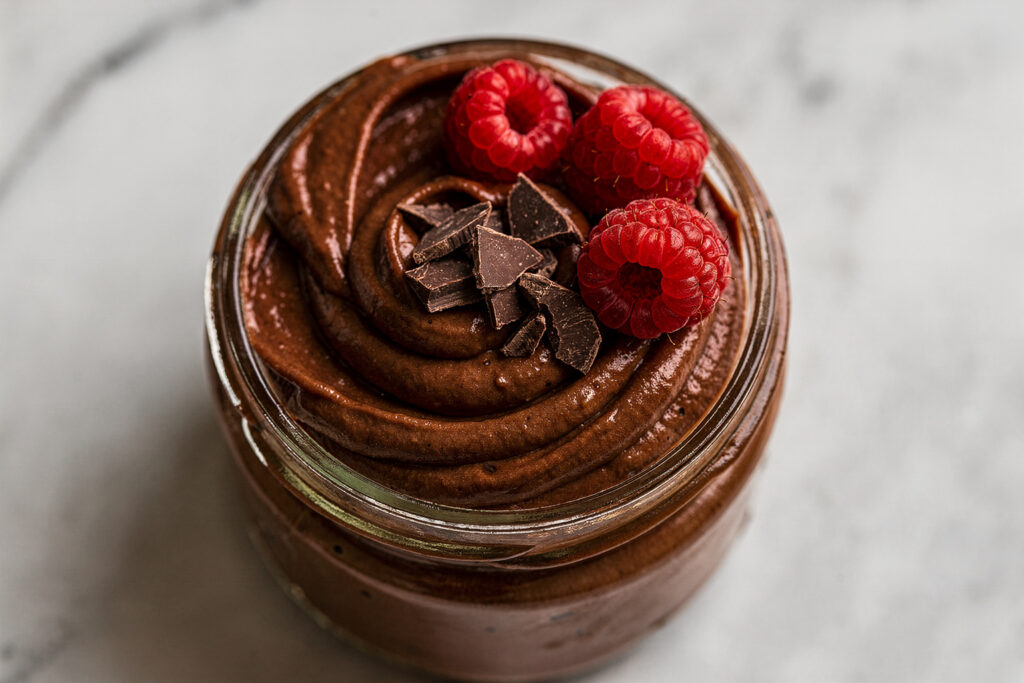
Process Image of Suger Free Protein Pudding
Check the texture before you adjust the sweetness, since thickness will change how you taste it. If it feels too stiff, drizzle in a little milk, about a tablespoon at a time, until the Suger Free Protein Pudding looks like soft, spoonable custard. Now taste and add maple syrup or honey in small amounts, especially if your protein powder is already sweet. Stir in chia seeds if you like extra body, then let the bowl rest for about 5 minutes so the seeds can hydrate and thicken the pudding. Give it one final stir, then either serve it right away for a soft, mousse like texture or chill it for at least 30 minutes for a firmer, bakery style finish that sets up cleanly in a bowl or glass.
Timing, Storage, and Make Ahead
Suger Free Protein Pudding comes together fast, so plan for about 15 minutes of hands on time and then at least 20 minutes in the fridge if you want that classic bakery style chill and thicker texture. You can eat it right away for a softer, mousse like pudding, but the flavor and protein powder smoothness improve as it rests. For best flavor, I like to chill the pudding for 2 to 4 hours so it sets up nicely and develops that creamy, spoonable texture you expect from a bakery case dessert.
Store Suger Free Protein Pudding in an airtight container or portion it into small jars or meal prep cups for grab and go convenience. It keeps well in the refrigerator for up to 3 days, as long as you keep it cold and covered. If the pudding looks a bit firm straight from the fridge, give it a good stir and let it sit at room temperature for 5 minutes so it loosens slightly. If you add chia seeds, the mixture will continue to thicken over time, so you may want to whisk in a tablespoon of milk before serving to return it to a smooth, creamy consistency.
This recipe works very well for make ahead breakfasts, snacks, or dessert style meal prep, especially when you want a higher protein option ready in the fridge. You can double the batch for the week and pair it with toppings like fresh berries or granola, similar to how you might prep overnight oats or a baked oatmeal cup. For the longest shelf life and the best texture, store toppings separately and add them right before serving so your Suger Free Protein Pudding stays glossy, not soggy.
Ingredient Swaps and Serving Options

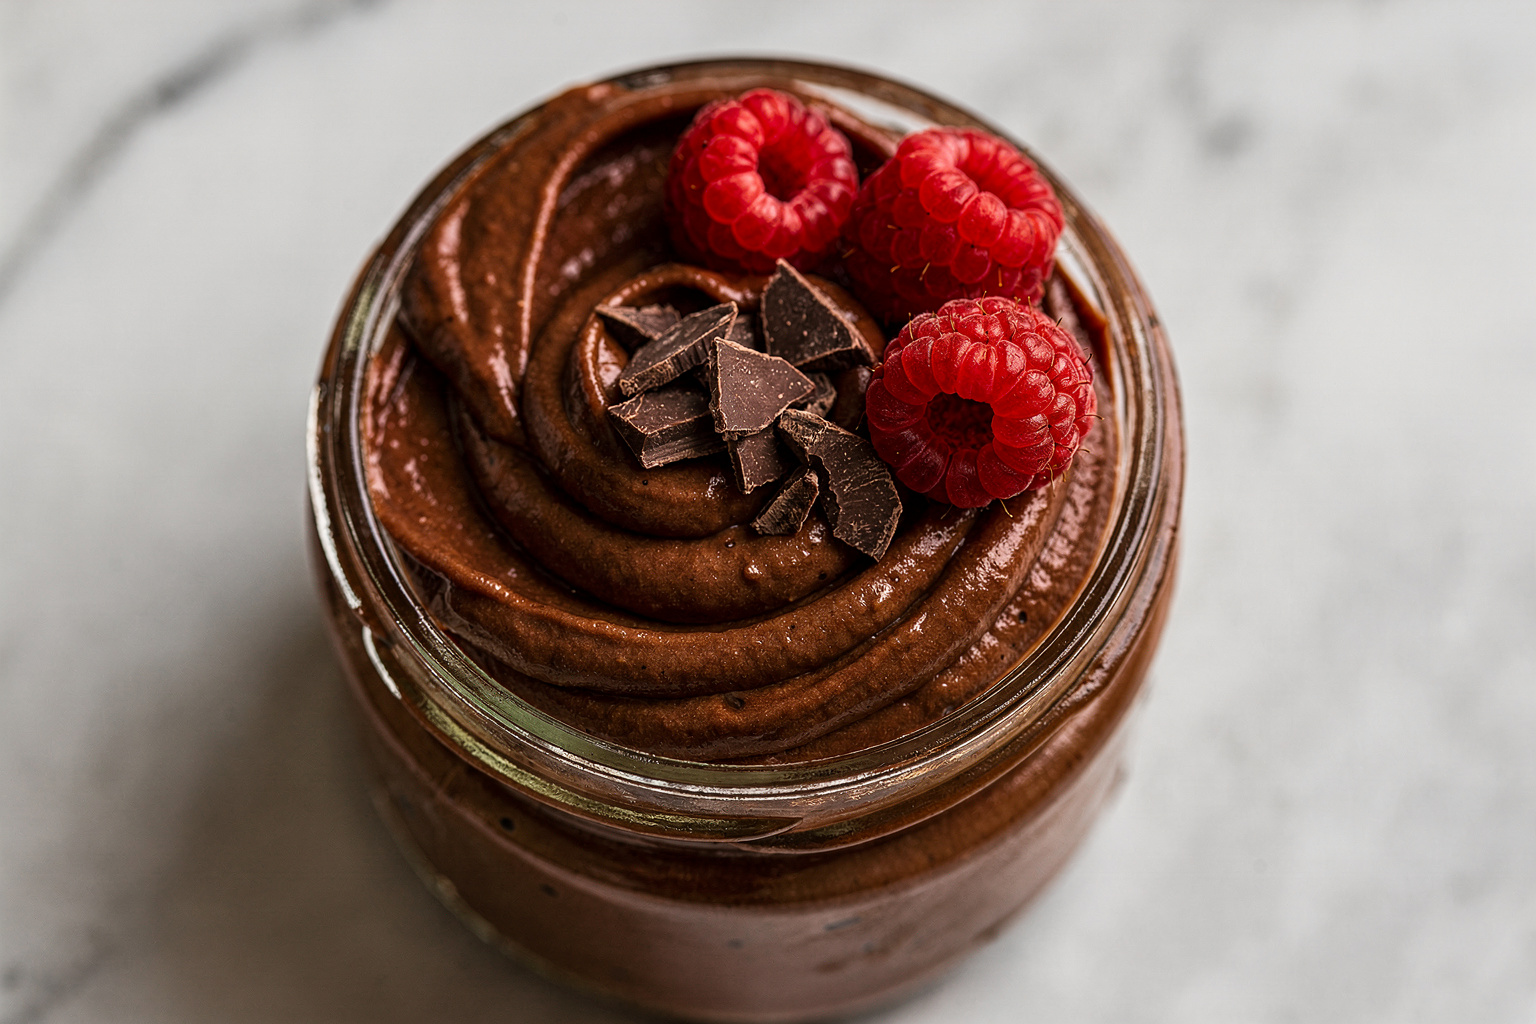
Serving Image of Suger Free Protein Pudding
You can keep this Classic Bakery Style Suger Free Protein Pudding very simple or dress it up, depending on your day. If you want the lowest sugar option, use plain Greek yogurt, an unsweetened protein powder, and swap the maple syrup or honey for a few drops of liquid stevia or monk fruit. To avoid nuts, skip the nut butter and add 2 to 3 tablespoons of mashed avocado or a spoonful of tahini for creaminess. For dairy free, use a thick coconut yogurt and a plant based protein powder. Chocolate protein powder and cocoa together give more of a bakery chocolate mousse feel, while vanilla protein with no cocoa and a spoon of almond butter reads like cookie dough in pudding form.
Once your Suger Free Protein Pudding base is set, you can turn it into a full meal or dessert with a few smart toppings. For crunch, add a spoonful of high fiber cereal, toasted oats, or crushed nuts just before serving so they stay crisp. To keep it light and fresh, finish with berries, sliced banana, or a spoon of fruit compote. If you want this to stand in for a full breakfast, layer the pudding in a jar with granola and fruit for a quick parfait, or use it as a high protein filling for crepes or pancakes. Leftovers also work well as a smoothie starter. Just blend a portion of the chilled pudding with a splash of milk and ice for an instant high protein shake that tastes like a bakery style treat.
Conclusion
What I love most about Suger Free Protein Pudding is how simple ingredients can turn an ordinary moment into something a little special. Whether you are prepping a quick dessert after a long day or filling small glasses for a weekend get together, this pudding has a way of slowing everyone down around the table. It feels a bit like bakery magic, just made in your own kitchen.
I hope you feel confident to try this recipe, play with the flavors, and make it your own. Set out a few bowls, add your favorite toppings, and let everyone build their perfect cup. You will be surprised how quickly this creamy, slightly indulgent dessert becomes the thing people ask you to make “just one more time.”
When you do make it, I would love for you to share how it turned out and who you enjoyed it with. Your kitchen wins are why I do what I do.
For more delicious recipes like this, follow us on Facebook and Pinterest!
Recipe
Bakery Style Sugar Free Protein Pudding
Ingredients
Method
- Add the Greek yogurt to a medium mixing bowl.
- Sprinkle the protein powder evenly over the yogurt.
- Spoon in the nut butter and add the cocoa powder.
- Whisk slowly until the mixture starts to come together, then whisk more vigorously until smooth and glossy.
- Add the milk 1 tablespoon at a time, whisking, until the pudding is thick but spoonable.
- Stir in the sugar free maple flavored syrup until fully combined.
- Mix in the chia seeds until evenly distributed.
- Let the pudding rest for 5 minutes to allow the chia seeds to hydrate and thicken the mixture.
- Stir again, then divide the pudding into 4 bowls or jars.
- Refrigerate for at least 20 minutes for a bakery style chilled texture, or up to 3 days before serving.
Notes
- If the pudding becomes too thick after chilling, whisk in 1 to 2 tablespoons of milk just before serving.
