
A batch of peanut butter fudge is one of those “future you” moves: five minutes of hands-on work, one bowl, and a square pan in the fridge while you get on with the rest of the day. I tend to make it when I want something sweet around that doesn’t require baking, a candy thermometer, or a sink full of dishes—especially alongside other easy treats like 3-ingredient peanut butter cookies for a simple dessert tray.
This version is sugar-free and intentionally straightforward. You’re melting peanut butter with coconut oil just enough to turn it glossy and pourable, then stirring in sweetener, vanilla, and salt. Once chilled, it sets into firm, sliceable squares with a creamy bite and a clean peanut finish.
Why This Recipe Works
- Minimal cleanup: Everything mixes in one microwave-safe bowl, and the lined dish means nothing sticks.
- Reliable set without fuss: Coconut oil firms up in the fridge, giving the fudge structure without needing chocolate or condensed milk.
- Balanced flavor: Vanilla rounds out the peanut butter, and a pinch of salt keeps the sweetness from tasting flat.
- Fast hands-on time: The only “cooking” is a quick 30-second warm-up—no stovetop monitoring.
- Easy to portion: A square dish makes even squares; it’s simple to cut as big or small as you like once fully set.
- Adaptable sweetness: You can dial the sweetener to your preference, as long as you mix until it dissolves and tastes smooth.
Quick Kitchen Note
I like keeping a no-bake option like this in rotation because it’s predictable: if your peanut butter is scoopable and your coconut oil is measured correctly, the texture comes out the same every time—especially helpful when you’re also prepping other easy make-ahead treats like edible sugar-free cookie dough.
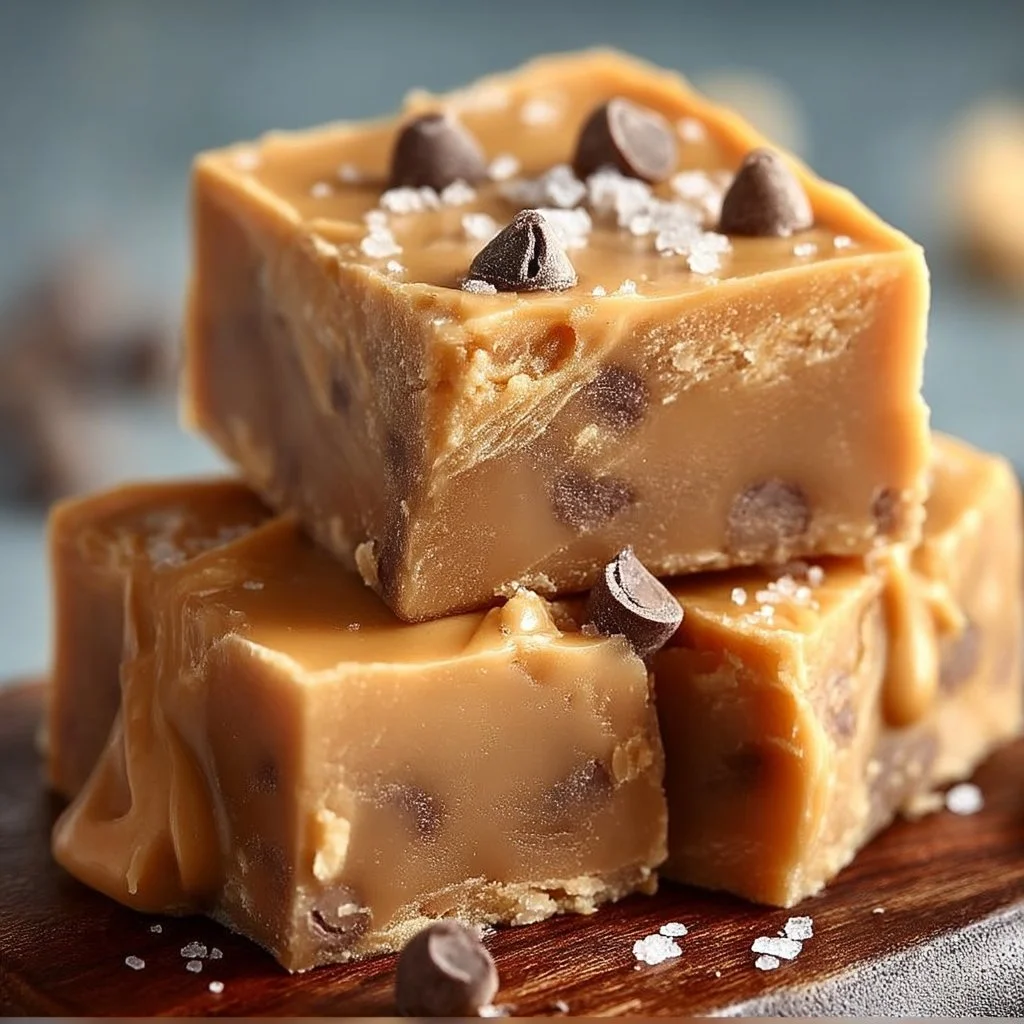
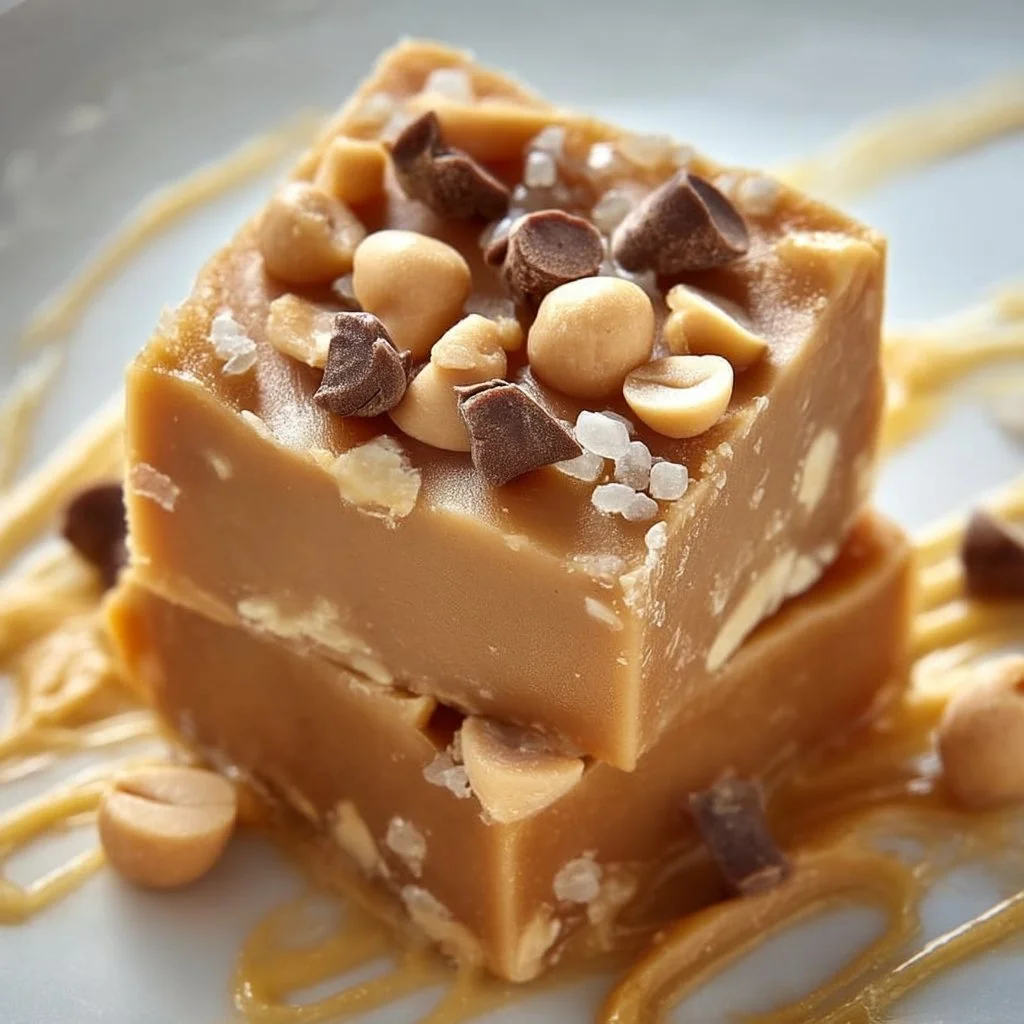
What It Tastes Like
This fudge tastes like pure, rich peanut butter with a soft vanilla aroma and a lightly salted finish. The texture is dense and creamy (not airy), and once chilled it becomes firm enough to slice cleanly while still melting quickly on your tongue. The coconut oil doesn’t read “coconut-y” here—it mainly contributes a smooth, satiny set.
Ingredients
Creamy peanut butter is the backbone (flavor and body), while coconut oil is what helps the fudge firm up in the fridge. Vanilla adds warmth and “dessert” flavor, and salt sharpens the peanut butter so it tastes intentional instead of one-note. For sweetener, use a natural option like erythritol or stevia—just be sure you like the taste of the one you choose, because there’s nowhere for it to hide. If your sweetener is very strong (like some stevia blends), start on the lighter side and adjust before you chill.
- 1 cup creamy peanut butter
- 1/4 cup coconut oil
- 1/4 cup natural sweetener (like erythritol or stevia)
- 1 teaspoon vanilla extract
- A pinch of salt
Step-by-Step Instructions
- Melt the base. Add the peanut butter and coconut oil to a microwave-safe bowl. Microwave for 30 seconds, then stir well. You’re looking for a mixture that turns glossy and smooth and loosens enough to pour; if you still see streaks of oil, keep stirring until it comes together.
- Sweeten and season. Add the natural sweetener, vanilla extract, and a pinch of salt. Stir until the mixture looks uniform and you don’t see dry pockets of sweetener. (This is the moment to taste a tiny bit and decide if you want it sweeter—adjusting is easiest before it chills.)
- Pan it. Pour into a lined square baking dish. Use a spatula or the back of a spoon to spread it into an even layer, pushing it into the corners so the thickness is consistent.
- Chill until set. Refrigerate for at least 2 hours, or until the surface feels firm and the center doesn’t give when you press lightly.
- Slice and serve. Lift out using the liner, place on a cutting board, and cut into squares. If the knife drags, let the fudge sit at room temperature for a minute, then slice again with steady pressure.
Common Mistakes to Avoid
- Overheating the peanut butter mixture: If it gets too hot, the oils can separate and the texture can feel greasy. Fix: Stick to the 30 seconds, then rely on stirring to finish smoothing it out.
- Not mixing the sweetener thoroughly: Undissolved sweetener can leave crunchy spots. Fix: Stir until the mixture is completely even, scraping the sides and bottom of the bowl.
- Skipping the liner: The fudge can cling to the dish and break when you try to remove it. Fix: Line the square dish before pouring so you can lift it out cleanly.
- Cutting before it’s fully set: Warm or partially chilled fudge smears and won’t hold clean edges. Fix: Give it the full 2 hours (or longer if your fridge runs warm).
- Uneven thickness in the pan: Thin corners set faster and can crack while thick centers stay soft. Fix: Spread to an even layer and square off the corners.
Variations and Swaps
- Sweeter or less sweet: Adjust the amount of sweetener to your taste before chilling. If you’re using a very concentrated sweetener, add it gradually and mix well.
- Salt level: Keep the pinch subtle for a classic candy vibe, or bump it slightly (still modest) if your peanut butter is very mild.
- Texture preference: If your peanut butter is especially thick, warm just until pourable so it spreads easily. If it’s already loose, the 30 seconds may be plenty—stir first and decide.
If you want a slightly different peanut-butter-forward treat with a more “rolled candy” feel, try sugar-free peanut butter balls. And if you’re specifically after another take on this exact style, I also keep a separate version of keto peanut butter fudge for comparison.
Serving Suggestions
- Straight from the fridge: For the cleanest slices and a firmer bite.
- After a few minutes on the counter: For a softer, creamier texture that melts faster.
- As part of a simple dessert plate: Pair with other small bites (cookies, a small slice of creamy sugar-free lemon meringue pie, or fruit) so you can keep portions small and varied.
Storage and Meal Prep
Store the cut squares in the refrigerator so they stay firm and easy to handle. For the tidiest storage, keep them in a covered container with the pieces arranged in a single layer or snugly packed so they don’t shift. This is a good make-ahead recipe: mix it, chill it, and you’ve got a ready-to-slice sweet for the next couple of days. If the fudge feels very firm straight from the fridge, let it sit for a minute or two before eating for a softer bite.

FAQs
Can I make this ahead of time?
Yes. It’s designed for make-ahead—mix, chill for at least 2 hours, then keep it refrigerated until you’re ready to slice and serve.
My mixture looks a little separated after microwaving—did I ruin it?
Usually not. Keep stirring until it turns glossy and cohesive. Separation is often just the oils needing a little more mixing to come back together.
How do I know it’s fully set?
The top should feel firm, and the center shouldn’t dent easily when you press lightly. If it still feels soft in the middle, give it more time in the fridge.
Why is my fudge grainy?
That’s typically sweetener that wasn’t fully mixed in. Next time, stir longer and scrape the bowl well before pouring into the dish.
Final Tip
Before you pour the mixture into the lined dish, take 10 seconds to scrape the bowl thoroughly and give it one last firm stir—those last streaks (especially sweetener clinging to the bottom) are what most often lead to uneven texture in the finished squares.
Conclusion
If you like seeing how other cooks approach the same basic idea, these are solid references to compare ingredients and technique: 3 Ingredient Sugar-Free Peanut Butter Fudge, How To Make Keto Peanut Butter Fudge, and Keto Peanut Butter Fudge – All Day I Dream About Food. I still come back to this one when I want the simplest method: one quick melt, one stir, and a clean set in the fridge.
Sugar-Free Peanut Butter Fudge
Ingredients
Method
- Add the peanut butter and coconut oil to a microwave-safe bowl. Microwave for 30 seconds, then stir well until the mixture is glossy and smooth.
- Add the natural sweetener, vanilla extract, and a pinch of salt. Stir until the mixture is uniform, ensuring there are no dry pockets.
- Pour the mixture into a lined square baking dish. Spread it into an even layer.
- Refrigerate for at least 2 hours or until fully set.
- Lift the fudge out using the liner, place on a cutting board, and cut into squares. Adjust if needed for clean slicing.
