

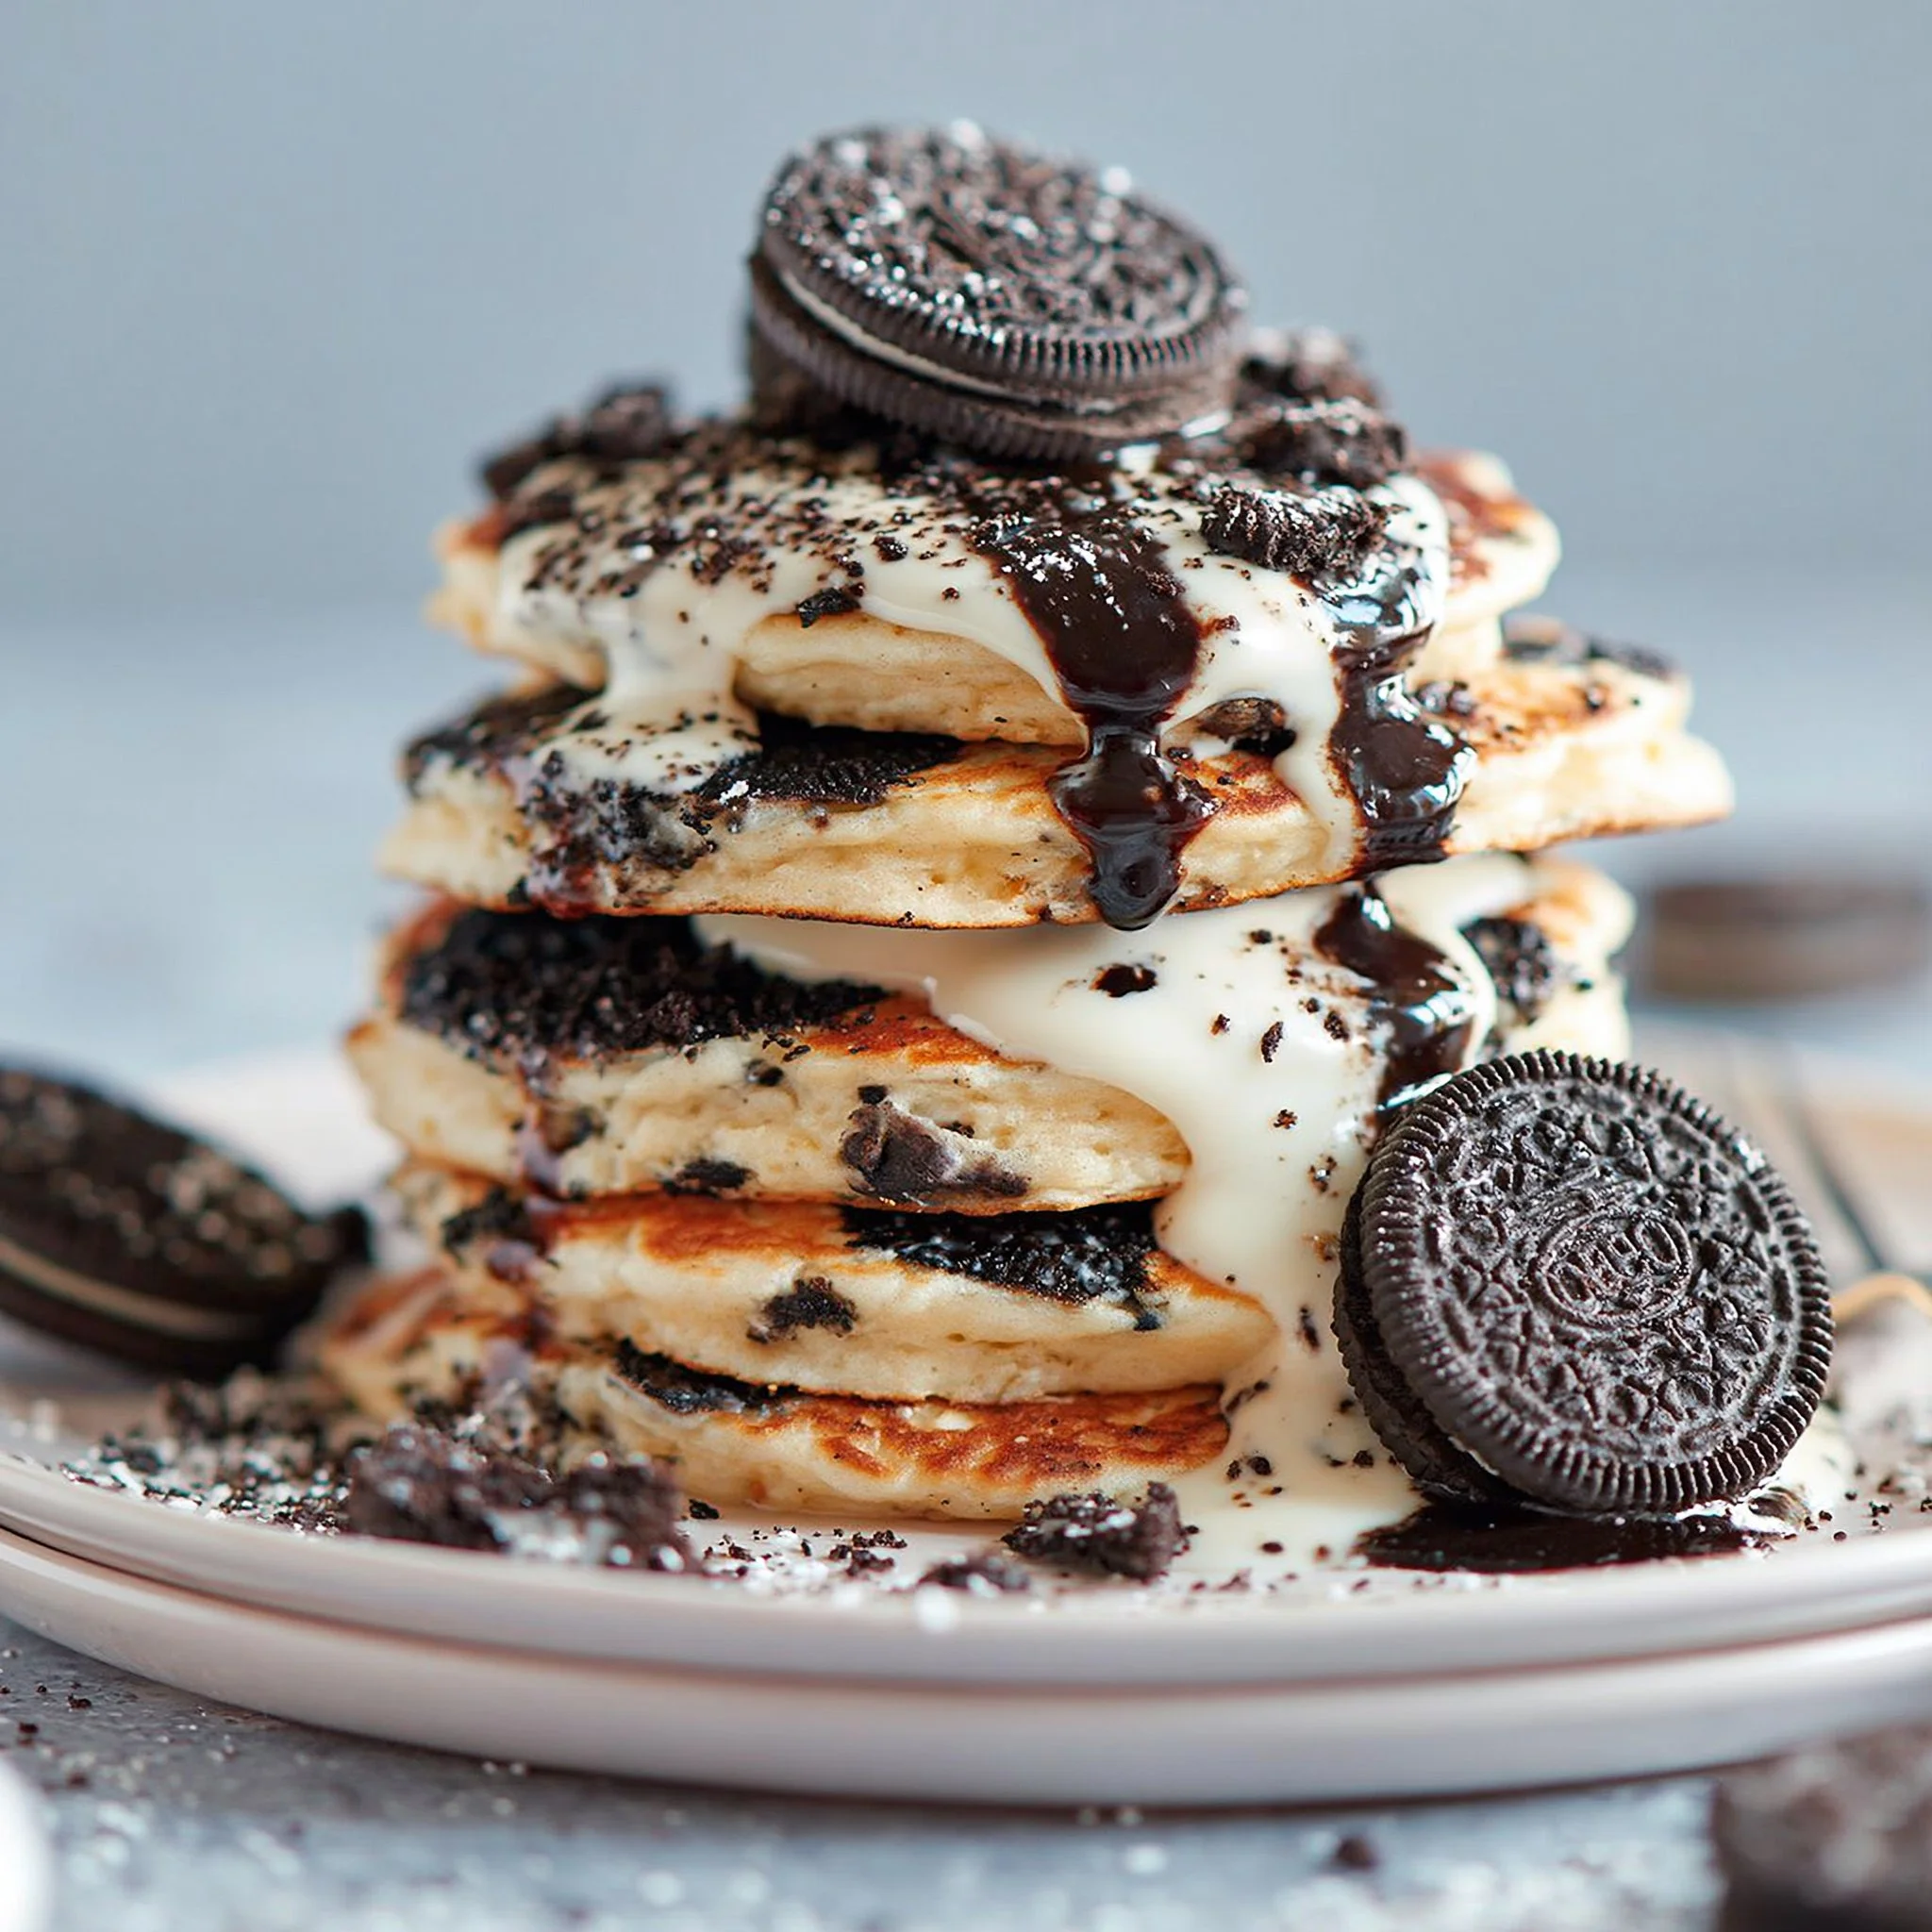
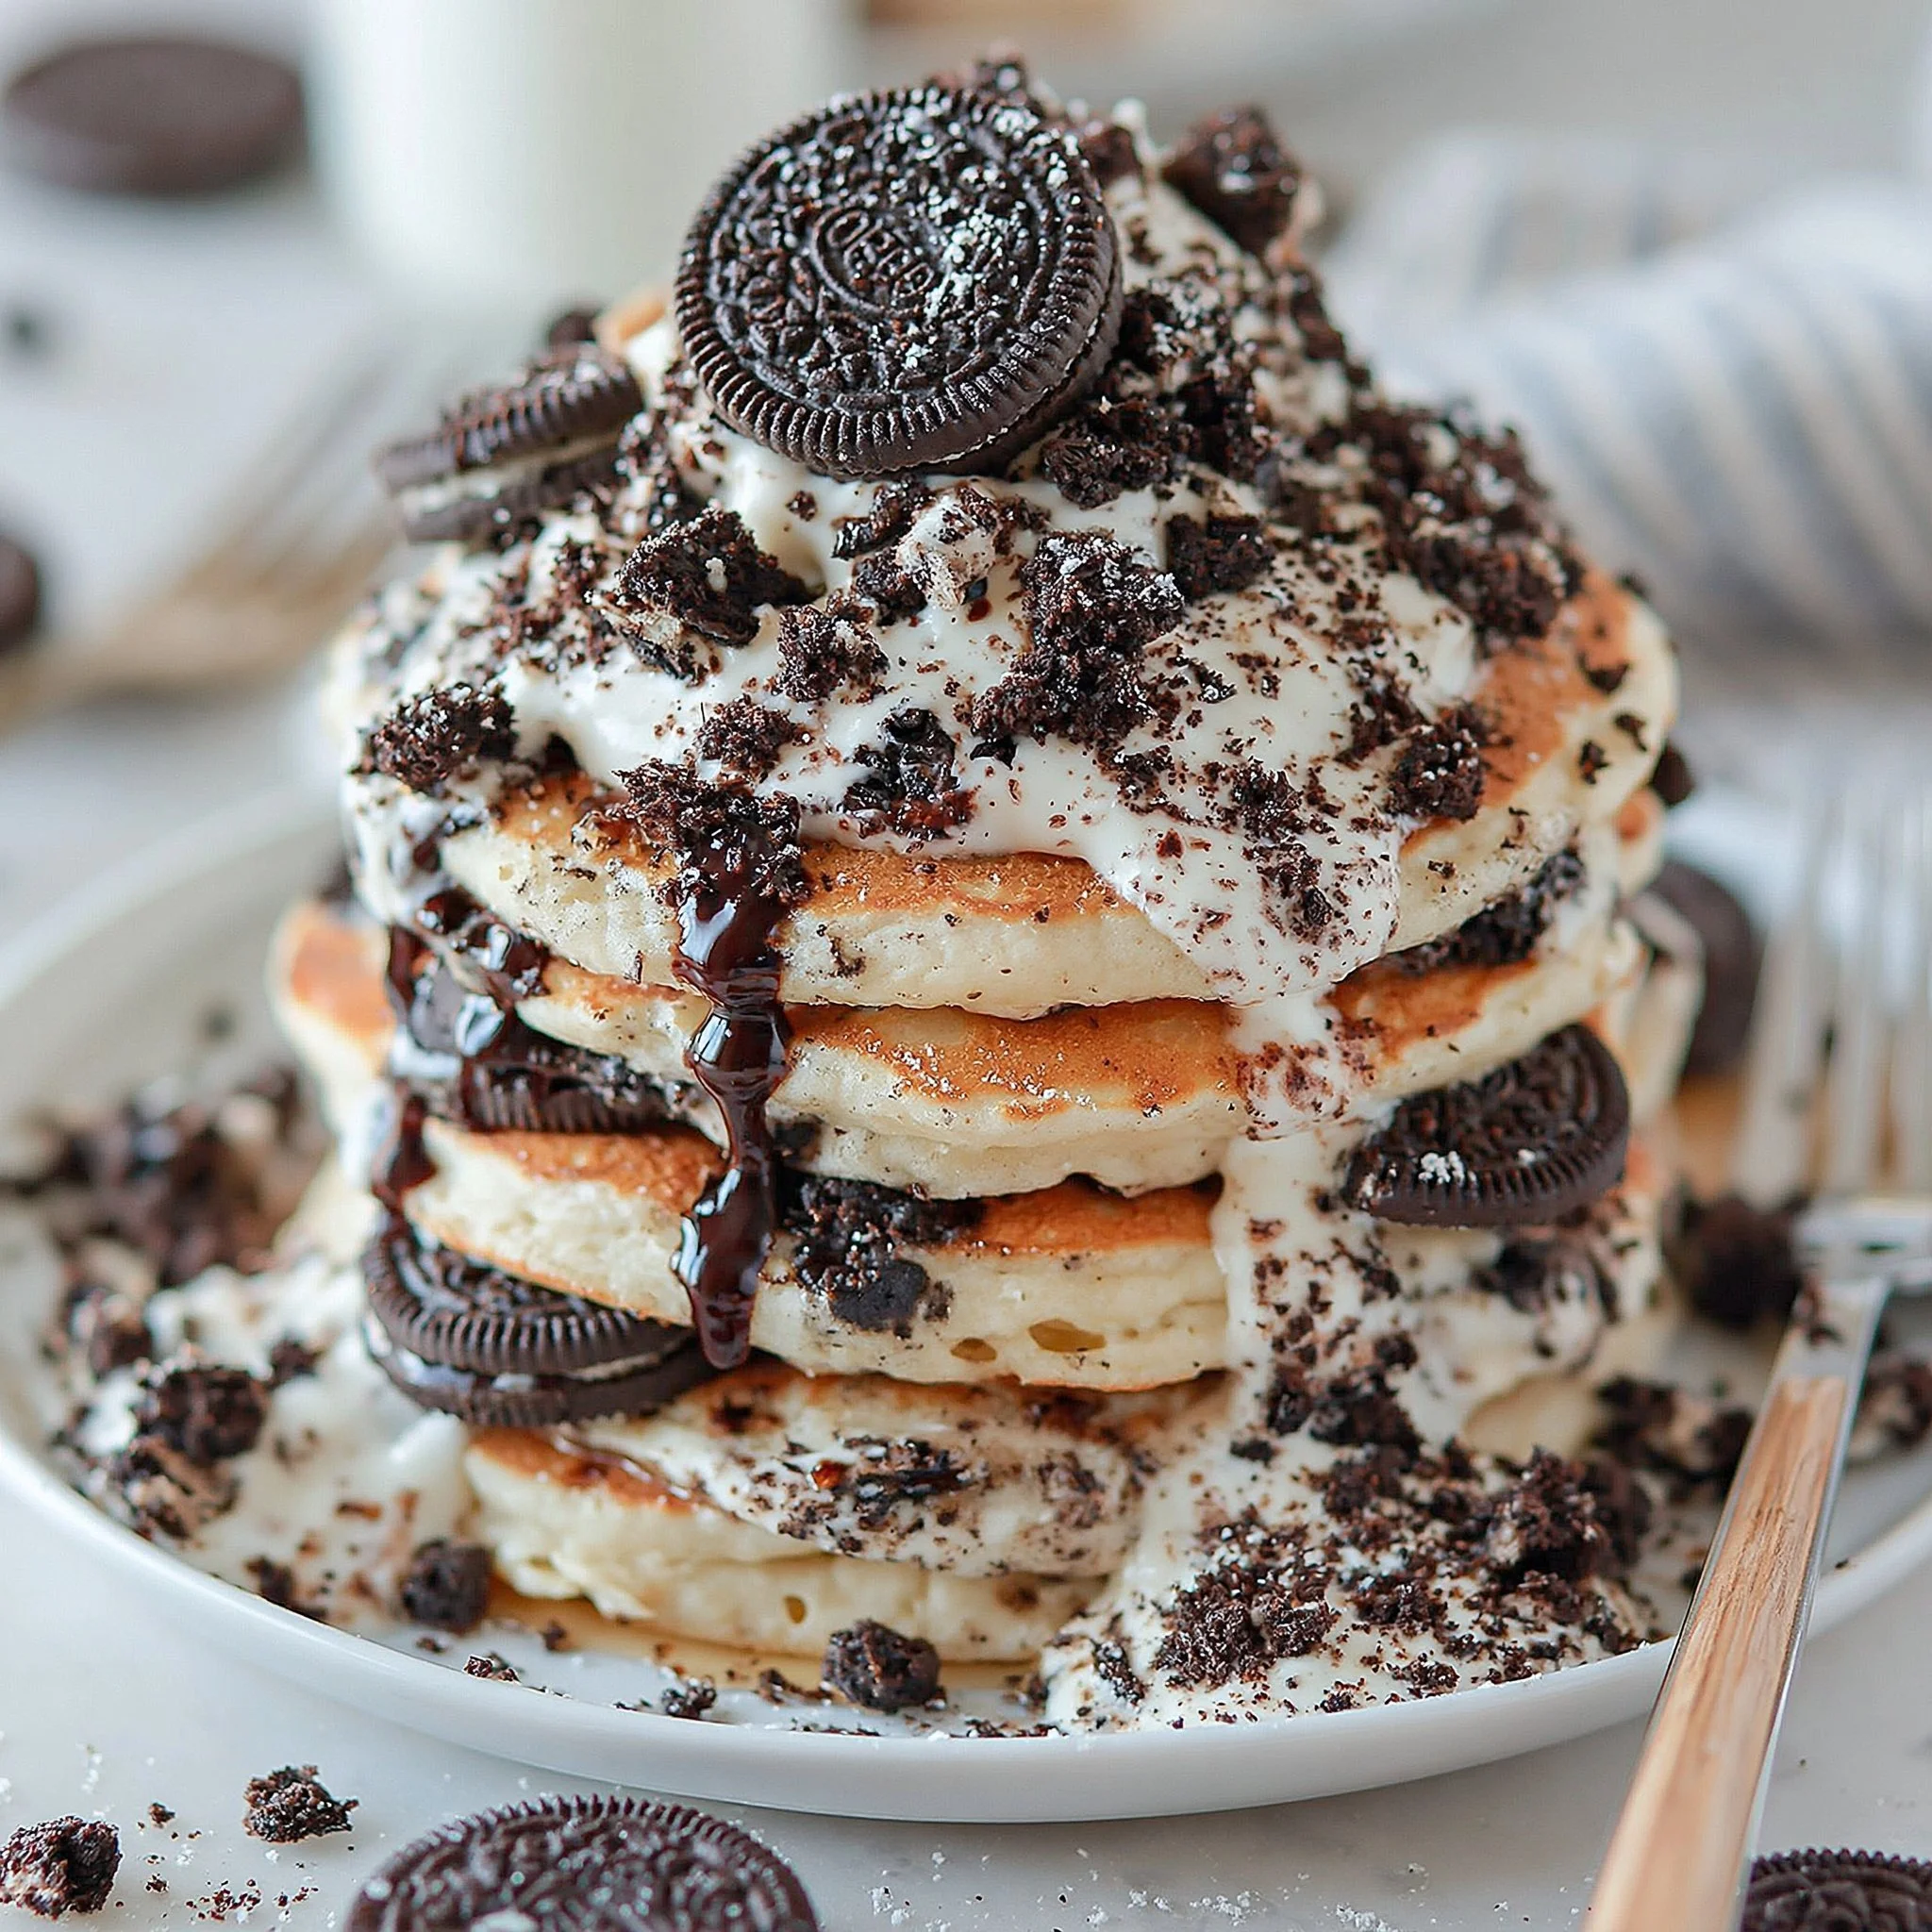
Some mornings call for a breakfast that feels a little extra without turning your kitchen into a project. These Oreo pancakes hit that sweet spot: one bowl for dry ingredients, one bowl for wet, a quick fold-in of crushed cookies, and you’re cooking.
The payoff is straightforward—soft, fluffy pancakes with pockets of Oreo crunch, a lightly sweet batter, and a familiar cocoa-cookie aroma as they hit the skillet. If you already keep Oreos around for quick treats like no-bake Oreo cheesecake bites, this is another practical way to use them without baking or complicated steps.
Why This Recipe Works
- Baking powder + gentle mixing = lift. The batter stays tender and fluffy as long as you stir just until combined.
- Crushed Oreos fold in fast. You get cookie flavor and texture without making a separate topping or syrup.
- Whole milk and melted butter round out the batter. The pancakes cook up soft with a richer mouthfeel (not dry or bready).
- Clear visual doneness cues. Bubbles on top and set edges tell you when it’s time to flip—no guessing.
- Non-stick skillet keeps cleanup simple. No need for extra equipment beyond bowls, whisk, and a spatula.
Quick Kitchen Note
I make this style of pancake when I want a reliable, repeatable batter I can cook quickly—especially when I don’t want to pull out a mixer or deal with a lot of dishes. With Oreos folded into the batter, you get a built-in “treat” element without needing extra components.
What It Tastes Like
These pancakes taste like a classic buttermilk-style pancake’s cozy base (even though this version uses whole milk), with a mild vanilla-butter sweetness and the unmistakable cocoa-cookie finish from the Oreos. The texture is fluffy and tender in the center, with little crunchy bits throughout and a lightly golden exterior from the skillet.
Ingredients
The base is a simple flour-and-baking-powder pancake batter: enough sugar to highlight the cookies, salt to keep it balanced, and melted butter for richness. Whole milk makes the batter smooth and cohesive. The only “special” step is crushing the Oreos—make them as chunky or fine as you like depending on whether you want bigger cookie pockets or a more even cookies-and-cream vibe.
- 1 cup all-purpose flour
- 2 tsp baking powder
- 2 tbsp granulated sugar
- 1/4 tsp salt
- 1 cup whole milk
- 1 large egg
- 2 tbsp melted butter
- 6 crushed Oreos
Step-by-Step Instructions
- Mix the dry ingredients. In a large bowl, whisk together the flour, baking powder, sugar, and salt until the mixture looks evenly blended (no streaks of baking powder).
- Mix the wet ingredients. In a separate bowl, whisk the milk, egg, and melted butter until smooth and uniform. (Warm butter is fine—just avoid butter that’s so hot it could affect the egg.)
- Combine wet + dry gently. Gradually pour the wet mixture into the dry ingredients, stirring gently. Stop as soon as you no longer see dry flour. The batter should look thick and a little lumpy—don’t chase perfectly smooth.
- Fold in the Oreos. Add the crushed Oreos and fold just until they’re distributed. If you prefer more visible cookie pieces, keep your Oreo crush a bit chunky.
- Heat the skillet. Place a non-stick skillet over medium heat. Give it a minute to come up to temperature so the pancakes start cooking on contact.
- Portion the batter. Pour about 1/2 cup batter per pancake onto the skillet. The batter should spread slightly into a round; if it spreads too fast and thin, your pan may be too hot.
- Cook the first side. Cook until bubbles form on top and the edges look set, about 2 minutes. You’re looking for a surface that goes from glossy to more matte around the edges.
- Flip and finish. Flip and cook the second side until golden brown. The pancake should feel set when you lift it with a spatula—no wet batter squeezing out at the edges.
- Serve right away. Serve immediately with maple syrup and any toppings you like.
Common Mistakes to Avoid
- Overmixing the batter: It can make pancakes tougher and less fluffy. Fix: Stir only until the flour disappears; lumps are fine.
- Flipping too early: If the top hasn’t bubbled and the edges aren’t set, the pancake can tear. Fix: Wait for bubbles across the surface and a more matte look near the edges.
- Pan too hot: The outside browns before the inside sets. Fix: Keep the skillet at medium; if pancakes darken too fast, lower the heat slightly.
- Crushing Oreos into dust (if you want texture): Super-fine crumbs blend in and you lose those cookie pockets. Fix: Leave some small chunks for contrast.
- Cooking too many at once: Crowding makes flipping awkward and can lead to uneven browning. Fix: Cook in batches so you have room to flip cleanly.
Variations and Swaps
- Chunky vs. fine Oreo crush: Chunkier pieces give more crunch and distinct cookie bites; finer crumbs make the pancakes more uniformly cookies-and-cream.
- Sweeter finish: Add more maple syrup at the table rather than changing the batter—this recipe’s batter is lightly sweet so the Oreos still stand out.
- Smaller pancakes: Use less batter per pancake for quicker flipping and more even cooking; keep the same doneness cues (bubbles + set edges).
For a more meal-style breakfast spread, I’ll sometimes pair these with something simple and savory on the side, the same way I would alongside a quick make-ahead treat for later.
Serving Suggestions
- Classic: Warm pancakes with maple syrup—this balances the cocoa-cookie flavor without making the batter feel overly sweet.
- Stack-and-go: Stack them as they come off the skillet and serve immediately while the edges are still lightly crisp.
- Brunch spread: If you’re building a bigger table, keep the pancakes as the sweet option and round things out with a savory main like you might do on a weekend that also includes a quick fridge dessert for after.
Storage and Meal Prep
These are best right off the skillet while the Oreo bits still have contrast (soft pancake + crunchy cookie). If you have leftovers, store the pancakes in an airtight container in the fridge and reheat gently so they warm through without drying out. For meal prep, I’d cook the full batch, cool completely, then store; reheat in short bursts until just hot. If you’re planning ahead for a weekend breakfast, you can crush the Oreos and measure the dry ingredients in advance so the batter comes together faster.
FAQs
Can I make the batter ahead of time?
It’s best mixed and cooked right away for the fluffiest texture. If you want a head start, measure the dry ingredients and crush the Oreos in advance.
Why are my pancakes not fluffy?
The most common reason is overmixing. Stir just until combined—some lumps are normal and help keep the texture tender.
How do I know when to flip?
Flip when you see bubbles forming across the top and the edges look set (not wet). That usually takes about 2 minutes on the first side.
Can I cook these on higher heat to go faster?
Medium heat is more dependable. Higher heat can brown the outside before the center sets, especially with Oreo pieces in the batter.
Final Tip
If your first pancake comes out darker than you want, treat it as a heat test: lower the skillet slightly and keep going. Once the heat is steady, the rest of the batch cooks predictably—bubbles, set edges, flip, golden.
Conclusion
If you want to compare approaches to Oreo pancakes (and see how small technique changes affect texture), I like reading versions like Oreo Pancakes from 365 Days of Baking and More, this easy Oreo pancakes recipe from She Wears Many Hats, and Easy Oreo Pancakes from Simply Stacie. They’re a useful reminder that with a simple batter like this, the real success comes from gentle mixing, steady heat, and flipping when the pancake tells you it’s ready.

Oreo Pancakes
Ingredients
Method
- Mix the dry ingredients in a large bowl: whisk together flour, baking powder, sugar, and salt until even.
- In another bowl, whisk the wet ingredients: milk, egg, and melted butter until smooth.
- Gently combine the wet mixture into the dry ingredients until there are no dry flour streaks. The batter should be thick and slightly lumpy.
- Fold in the crushed Oreos until evenly distributed.
- Heat a non-stick skillet over medium heat until ready.
- Pour about 1/2 cup of batter per pancake onto the skillet.
- Cook until bubbles form on top and edges look set, about 2 minutes.
- Flip pancakes and cook until golden brown, checking that they feel set.
- Serve immediately with maple syrup and desired toppings.
