
Some weeks, I just need a chocolatey bake that comes together in one bowl, slices cleanly, and holds up in a lunch container without turning crumbly. These Greek yogurt brownies are the kind of practical treat I make when I want something deeply cocoa-forward and chewy, but still easy enough to pull off after dinner.
The base is melted chocolate plus thick Greek yogurt, which keeps the texture dense and fudgy without requiring a long ingredient list. If you’ve made my Greek yogurt brownie base before, this version lands in that same reliable zone: glossy batter, minimal cleanup, and a pan of brownies that tastes like real chocolate—not “diet” chocolate.
Why This Recipe Works
- Melted chocolate + cocoa powder = layered chocolate flavor. You get a rich, brownie-like depth rather than a one-note cocoa taste.
- Greek yogurt adds moisture and chew. Especially with a thicker yogurt (I like FAGE Total 5%), the crumb stays tender and fudgy instead of dry.
- A simple leavening balance keeps it dense. Just 1/4 teaspoon baking soda gives a little lift without turning these cakey.
- Milk helps the batter loosen to the right consistency. It keeps the cocoa and flour from seizing up into a paste, so everything bakes evenly.
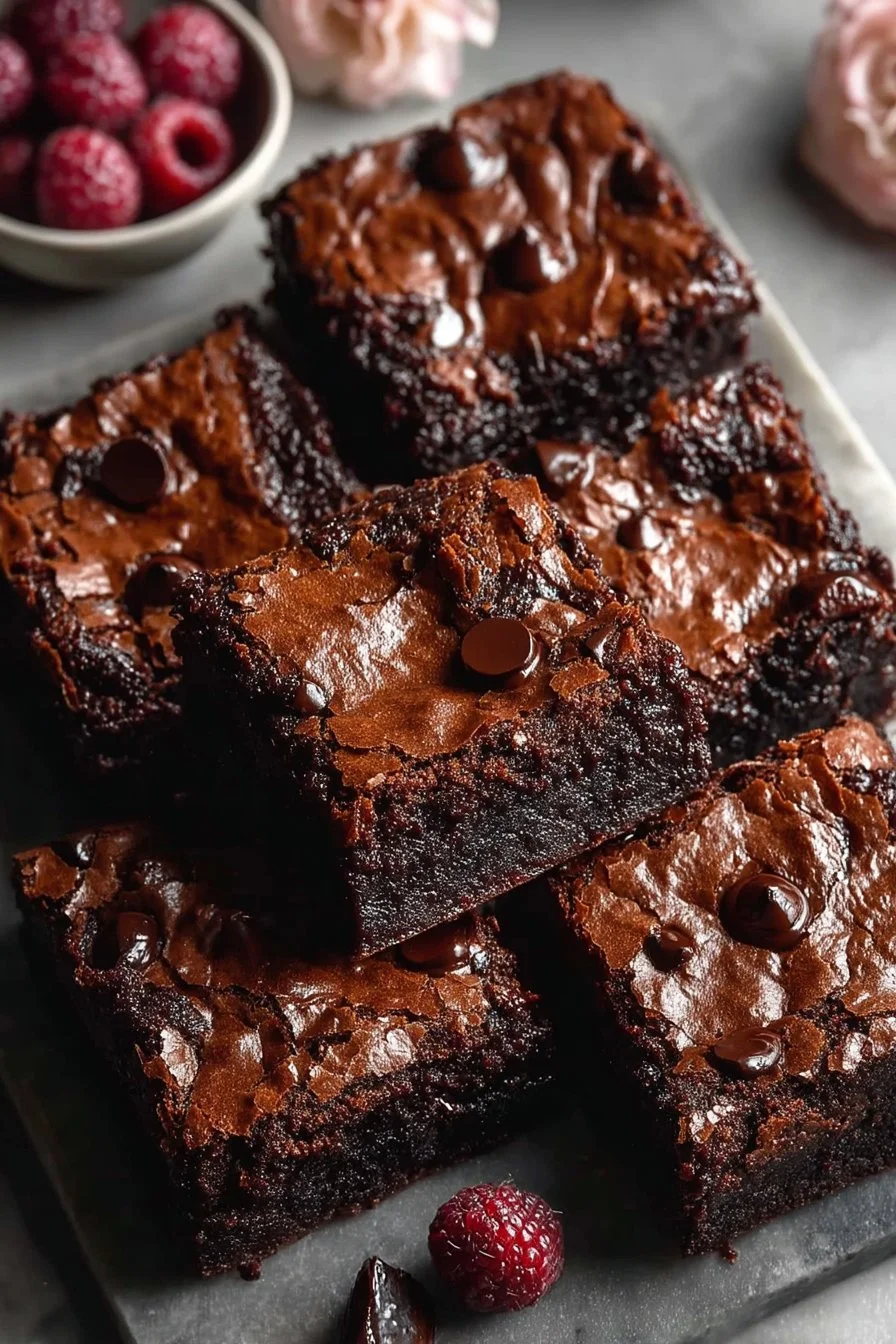
- Chocolate chips are optional, but strategic. They create pockets of melty richness that make the brownies feel more indulgent without extra steps.
- Straightforward pantry ingredients. No special equipment needed beyond a bowl, whisk, and baking pan.
Quick Kitchen Note
I rely on brownies like this when I want a dependable bake that doesn’t require creaming butter or hauling out a mixer—just melt chocolate, whisk, and bake; it’s the kind of method you can repeat from memory once you’ve done it once.
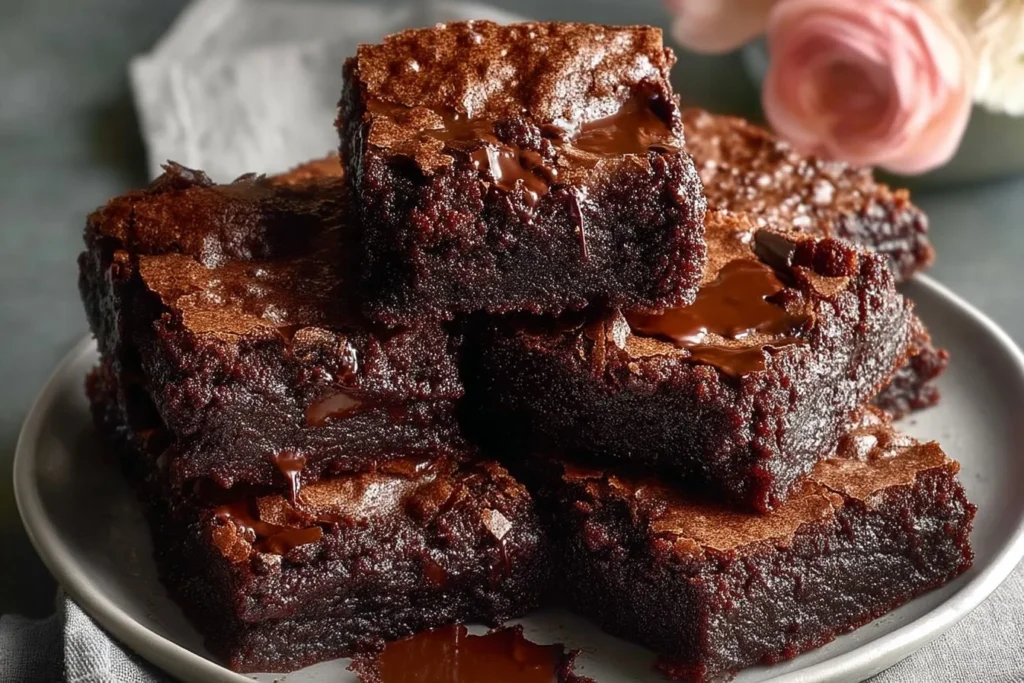
What It Tastes Like
These brownies taste intensely chocolatey with a clear cocoa aroma and a bittersweet finish, balanced by just enough sugar to round out the chocolate. The texture is the main payoff: chewy edges, a moist center, and a dense, fudgy bite that stays satisfying even after chilling. If you add chocolate chips, you’ll get little molten spots that make each square feel richer.
Ingredients
The core of this recipe is melted chocolate + Greek yogurt: the chocolate brings deep flavor and structure, and the yogurt adds moisture and chew. Cocoa powder reinforces that dark chocolate taste, while milk helps keep the batter smooth and spreadable. If you want the richest texture, use a thick, full-fat Greek yogurt; thinner yogurt can work, but the batter may loosen more and bake up slightly less dense. For another take on the same idea, my easy Greek yogurt brownies recipe uses the same practical, no-fuss approach.
- 3/4 cup chocolate (melted and cooled to room temperature)
- 1 cup + 2 tablespoons greek yogurt (I prefer FAGE Total 5% for a richer texture)
- 1/2 tsp vanilla extract
- 1/2 cup sugar
- 3/4 cup flour (I always use King Arthur all-purpose flour)
- 1/2 cup + 2 tablespoons cocoa powder (sifted to remove lumps)
- 1/4 tsp baking soda
- 1/4 tsp salt
- 1/2 cup milk
- 1 cup chocolate chips (optional but recommended for extra richness)
Step-by-Step Instructions
-
Prep your pan and ingredients. Before you start mixing, have your baking pan ready (lined or greased, if that’s how you normally bake brownies) and make sure your melted chocolate has cooled to room temperature. It should look fluid and glossy, not steaming hot.
-
Whisk the wet base until smooth. In a large bowl, whisk together the cooled melted chocolate, Greek yogurt, vanilla extract, and sugar. Keep whisking until the mixture looks uniform—thick, glossy, and chocolate-brown with no white streaks of yogurt.
-
Sift in the cocoa for a lump-free batter. Add the sifted cocoa powder and whisk again. This step matters: cocoa likes to clump, and whisking it in early helps you avoid dry pockets later.
-
Add dry ingredients and mix just until combined. Sprinkle in the flour, baking soda, and salt. Switch to a spatula or keep whisking gently—either is fine—until you no longer see dry flour. The batter will be thick at this point.
-
Stream in the milk to loosen the batter. Pour in the milk and mix until the batter becomes smooth and spreadable. You’re looking for a thick brownie batter that falls off the spatula in ribbons and levels slowly in the bowl. If it’s extremely stiff, keep mixing a bit longer; cocoa and flour can take a minute to fully hydrate.
-
Fold in chocolate chips (optional). If using chocolate chips, fold them in just until evenly distributed. This is also where you stop mixing—overworking brownie batter can make the final texture tougher.
-
Spread into the pan. Scrape the batter into your prepared pan and smooth the top. Because the batter is thick, take an extra moment to push it into the corners so it bakes evenly.
-
Bake until set but still fudgy. Bake until the top looks set and matte, the edges look slightly more firm than the center, and a toothpick inserted near the center comes out with moist crumbs (not wet batter). If it comes out completely clean, the brownies may be on the drier side.
-
Cool before slicing. Let the pan cool until the brownies are fully set. For the cleanest slices, cool completely—these are fudgy, so cutting too early can smear the center.
Common Mistakes to Avoid
- Mixing in hot melted chocolate: It can loosen the batter too much and make the texture uneven. Fix: cool the chocolate to room temperature before whisking with yogurt.
- Skipping the cocoa sifting: Cocoa lumps are stubborn and bake into bitter pockets. Fix: sift the cocoa powder first, then whisk thoroughly.
- Overmixing after adding flour: It can make brownies less tender and more bready. Fix: mix just until you don’t see dry flour, then stop.
- Judging doneness by a totally clean toothpick: This recipe should bake up fudgy. Fix: pull them when you see moist crumbs, not wet streaks.
- Cutting while warm: The center can collapse and smear. Fix: cool fully (or chill briefly) before slicing.
Variations and Swaps
- Yogurt choice: A thick Greek yogurt gives the densest, chewiest result. If you use a thinner Greek yogurt, expect a looser batter and a slightly lighter crumb.
- Chocolate chips: Leave them out for a cleaner, more uniform brownie, or keep them in for melty pockets of chocolate.
- Chocolate intensity: Use the full amount of cocoa and melted chocolate for the richest flavor; if you’ve made my other Greek yogurt brownie variation, you’ll recognize how much the cocoa level impacts the final depth.
Serving Suggestions
- Slice into small squares and serve with coffee or tea—the fudgy texture and cocoa-forward finish pair especially well with something hot and plain.
- For a simple dessert plate, warm a square briefly so the chocolate chips soften, then serve as-is.
- If you’re packing them, these travel neatly and don’t crumble easily; I often portion them the same way I do for my meal-prep friendly brownie bars—cut, chill, and stack.
Storage and Meal Prep
Store brownies in an airtight container in the fridge so the fudgy center stays tight and sliceable. They’re great for making ahead: the texture actually improves after a chill, and the chocolate flavor tastes a little deeper the next day. If you want a softer bite, let a piece sit at room temperature briefly before eating. For clean lunchbox portions, cut once fully cool, then separate layers with parchment so the squares don’t stick.

FAQs
Do I have to use chocolate chips?
No. They’re optional, but they add richness and texture contrast. Without them, the brownies are still deeply chocolatey and more uniform.
Why does the melted chocolate need to cool to room temperature?
If it’s hot, it can thin the batter too much and make the yogurt mixture harder to blend smoothly. Room-temp chocolate mixes in cleanly and keeps the batter glossy.
My batter seems really thick—did I do something wrong?
Probably not. This batter is meant to be thick. Once the milk is mixed in, it should be spreadable and slowly level in the pan. Just be sure the cocoa was sifted and everything is fully incorporated.
How do I get cleaner slices?
Cool completely before cutting. For extra sharp edges, chill the pan, then slice. If you want more guidance on the set-and-slice texture, my chewy Greek yogurt brownie method follows the same approach.
Final Tip
Once the batter is in the pan, take 20 seconds to smooth the top and push it into the corners—because this batter is thick, that small step is what keeps the edges from overbaking while the center catches up.

Greek Yogurt Brownies
Ingredients
Method
- Prep your pan and ingredients. Before you start mixing, have your baking pan ready (lined or greased) and ensure your melted chocolate has cooled to room temperature.
- In a large bowl, whisk together the cooled melted chocolate, Greek yogurt, vanilla extract, and sugar until the mixture is thick and glossy.
- Sift in the cocoa powder and whisk again until fully combined.
- Sprinkle in flour, baking soda, and salt. Mix gently until no dry flour is visible.
- Pour in the milk and mix until the batter is smooth and spreadable.
- Fold in chocolate chips, if using, until evenly distributed.
- Spread the batter into the prepared pan and smooth the top.
- Bake until the top looks set and a toothpick inserted near the center comes out with moist crumbs (around 25 minutes).
- Cool completely in the pan before slicing for clean edges.


