

Why This One Delivers
This Chicken Parm for Diabetics keeps the familiar comfort of the classic while quietly correcting the usual blood sugar trouble spots. I bake the chicken instead of frying, and I use whole grain crispbread in place of traditional breadcrumbs, which lowers refined carbs and adds fiber for more stable blood sugar. A simple mix of parmesan, oregano, and parsley builds flavor right into the crust, so you never feel like this is “diet” food. You still get golden edges, a tender center, and that bakery style crisp top that makes cutting into each piece feel satisfying.
The sauce and cheese also work harder for you in this version of Chicken Parm for Diabetics. Using homemade or low carb marinara keeps added sugars in check, and a measured amount of part skim mozzarella delivers that stretchy, bubbly finish without overloading saturated fat or calories. Each chicken breast is portioned at about 4 ounces so you can build a plate that supports blood sugar control yet still feels like a real Italian main course. Everything bakes in a single dish, cooks in under 30 minutes, and pairs easily with simple sides like roasted vegetables or zucchini noodles, so you can keep both your timing and your carb count predictable on a busy weeknight.
From Prep to Finish
Chicken Parm for Diabetics comes together quickly, so it helps to set up a simple assembly line before you start. Lay the chicken breasts on a board and trim any visible fat so they cook evenly and stay within your macro goals. In one shallow bowl, whisk the egg, water, and olive oil until the mixture looks smooth and slightly foamy. In a second bowl, combine the crushed whole grain crispbread, parmesan, parsley, oregano, and pepper, and use your fingers to break up any clumps so the coating stays light instead of pasty. Keep your prepared baking dish close by so you can move each coated piece straight into it without dripping across the kitchen.

Process Image of Chicken Parm for Diabetics
When you coat the chicken, work with one piece at a time and use the classic wet hand and dry hand trick to keep things tidy. Dip the chicken into the egg mixture, let the excess drip off for a second, then press it into the crispbread mix, making sure both sides are fully covered with a thin, even crust. Arrange the chicken in the baking dish with a little space between each breast so the coating can crisp instead of steam. Bake until the tops are golden and the thickest part of the chicken reaches 165°F, usually around 15 to 18 minutes. Spoon on the marinara and sprinkle the mozzarella, then bake just until the cheese melts and starts to bubble, which keeps the Chicken Parm for Diabetics tender and prevents overcooking. Let it rest for a couple of minutes before serving so the juices redistribute and the topping sets slightly, just like a good baked lasagna or stuffed pepper.
Timing, Storage, and Make-Ahead
You can have this Chicken Parm for Diabetics on the table in about 35 minutes, which makes it realistic for a weeknight. If you like to work ahead, you can bread the raw chicken, arrange it in the baking dish, cover, and refrigerate for up to 12 hours before baking. Let it sit at room temperature for about 15 minutes, then bake as directed, adding 2 to 3 extra minutes if the chicken is very cold. For best texture, add the marinara and mozzarella near the end of cooking, right before the second bake, rather than assembling everything far in advance. If you want a fully prepped meal, pair it with a make ahead side such as roasted vegetables or a cauliflower mash so your carbohydrates stay balanced.
For storage, cool leftover Chicken Parm for Diabetics completely, then transfer it to an airtight container and refrigerate for up to 3 days. The crispbread coating will soften in the fridge, so do not worry if it loses some crunch, it will still have great flavor and tender texture. Reheat single portions in a 175°C oven for 10 to 12 minutes, or in the microwave on medium power in 45 second bursts until hot in the center. If you track your blood sugar closely, remember that reheated marinara can sometimes reduce a bit and taste sweeter, so keep your portion size consistent with what you usually eat. I do not recommend freezing this version, since the lean chicken and light crumb coating can turn dry and a bit spongy after thawing, which is not what you want when you are trying to keep healthier comfort food satisfying.
Ingredient Swaps and Serving Options

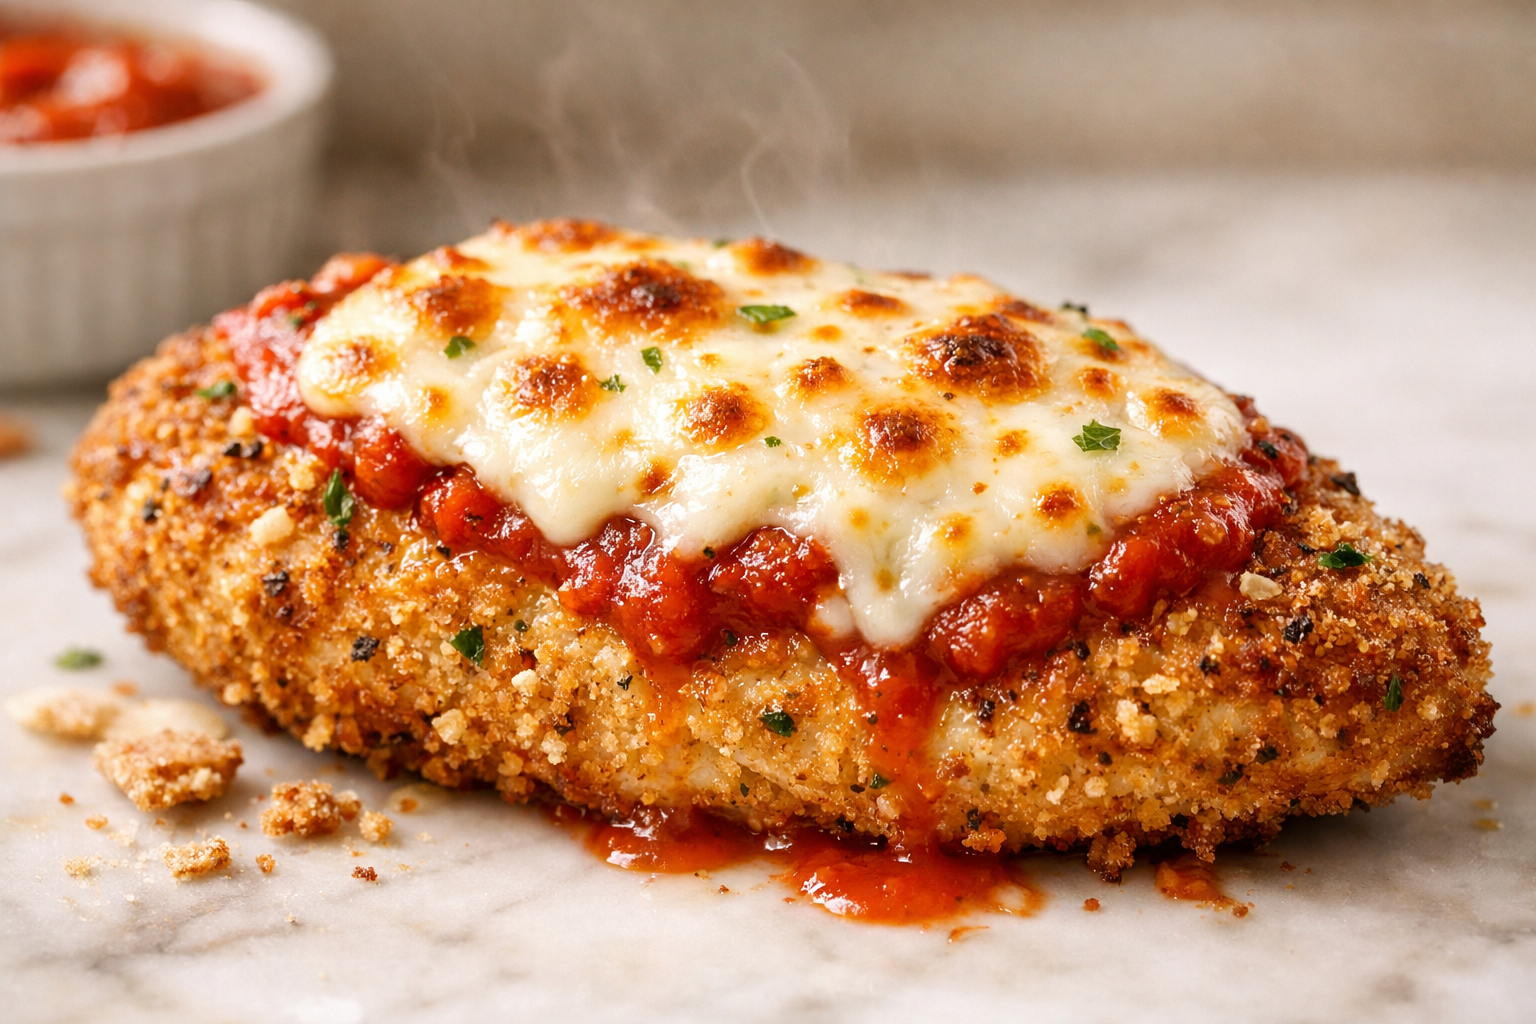
Serving Image of Chicken Parm for Diabetics
For this bakery style Chicken Parm for Diabetics, you can easily adjust ingredients without losing the crispy top or cheesy comfort. If you cannot find whole grain crispbread, use finely crushed high fiber crackers, almond flour mixed with parmesan, or a light coating of oat fiber for even fewer carbs. Swap the egg wash for 3 tablespoons of plain Greek yogurt thinned with a little water if you prefer to avoid egg, and choose part skim mozzarella or even a sprinkle of sharp provolone for big flavor with less cheese. For the sauce, look for a no sugar added marinara, or simmer canned crushed tomatoes with garlic, basil, and a pinch of salt so you control the carbs and sodium. If chicken breasts feel too large, you can also use chicken cutlets and reduce the cook time slightly, just keep an eye on doneness.
You have flexible serving options that keep this Chicken Parm for Diabetics blood sugar friendly yet satisfying. Try it over a bed of garlicky sautéed zucchini noodles or steamed broccoli instead of pasta, or serve with roasted cauliflower and a simple green salad for a balanced plate. If you want a more classic Italian style feel, serve a half portion of chicken with a small side of whole wheat spaghetti and extra vegetables. For meal prep, slice leftover chicken and layer it into a low carb wrap with extra marinara and fresh spinach for a quick lunch. You can pair this recipe with a light soup such as a vegetable packed minestrone or even a baked turkey meatball dish to build out a complete Italian inspired, diabetes conscious meal.

Ingredients Image of Chicken Parm for Diabetics
Conclusion
I love recipes that feel a little bit special but still fit into everyday life, and this one does exactly that. You get all the cozy comfort of classic Chicken Parm in a lighter, oven baked version that supports your goals. It is proof that you do not have to give up the flavors you love to eat in a balanced, thoughtful way, especially if you are looking for Chicken Parm for Diabetics.
This is the kind of dish that brings people to the table without a second thought. You can serve it on a weeknight, or make it for a small gathering, and everyone gets that warm, bakery style experience in the comfort of your own kitchen. It is familiar, satisfying, and just a bit impressive when it comes out with golden edges and bubbling sauce.
If you have been missing this classic, I encourage you to try the recipe, make it your own, and enjoy the moment when everyone takes that first bite and smiles. For more delicious recipes like this, follow us on Facebook and Pinterest!
Recipe
Chicken Parm for Diabetics
Ingredients
Method
- Preheat the oven to 400°F. Lightly coat a 13 x 9 x 2 inch baking dish with cooking spray.
- In a shallow dish, whisk together the egg, water, and olive oil until smooth.
- In a second shallow dish, combine the crushed whole grain crispbread, Parmesan cheese, parsley, oregano, and black pepper.
- Working with one chicken breast at a time, dip it into the egg mixture, letting any excess drip off, then press it into the crispbread mixture to coat both sides evenly.
- Arrange the coated chicken breasts in a single layer in the prepared baking dish, leaving a little space between each piece.
- Bake for 15 to 18 minutes, or until the tops are golden brown and the thickest part of the chicken reaches 165°F.
- Remove the baking dish from the oven. Spoon the marinara sauce evenly over the chicken breasts, then sprinkle the mozzarella cheese over the top.
- Return the dish to the oven and bake for 5 to 7 minutes, or until the cheese is melted and bubbly.
- Let the chicken rest for 2 to 3 minutes before serving.
Notes
- If your chicken breasts are very thick, lightly pound them to an even thickness so they cook through without drying out.
- For extra browning on the cheese, place the dish under the broiler for 1 to 2 minutes at the end, watching closely to prevent burning.
- Leftovers keep in an airtight container in the refrigerator for up to 3 days and reheat best in the oven.


