
The Practical Why Behind It
I built these Diabetic-Friendly Pumpkin Muffins to behave like bakery muffins in your kitchen, but with smarter ingredients that respect blood sugar. Instead of white flour and regular brown sugar, we lean on almond flour and a Truvia brown sugar blend, which means fewer fast carbs and a gentler impact on glucose. The higher fat and protein content from almond flour and butter also help you feel full longer, so one muffin actually satisfies instead of sending you back for three more. You still get the tender crumb and golden tops you expect, just without the sugar spike that usually follows coffee shop treats.
From a baking standpoint, this recipe stays practical for busy days. Canned pumpkin puree adds structure, moisture, and natural sweetness all in one ingredient, so you do not need separate dairy and extra sweetener to get a soft, rich texture. Using four eggs gives these Diabetic-Friendly Pumpkin Muffins lift and stability, which is especially important when you work with nut flour instead of traditional wheat flour. The batter comes together in one bowl with everyday tools, so you can mix and bake in under an hour, even on a weeknight. If you already cook with almond flour for things like low carb pancakes or savory almond crusted chicken, you likely have everything on hand.
Flavor wise, I wanted these to feel like a true fall bakery treat, not a “good for you” compromise. Pumpkin pie spice and vanilla bean paste carry a lot of aroma, so you need only a teaspoon of each to make the kitchen smell like a coffee shop. The simple almond flour and Truvia brown sugar crumble on top adds that classic muffin shop look and a little crunch, without pushing sugar over the edge. In real life terms, these Diabetic-Friendly Pumpkin Muffins fit better into a blood sugar friendly eating pattern, yet still scratch that cozy, pumpkin bakery craving when it hits at breakfast or afternoon snack time.
Step-by-Step Method
Start by heating your oven to 350°F and lining a 12 cup muffin pan with paper liners or lightly greasing each cup. In a large bowl, beat the room temperature butter with the Truvia brown sugar blend until it looks light and slightly fluffy, about 2 to 3 minutes. Add the eggs one at a time, mixing well after each addition so the batter does not look streaky. Stir in the vanilla bean paste and pumpkin puree until the mixture looks smooth and evenly colored. In a separate bowl, whisk together the almond flour, baking powder, pumpkin pie spice, and salt, then gently fold these dry ingredients into the pumpkin mixture until just combined. The batter will be thicker than a traditional muffin batter, which helps create that bakery style dome on your Diabetic Friendly Pumpkin Muffins.

Process Image of Diabetic-Friendly Pumpkin Muffins
Spoon the batter evenly into the prepared muffin pan, filling each cup about three quarters full so they have room to rise without spilling over. For the streusel style topping, quickly mix the melted butter, almond flour, and Truvia brown sugar blend with a fork until crumbly, then sprinkle the mixture over each muffin, pressing it in very lightly so it sticks. Bake for 20 to 25 minutes, until the tops are set, the crumbs look golden at the edges, and a toothpick inserted in the center comes out mostly clean with a few moist crumbs. Let the Diabetic Friendly Pumpkin Muffins cool in the pan for 5 to 10 minutes, then move them to a wire rack so the bottoms do not steam and turn soggy. If you like to plan ahead, let them cool completely before storing in an airtight container so the texture stays tender, similar to my other lighter bakes like protein muffins or almond flour breakfast cups.
Make-Ahead and Storage Notes
Diabetic Friendly Pumpkin Muffins are perfect for baking ahead, especially if you like an easy breakfast or snack ready to go. Let the muffins cool completely on a rack until they feel room temperature all the way through. Store them in an airtight container lined with a paper towel, then place another paper towel on top to catch excess moisture. They keep well at room temperature for up to 2 days, or in the refrigerator for 4 to 5 days. If you refrigerate them, let them sit out for 10 to 15 minutes or give them a quick 10 second microwave warm up for the best texture.
Because these Diabetic Friendly Pumpkin Muffins use almond flour and less sugar, they actually freeze and thaw very nicely. Arrange completely cooled muffins on a baking sheet, freeze until firm, then transfer to a freezer bag or container, squeezing out as much air as you can. Label and freeze for up to 2 months. To reheat, thaw a muffin at room temperature, or warm from frozen in the microwave in 20 second bursts until just heated through. If you like a lightly crisp top, you can also reheat in a 175 degree Celsius oven for 5 to 7 minutes so the streusel style topping on your pumpkin muffins perks back up.
Variations and How to Serve It

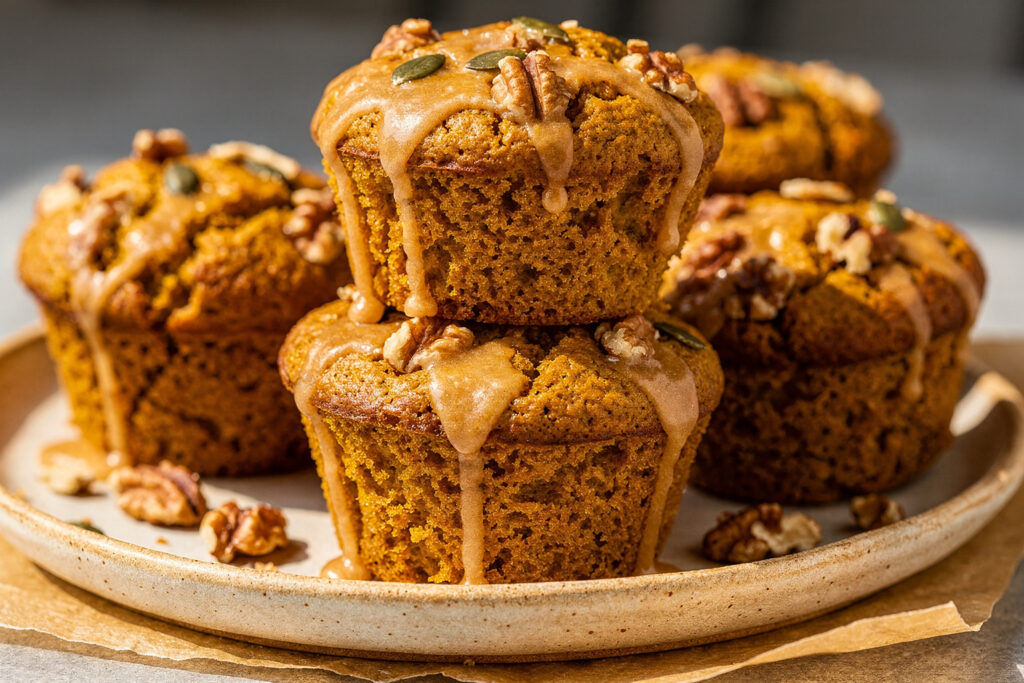
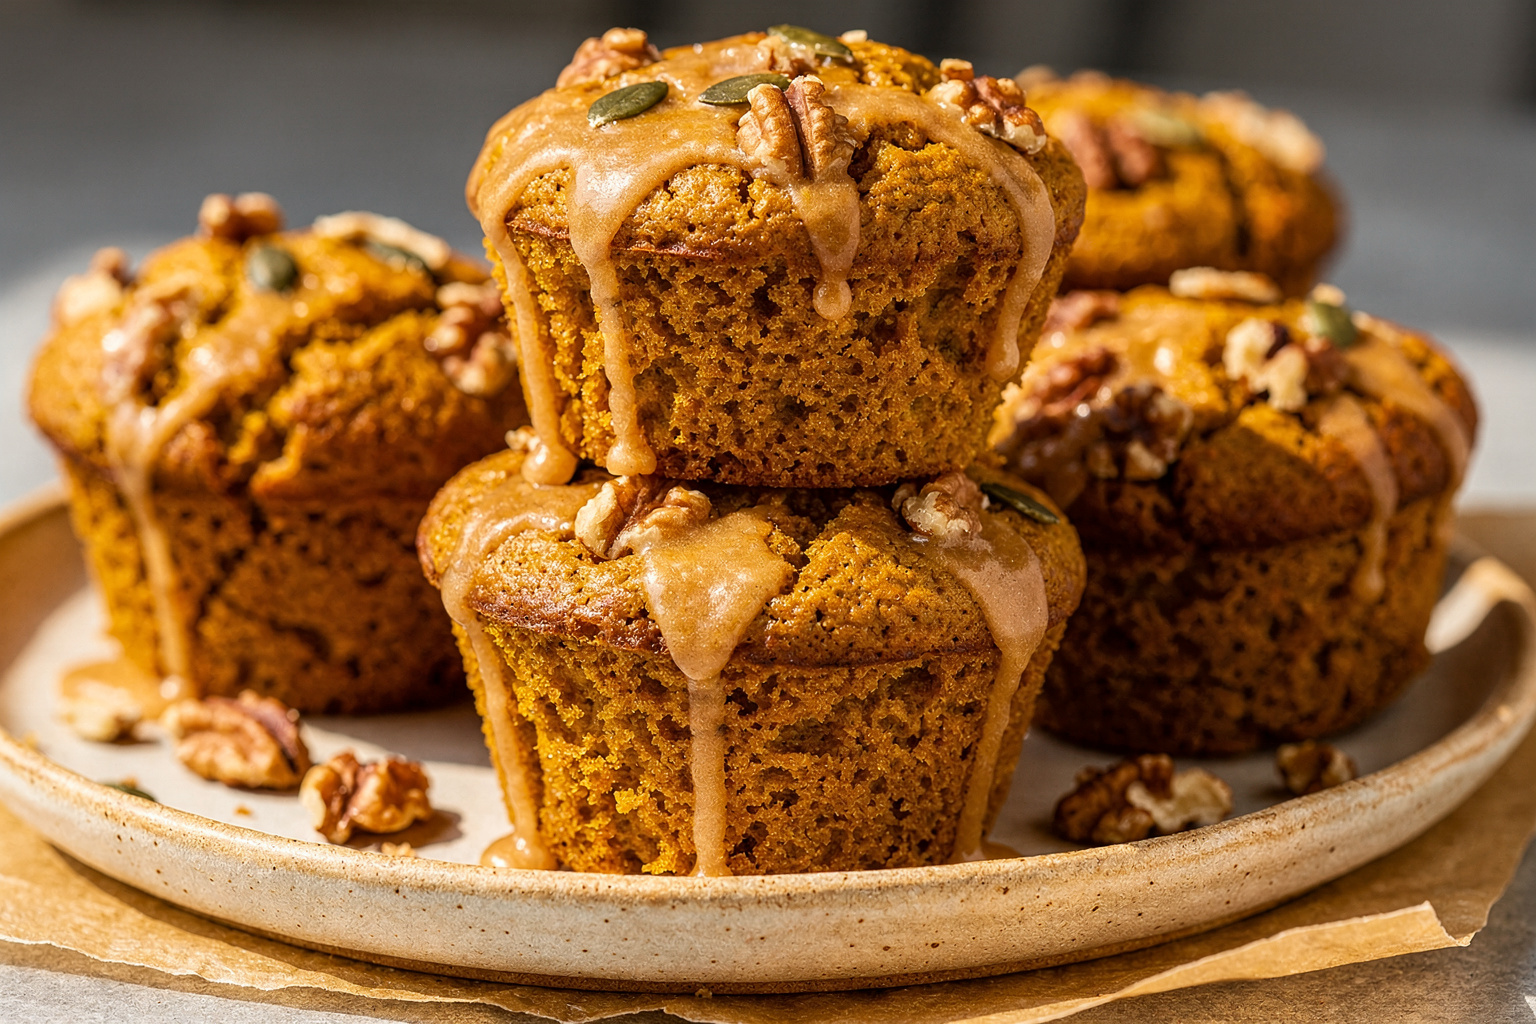
Serving Image of Diabetic-Friendly Pumpkin Muffins
You can take these Diabetic-Friendly Pumpkin Muffins in a few different directions without fighting the batter. For a nutty crunch, fold in 2 tablespoons of chopped pecans or walnuts per batch, or sprinkle them lightly over the streusel before baking. If you prefer a lower fat option, swap half of the butter in the batter for unsweetened applesauce, then bake a test muffin first to check texture. For a little chocolate moment that still fits a diabetic friendly approach, add a small handful of sugar free dark chocolate chips to half the batter so you can compare. You can also bump up the spice with extra cinnamon or a pinch of ground ginger if you like a more pronounced fall flavor. If you need the muffins to be dairy free, use a neutral flavored oil or a dairy free butter alternative and keep the almond flour as written.
These Diabetic-Friendly Pumpkin Muffins work well for breakfast, a snack, or a simple dessert when you do not want a blood sugar spike. Serve them slightly warm with a thin spread of softened butter or cream cheese, or try a swipe of Greek yogurt for extra protein. For a brunch plate, pair a muffin with scrambled eggs or a slice of frittata to keep the meal balanced and satisfying. If you enjoy meal prep recipes like crustless quiche or turkey veggie meatloaf, add a batch of these muffins to your weekly routine and store them in an airtight container in the fridge for up to 4 days. You can gently reheat in the microwave for 10 to 15 seconds to bring back that tender crumb and cozy pumpkin aroma. If you like a prettier presentation for guests, dust the tops very lightly with powdered sweetener and serve on a platter with coffee or unsweetened chai.
Conclusion
Home baking gets a little more special when you know everyone at the table can enjoy it, and that is exactly what these Diabetic-Friendly Pumpkin Muffins are designed to do. You get the cozy spices, the tender crumb, and that pumpkin warmth, while still being mindful of sugar and balance. Whether you are baking a quick batch for busy mornings, a fall brunch, or a family visit, you are creating a small moment of comfort that you can share with confidence.
I love recipes that quietly bring people together, and these muffins do that so naturally. Set a plate in the center of the table, pour some coffee or tea, and let everyone dig in without separate “special” options. If you have been looking for a treat that feels both wholesome and bakery worthy, this is your sign to preheat the oven and give them a try.
For more delicious recipes like this, follow us on Facebook and Pinterest!
Recipe
Diabetic-Friendly Pumpkin Muffins
Ingredients
Method
- Preheat the oven to 350°F. Line a 12-cup muffin pan with paper liners or lightly grease each cup.
- In a large bowl, beat the room temperature butter and 1/2 cup Truvia brown sugar blend with a hand mixer until light and slightly fluffy, about 2 to 3 minutes.
- Add the eggs one at a time, mixing well after each addition until fully incorporated and the mixture looks smooth.
- Mix in the vanilla bean paste and canned pumpkin puree until the batter is evenly combined and uniform in color.
- In a separate bowl, whisk together 1 1/2 cups almond flour, baking powder, pumpkin pie spice, and salt.
- Gently fold the dry ingredients into the pumpkin mixture just until combined and no dry spots remain. The batter will be thick.
- Divide the batter evenly among the prepared muffin cups, filling each about three quarters full.
- In a small bowl, combine the melted butter, 1/2 cup almond flour, and 1/4 cup Truvia brown sugar blend. Stir with a fork until a crumbly mixture forms.
- Sprinkle the crumble mixture evenly over the tops of the muffins, pressing very lightly so it adheres.
- Bake for 20 to 25 minutes, until the tops are set, the crumbs are golden at the edges, and a toothpick inserted in the center of a muffin comes out mostly clean with a few moist crumbs.
- Cool the muffins in the pan for 5 to 10 minutes, then transfer them to a wire rack to cool completely.
- Store cooled muffins in an airtight container at room temperature for up to 2 days or in the refrigerator for up to 5 days.
Notes
- Do not overmix the batter after adding dry ingredients to keep the muffins tender.
- Let the muffins cool fully before storing to avoid condensation and a soggy texture.
- For best muffin domes, fill cups evenly and avoid opening the oven during the first 15 minutes of baking.


