

The Practical Why Behind This Sugar Free Chocolate Ice Cream
When you live with diabetes, dessert has to do a little more work than just taste good. This recipe for How to Make Diabetic Sugar Free Chocolate Ice Cream. – The Naked Diabetic focuses on keeping carbs controlled while still delivering a satisfying, creamy scoop. Using heavy cream and whole milk gives you that classic ice cream texture, but without relying on sugar for body and mouthfeel. The combination of Splenda granulated sweetener and Walden Farms chocolate syrup keeps the carb count much lower than traditional ice cream, while the unsweetened cocoa powder brings real chocolate flavor instead of sugar-driven sweetness. You get a dessert you can enjoy more confidently, without the sugar spike of a regular chocolate ice cream.
From a kitchen perspective, the method also makes life easier. You don’t have to temper egg yolks or make a custard; you simply heat the milk, whisk in your sweetener and cocoa, and finish with cream and vanilla bean paste. Sifting the cocoa at the start prevents stubborn lumps so your base churns into a smooth, even mixture. Chilling the base for at least 2 hours isn’t just a fussy step—it helps the fat firm up and the flavors meld, which leads to a creamier texture once it hits the ice cream maker. The churn time (about 30 minutes) gives you control: serve it immediately for a soft-serve style treat, or freeze it briefly for firmer, scoopable ice cream you can portion out easily.
Health-wise, the balance of ingredients is intentional. The higher fat content helps slow digestion and can make the dessert more blood sugar–friendly than a high-sugar option of the same calories. Because sweeteners like Splenda don’t behave exactly like sugar, this recipe leans on fat and cocoa for structure and flavor instead of just swapping sugar 1:1. That’s why this specific combo of cream, milk, cocoa, and sugar-free syrup matters: it keeps your texture close to traditional ice cream, your chocolate flavor strong, and your carb load more manageable—all in a recipe simple enough to fit into an ordinary weeknight.
Step-by-Step Method for Smooth, Sugar Free Chocolate Ice Cream
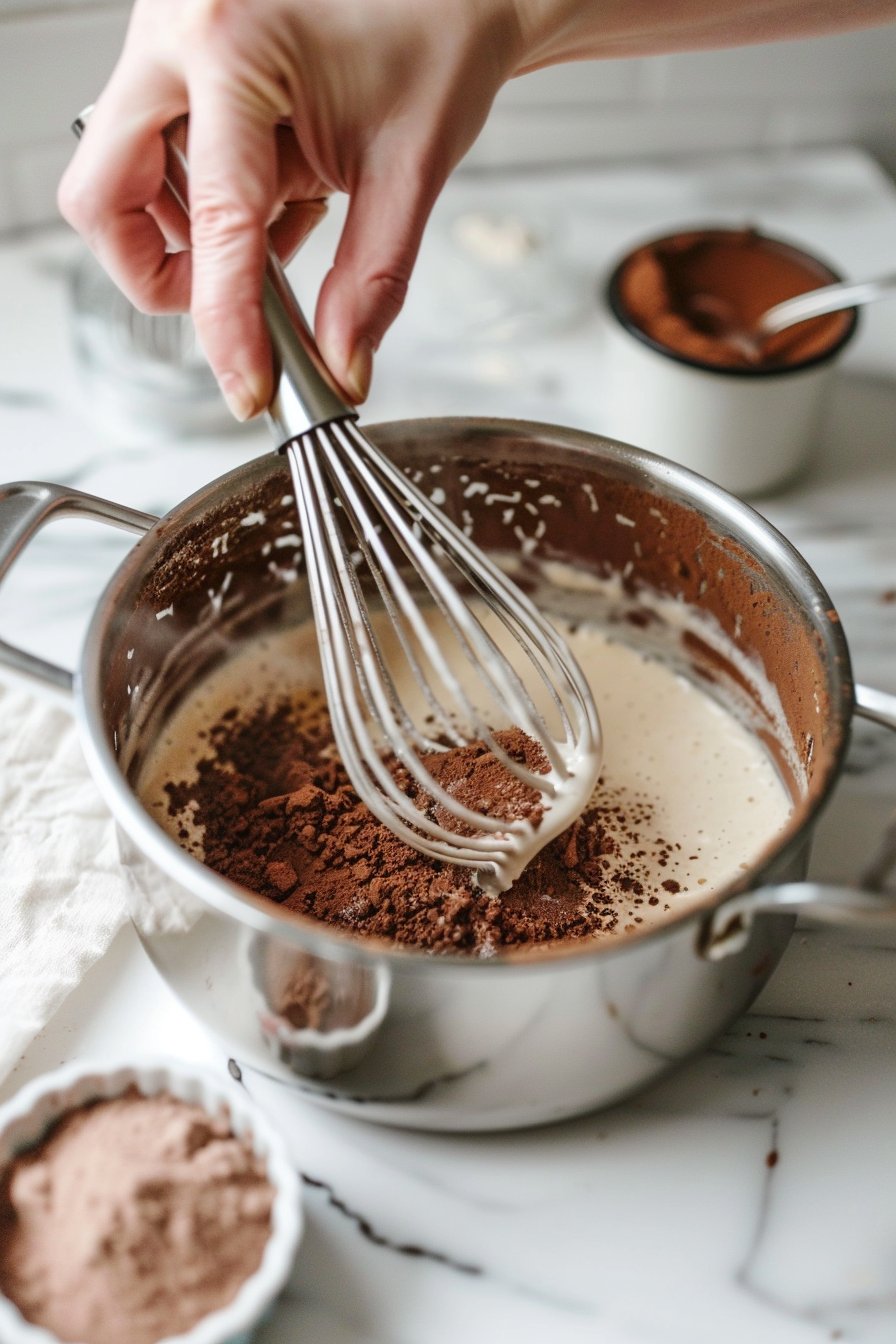
To start the base for How to Make Diabetic Sugar Free Chocolate Ice Cream. – The Naked Diabetic, sift the cocoa powder so it blends smoothly without dry pockets. Gently heat the whole milk in a small saucepan just until you see steam and tiny bubbles at the edges, then lower the heat—you want it hot, not boiling, so the dairy doesn’t scorch. Whisk in the Splenda and cocoa powder, working firmly to break up any lumps and create a glossy, chocolatey mixture. Take the pan off the heat and whisk in the Walden Farms chocolate syrup so the sweetness and chocolate flavor stay bright. Finally, whisk in the heavy cream and vanilla bean paste; the mixture should look silky and uniform, with no streaks of cream.
Once the base is mixed, chill it for at least 2 hours, or overnight if you want a more developed chocolate flavor—this step helps the ice cream churn faster and freeze with fewer ice crystals. When you’re ready to churn, set up your ice cream maker with a fully frozen freezer bowl, insert the paddle, and turn the machine on before you pour in the mixture to prevent instant freezing on the sides. Give the chilled base a quick whisk, then slowly pour it into the running machine and churn for about 30 minutes, or until it looks like thick soft-serve. At this point, you can serve the diabetic sugar free chocolate ice cream immediately for a soft scoop, or transfer it to a shallow container and freeze for 20–30 minutes for a firmer, scoopable texture. If you’re preparing components for another dessert—like a low-carb brownie sundae—make the ice cream a bit firmer so it holds its shape well.
Make-Ahead and Storage Notes for Sugar Free Chocolate Ice Cream
You can easily make this diabetic sugar free chocolate ice cream base a day ahead, which is one reason I love this recipe for entertaining and weekly meal prep. After you whisk everything together, chill the mixture thoroughly for at least 2 hours, but overnight will give you the best texture and flavor. Once churned, you can serve it as a soft-serve style ice cream right away, or transfer it to a shallow, freezer-safe container for a firmer scoop. For clean scoops later, press a piece of parchment or plastic wrap directly on the surface before sealing the container; this helps minimize ice crystals, which is especially helpful in sugar free ice creams. Stored properly in an airtight container, this ice cream keeps well for about 1–2 weeks in the coldest part of your freezer.
Because this recipe does not use traditional sugar, it can freeze a bit harder than regular ice cream, so plan for a little thawing time. Before serving leftovers, let the container sit at room temperature for 10–15 minutes until the ice cream softens slightly around the edges; then scoop from the sides toward the center. If the texture feels too icy after several days, you can briefly let it soften, then give it a quick stir and re-freeze to smooth it out again. When you think about how to make diabetic sugar free chocolate ice cream – The Naked Diabetic way, remember that small storage details (airtight containers, parchment on top, consistent freezer temperature) have a big impact on creaminess. Use these same make-ahead and storage habits for other low sugar frozen desserts, like a sugar free vanilla base or a light strawberry frozen yogurt, to build a dependable, diabetic-friendly dessert rotation.
Variations and How to Serve It
Once you know How to Make Diabetic Sugar Free Chocolate Ice Cream. – The Naked Diabetic base recipe, you can customize it without losing control over carbs or sweetness. For a richer flavor, stir in 1–2 tablespoons of extra unsweetened cocoa powder with the warm milk, then sweeten to taste with a bit more Splenda if needed. For texture, fold in a handful of chopped sugar-free dark chocolate or finely chopped nuts (like pecans or almonds) during the last 2–3 minutes of churning so they stay suspended. If you prefer a lighter option, swap the whole milk for unsweetened almond milk; just know it will freeze a bit firmer, so let it sit on the counter for 10–15 minutes before scooping. You can also add a half teaspoon of peppermint extract or a pinch of instant espresso powder to create simple, low-carb flavor twists.
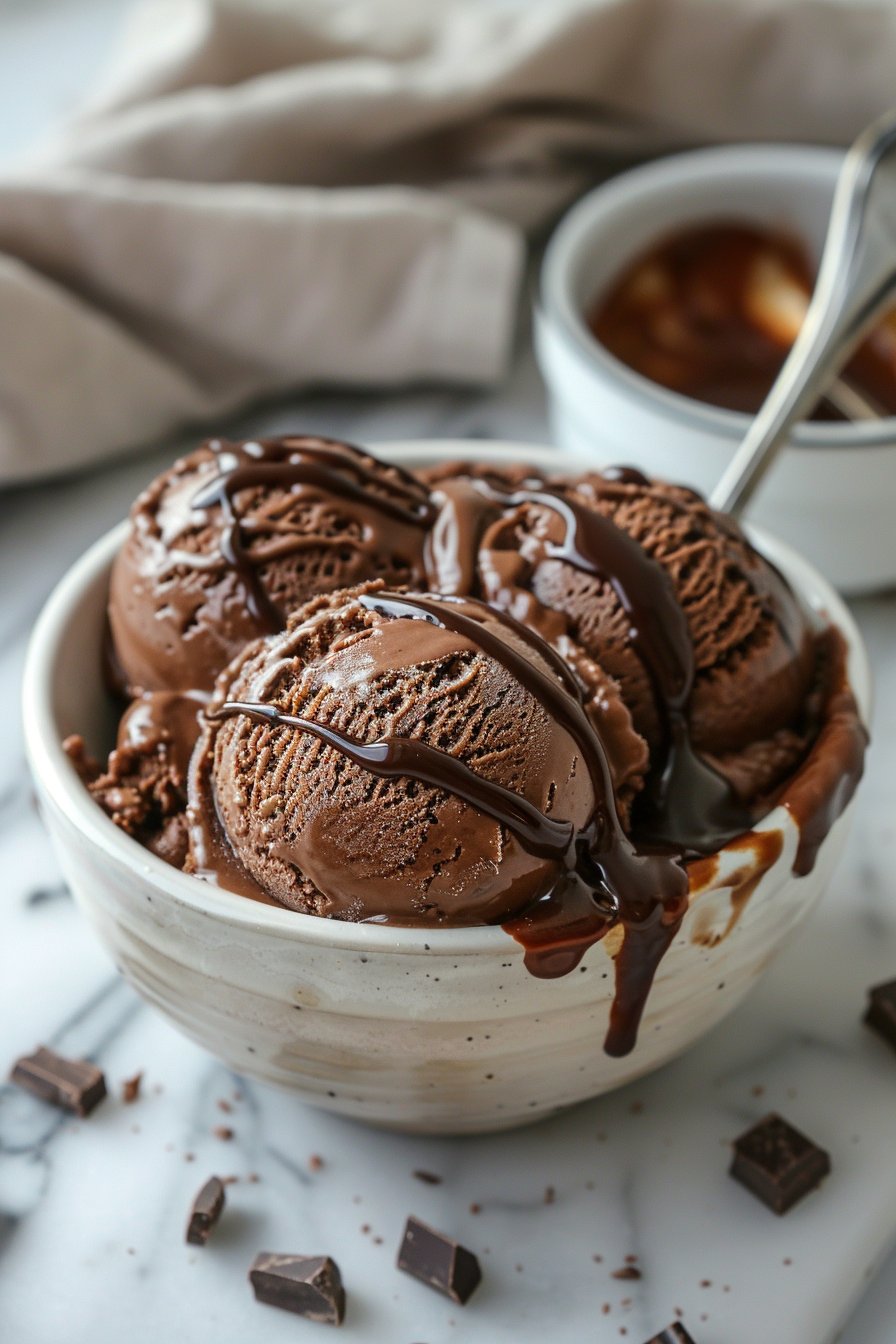
When it comes to serving this sugar free chocolate ice cream for diabetics, think about portion control and smart pairings. Scoop it into small bowls and top with a drizzle of sugar-free chocolate syrup, a dollop of whipped cream made with heavy cream and sweetener, or a sprinkle of toasted nuts for crunch. For a fun but still mindful dessert, sandwich a small scoop between two low-carb cookies and freeze until firm. You can also serve smaller scoops alongside fresh berries for more fiber and a bright, tart contrast to the creamy chocolate. If you enjoy planning dessert nights, this recipe pairs well with other lower-carb treats like sugar-free cheesecakes or almond flour brownies, so everyone can build their own dessert plate without feeling restricted.
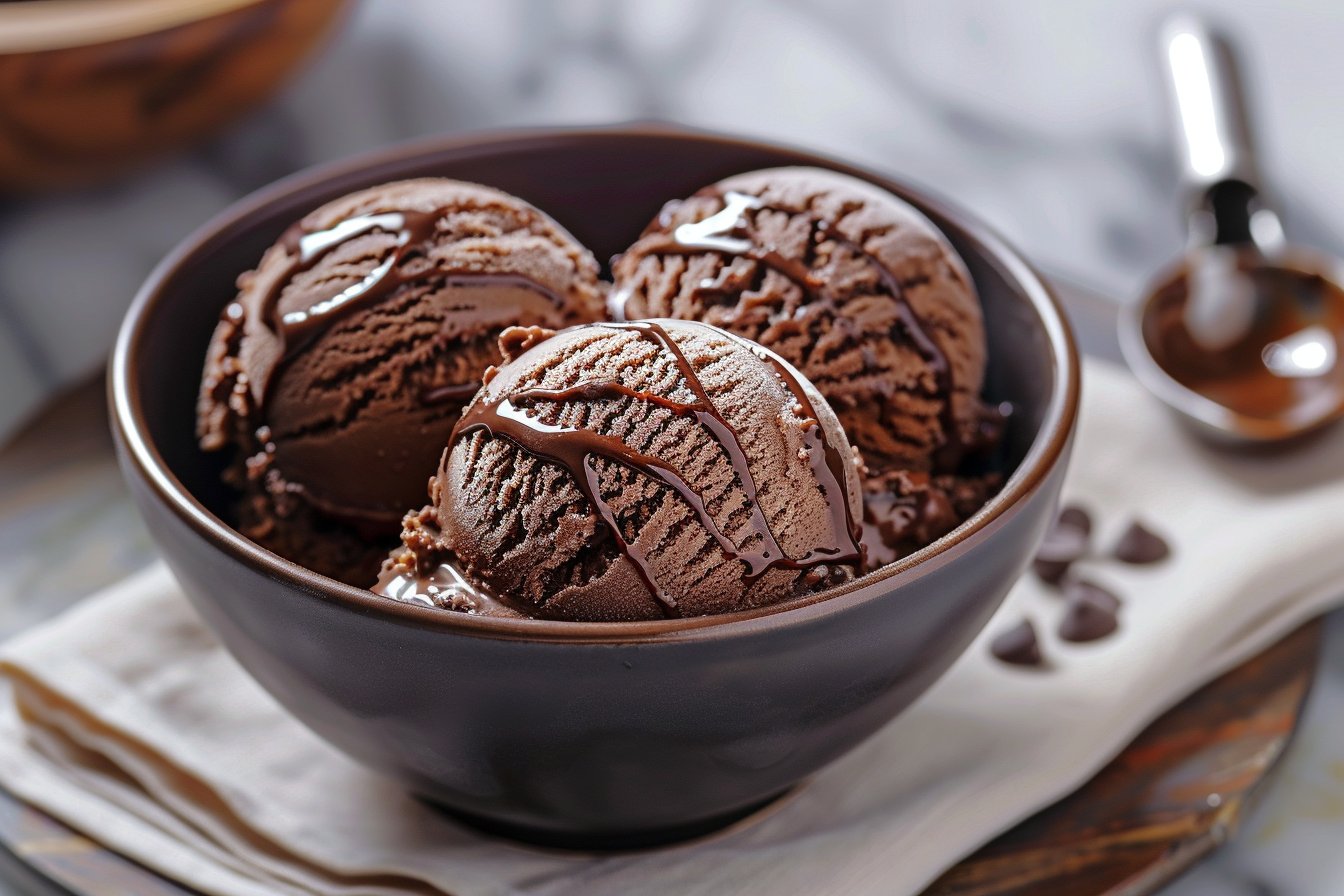
Serving of How to Make Diabetic Sugar Free Chocolate Ice Cream. – The Naked Diabetic
Conclusion
When you master How to Make Diabetic Sugar Free Chocolate Ice Cream. – The Naked Diabetic, you’re not just making a dessert—you’re creating a moment that everyone can share. There’s something special about scooping out a creamy, chocolatey treat that feels indulgent, yet fits comfortably into a diabetic-friendly lifestyle. It turns an ordinary evening into a small celebration, whether you’re enjoying it solo after a long day or passing bowls around the table with family and friends.
I hope this recipe gives you confidence and freedom in the kitchen, instead of feeling like you have to miss out. If you’ve ever watched others enjoy ice cream while you sat it out, this is your chance to change that. Give this recipe a try, make it your own with toppings and variations, and see how it brings smiles to the people you love—without the sugar spike.
For more delicious recipes like this, follow us on social media!
Instructions Process of How to Make Diabetic Sugar Free Chocolate Ice Cream. – The Naked Diabetic
How to make Diabetic Sugar Free Chocolate Ice Cream without added sugar in this recipe?
This version of How to Make Diabetic Sugar Free Chocolate Ice Cream – The Naked Diabetic stays sugar free by using Splenda Granulated Sweetener instead of regular sugar. Walden Farms Chocolate Syrup adds more chocolate flavor without added sugars. Unsweetened cocoa powder gives a deep chocolate taste while keeping carbs lower than sweetened cocoa mixes. The combination of heavy cream and whole milk creates a rich, creamy texture that still fits into a diabetic-friendly plan when portioned properly.
Do I need to heat the milk when making this diabetic sugar free chocolate ice cream?
Yes, gently heating the milk helps the Splenda and cocoa powder dissolve fully and blend smoothly. Warm milk allows you to whisk out any graininess so the base turns silky instead of gritty. You only want the milk to reach a light simmer, not a boil, to avoid scorching and preserving the clean dairy flavor. Once it looks smooth and combined, you remove it from the heat before adding the chocolate syrup, cream, and vanilla bean paste.
Why should the ice cream base chill before churning?
Chilling the base for at least 2 hours, or overnight, ensures it is very cold before it goes into the ice cream maker. A cold base freezes more quickly, which creates smaller ice crystals and a smoother, creamier texture. It also helps the flavors of cocoa, chocolate syrup, and vanilla meld together. If the mixture feels even slightly warm, give it more time in the fridge so it churns properly and doesn’t stay soupy.
Recipe
How to Make Diabetic Sugar Free Chocolate Ice Cream - The Naked Diabetic
Ingredients
Method
- Sift the cocoa powder into a small bowl to remove any lumps, then set aside.
- Pour the whole milk into a small saucepan and heat over medium heat until it just begins to simmer at the edges; do not let it boil.
- Reduce the heat to low and whisk in the Splenda and sifted cocoa powder, whisking vigorously until the mixture is smooth and no dry cocoa remains.
- Remove the saucepan from the heat and whisk in the Walden Farms chocolate syrup until fully combined.
- Whisk in the heavy cream and vanilla bean paste until the mixture is smooth and uniform.
- Transfer the ice cream base to a bowl, cover, and chill in the refrigerator for at least 2 hours or until thoroughly cold.
- When ready to churn, place the frozen freezer bowl in your ice cream maker, insert the paddle, and attach the lid according to the manufacturer’s instructions.
- Turn on the ice cream maker, then give the chilled base a quick whisk and slowly pour it into the running machine.
- Churn for about 30 minutes, or until the mixture reaches the consistency of thick soft-serve ice cream.
- Serve immediately for soft-serve texture, or transfer the ice cream to a shallow, freezer-safe container.
- Cover the container and freeze for 20 to 30 minutes for a firmer, scoopable ice cream before serving.
- Store any leftover ice cream covered in the freezer, and let it sit at room temperature for a few minutes to soften slightly before scooping.
Notes
- Chilling the base thoroughly helps the ice cream freeze faster and reduces ice crystals for a creamier texture.


