

These no-sugar desserts are a short list of pantry-forward formulas that work when you want something sweet without added sugar. They’re useful when you have ripe bananas or soft dates on hand and want a dessert that’s easy to portion, relatively low‑fuss, and keeps well for a few days.
The payoff is simple: creamy, naturally sweet bases from banana or date blended with nut butter and coconut milk, then textural lift from oats, cocoa, berries, or nuts. The recipes clean up with just one blender or a single bowl and one baking dish. If you want other no-sugar ideas, see my no‑sugar guide and food list for more options.
Why This Recipe Works
- Natural sweetness: Bananas or dates provide concentrated sweetness and moisture without any added sugar, so you get dessert-level flavor from whole foods.
- Balanced fat and creaminess: Nut butter plus coconut milk give a rich mouthfeel that feels like a treat but keeps the texture dense and satisfying rather than watery.
- Oats and cocoa for structure: Oats absorb moisture and give chew; cocoa powder adds chocolate depth without sugar, so baked versions hold together and slice cleanly.
- Flexible mix-ins: Berries and chopped nuts add bright acidity or crunch, so one base yields several flavor profiles and easy meal‑prep portions — similar to the way I use cookie bases in other no‑sugar recipes like my flourless healthy cookies.
- Minimal cleanup: Most versions use the blender or a single bowl and one pan, which makes this practical for weekday baking or weekend prep.
Quick Kitchen Note
I reach for this formula when fruit is ripe and I want dessert that doubles as a snack—blend the base in the morning and bake later; it keeps well. The method tolerates small ingredient swaps, so it’s dependable when a specific pantry item is missing—see variations below.
What It Tastes Like
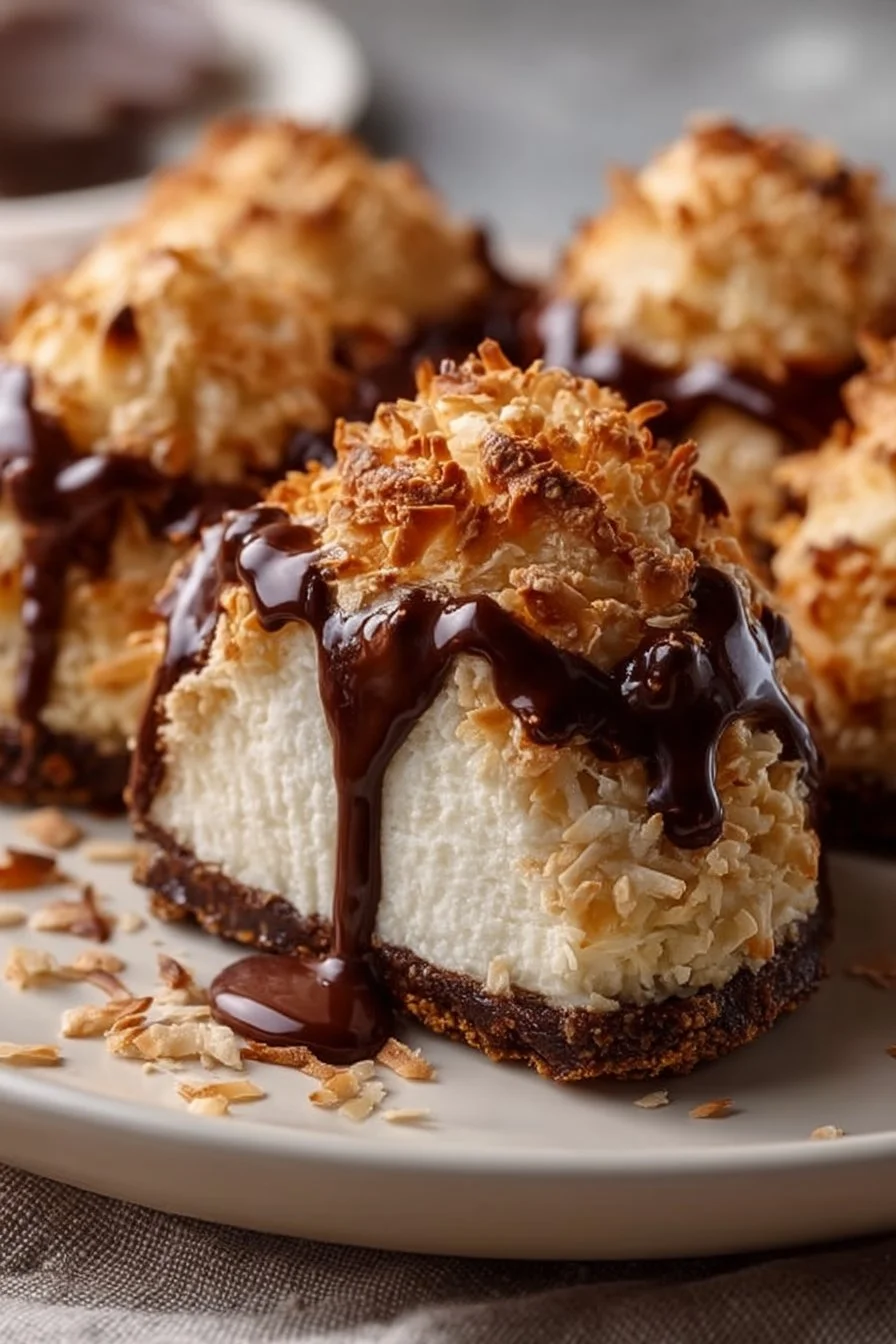
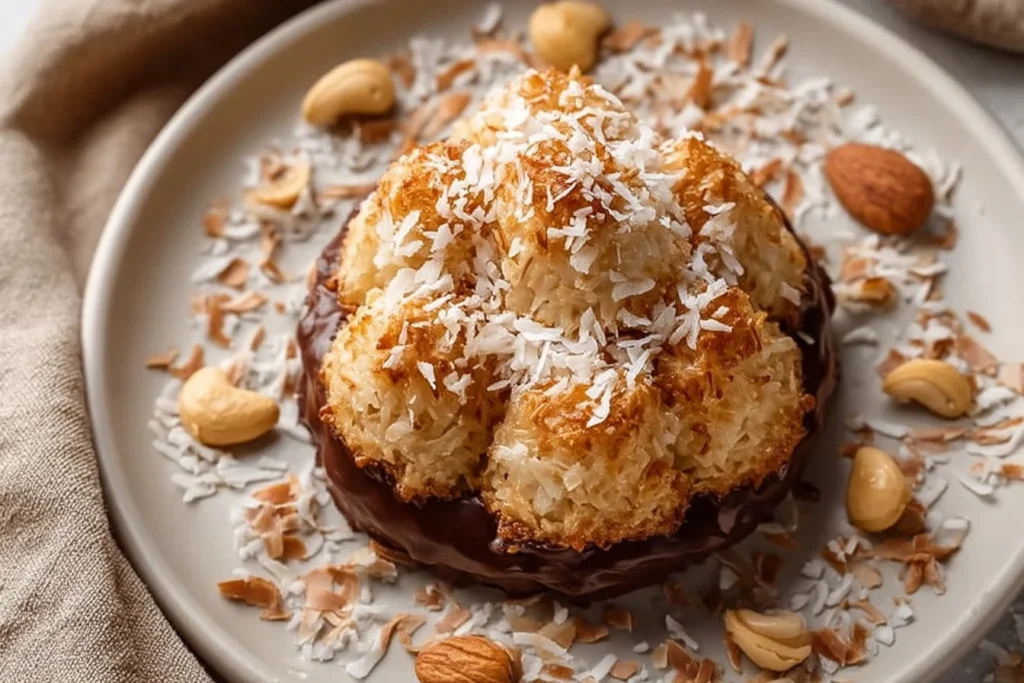
This dessert is rich but not cloying: the base tastes of caramelized banana or deep, fruity date with a coconut‑cream richness. Cocoa adds an earthy chocolate note, oats give a gentle chew, berries bring a bright acidic finish, and nuts add a toasty crunch. It smells faintly of cocoa and coconut when it comes out of the oven and finishes with a clean, fruit-forward sweetness.
Ingredients
The core ingredients are a sweet base (bananas or dates), a nut butter and coconut milk for creaminess, and oats or cocoa for body and flavor. Greek yogurt can be stirred in at the end for tangy creaminess when serving; honey is optional if you need a little more sweetness.
- Bananas
- Dates
- Nut butter
- Coconut milk
- Oats
- Cocoa powder
- Berries
- Greek yogurt
- Nuts
- Honey (optional)
Step-by-Step Instructions
- Choose your base: Use 2–3 very ripe bananas (mashed) for a lighter, fruitier dessert, or 1½–2 cups pitted dates for a denser, caramel‑forward base. Dates produce a thicker, fudgier texture; bananas give a softer, cakier crumb.
- Blend the base: Combine the bananas or dates with 2–4 tablespoons nut butter and ¼–½ cup coconut milk in a blender or food processor. Blend until smooth and glossy—stop when there are no large chunks and the mixture holds together in a ribbon when you lift the blade.
- Add dry ingredients: Transfer the blended base to a bowl and mix in 1–1½ cups oats and 2–3 tablespoons cocoa powder (if making chocolate). Stir until the oats are fully coated and the mixture looks thick but not dry—it should hold a rough scoop without running.
- Fold in mix‑ins: Gently fold in ½–1 cup berries or ½ cup chopped nuts as desired. Berries will soften and release juice during baking; nuts add structural crunch. If using honey, add 1–2 teaspoons here only if you want extra sweetness.
- Bake: Pour the mixture into a greased 8×8‑inch baking dish or similar mold, smoothing the top. Bake at 350°F (175°C) for 20–25 minutes. Look for the edges to lift slightly and the center to feel set but still just a bit soft—it will firm as it cools.
- Cool and finish: Let the dessert cool completely in the pan (about 30–45 minutes). A warm bar will be too soft to cut cleanly—cooling ensures tidy slices and better texture. Serve plain or spoon Greek yogurt over slices for a tangy contrast.
- Enjoy: Cut into squares or spoon into bowls. Store leftovers as directed below.
Common Mistakes to Avoid
- Using under‑ripe fruit: Unripe bananas or firm dates won’t sweeten properly—choose very ripe bananas (spotty skin) or soft, pliable Medjool dates.
- Overblending with too much coconut milk: If the base becomes very thin, the final bake can be gummy—use coconut milk sparingly so the batter is thick and scoopable.
- Baking too long: Overbaking dries these bars. Remove when the center is just set and edges are lightly pulling from the pan.
- Packing the pan: Overfilling or pressing the mixture too densely prevents proper airflow; press just to even the surface so the interior stays tender.
Variations and Swaps
- Chocolate banana: Use mashed bananas, cocoa powder, and chopped nuts for crunch (no other changes needed).
- Date fudge bars: Use only dates as the base and reduce coconut milk to a few tablespoons for a denser, fudge‑like bar.
- Berry fold: Stir in mixed berries for a softer, jammy interior—use slightly less coconut milk so the batter isn’t runny.
- For a dairy finish: Top with Greek yogurt; for more sweetness use a drizzle of honey (optional). For related no‑sugar treats, see this variation inspired by my flourless healthy cookies.
Serving Suggestions
Serve warm with a dollop of Greek yogurt or chilled with yogurt and extra berries on the side. Cut bars pair well with coffee or a simple latte. For a snack board or grab‑and‑go breakfast, stack slices between parchment layers—similar serving style to my no‑bake sugar‑free cookies.
Storage and Meal Prep
Refrigerate cooled bars in an airtight container for up to 4 days. For firmer texture, chill before slicing. Freeze individual slices wrapped tightly for up to 2 months; thaw in the fridge overnight and reheat gently in a microwave or oven. Store yogurt separately if packing for later.

FAQs
Q: Can I make these ahead?
A: Yes—bake, cool completely, and refrigerate up to 4 days or freeze slices for longer. Thaw overnight in the fridge.
Q: Which base is best for meal prep?
A: Dates make denser, longer‑lasting bars; bananas yield a lighter, more cake‑like bar that’s still good for a few days refrigerated.
Q: My bars were gummy—what happened?
A: Likely too much coconut milk or under‑cooked center. Use less liquid and remove from oven when center is just set.
Q: Can I omit nut butter?
A: You can, but nut butter adds structure and richness. If omitted, the texture will be looser—reduce coconut milk slightly.
Final Tip
Measure liquids conservatively the first time; the batter should be thick and scoopable, not pourable. That consistency predicts a tender but sliceable finished bar.
Conclusion
For more no‑sugar inspiration and roundups, check this collection of No Sugar! Keto Desserts to Bust Cravings. If you want a larger set of naturally sweetened ideas, browse 60+ Naturally Sweetened Dessert Recipes. For a different no‑bake fruit cream, see this Mango Cream recipe Mango Cream (no bake dessert without sugar).
No Sugar Desserts
Ingredients
Method
- Choose your base: Use 2–3 very ripe bananas (mashed) for a lighter, fruitier dessert, or 1½–2 cups pitted dates for a denser, caramel-forward base.
- Blend the base: Combine the bananas or dates with 2–4 tablespoons of nut butter and ¼–½ cup coconut milk in a blender or food processor. Blend until smooth and glossy.
- Add dry ingredients: Transfer the blended base to a bowl and mix in 1–1½ cups oats and 2–3 tablespoons cocoa powder. Stir until the oats are fully coated.
- Fold in mix-ins: Gently fold in ½–1 cup berries or ½ cup chopped nuts. If using honey, add it here only if you want extra sweetness.
- Bake: Pour the mixture into a greased 8×8-inch baking dish and smooth the top. Bake at 350°F (175°C) for 20–25 minutes.
- Cool and finish: Let the dessert cool completely in the pan for about 30–45 minutes before cutting.
- Cut into squares and serve warm with a dollop of Greek yogurt or chilled with yogurt and extra berries on the side.


