

Why These Zuckerfreie Desserts Taste Like a Real Bakery Treat
This recipe works because it builds classic bakery-style flavor first, then happens to be sugar-free. Instead of relying on sugar for structure and taste, the base uses balanced fat, protein, and just enough natural or alternative sweetness so your Zuckerfreie Desserts have a tender crumb and golden edges, not a dry, “diet” texture. Careful ratios keep the batter loose enough to rise but stable enough to hold its shape, giving you that light, satisfying bite you expect from a bakery pastry. A short bake time at a moderately high temperature helps the outside set quickly while the center stays moist. You end up with a dessert that feels indulgent but stays around 180 calories per serving—very weekday-friendly.
The flavor stays clean and rounded because the sweetness is layered, not forced. A mix of a reliable sugar substitute and natural aromatics—think vanilla, citrus zest, warm spices, or a touch of almond—mimics the complexity you normally get from caramelized sugar. This means your Zuckerfreie Desserts don’t have the metallic aftertaste or icy mouthfeel that some sugar-free recipes suffer from. The recipe also uses familiar pantry ingredients and straightforward steps, so you can get it prepped in about 15 minutes, even on a busy night. If you already enjoy lighter German-inspired dishes like a simple chicken schnitzel or roasted vegetables, this dessert fits right into that balanced, realistic cooking style without feeling like a compromise.
How to Make It Step-by-Step at Home
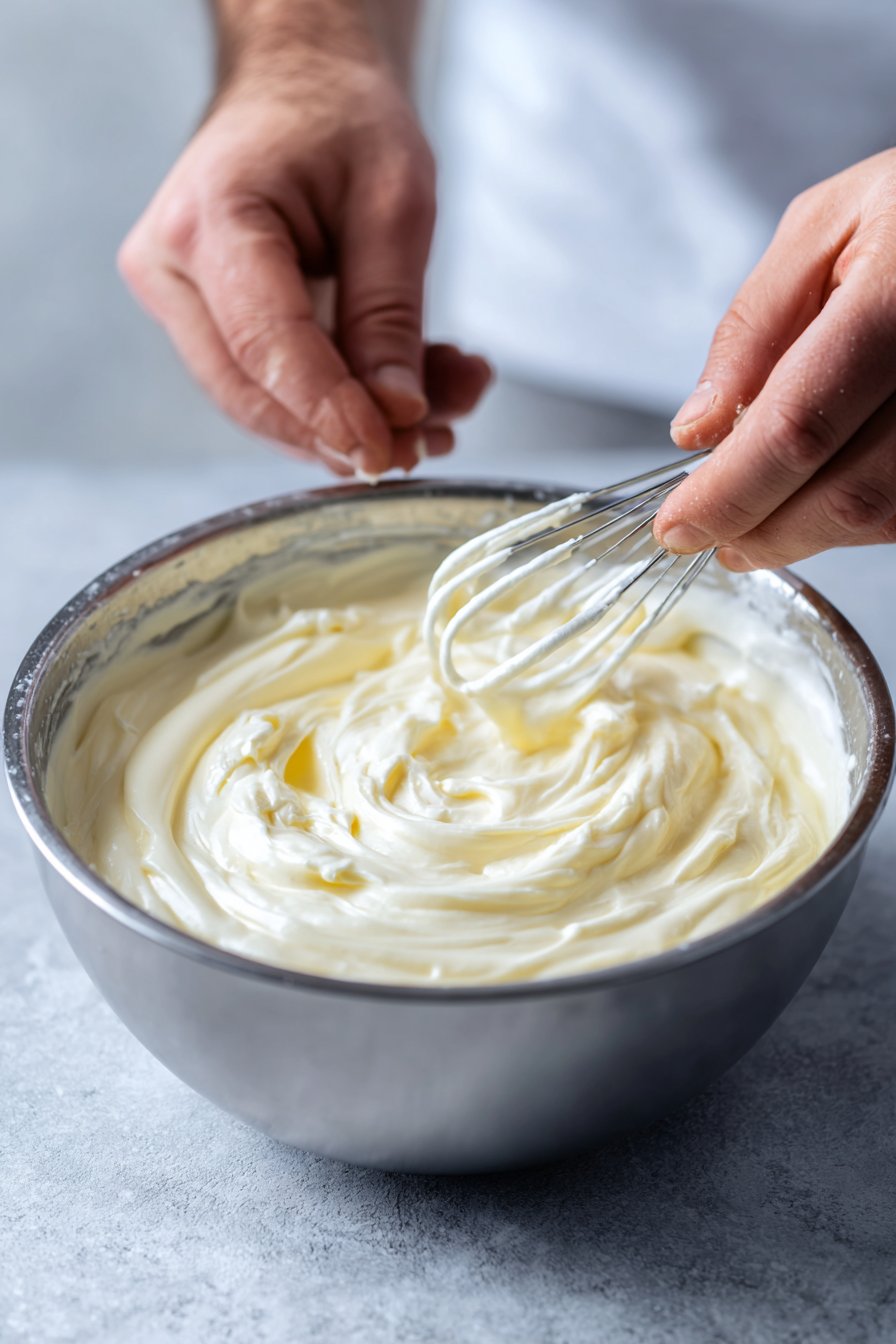
To get that classic bakery-style look for your Zuckerfreie Desserts, start by prepping your ingredients before you even turn on the oven. Bring eggs, butter, and any dairy components to room temperature so your batter mixes smoothly and bakes evenly. Whisk your dry ingredients together in one bowl, making sure any sugar substitute is well distributed—this helps avoid random overly sweet bites. In a separate bowl, beat your fats (like softened butter or neutral oil) with your sweetener until the mixture looks light and slightly fluffy; this builds in air without using traditional sugar. When you combine wet and dry ingredients, mix only until no dry streaks remain—overmixing can make sugar-free batters dense or rubbery.
Once your batter is ready, scrape it into a lined or lightly greased baking pan, smoothing the top with an offset spatula or the back of a spoon. Sugar-free batters sometimes spread less, so evening out the surface helps you get that tidy, bakery-style finish. Bake on the center rack so the heat circulates evenly, and begin checking a few minutes earlier than you would with regular desserts; Zuckerfreie Desserts can dry out if you push them too long. You’re looking for lightly golden edges, a center that springs back when touched, and a toothpick that comes out with just a few moist crumbs. Let the dessert cool in the pan for several minutes so it can set properly before slicing or topping it with whipped cream, a yogurt-based frosting, or a simple fruit compote—similar to how you’d finish a classic Obstkuchen or other Deutsch desserts.
Time-Saving Prep and Smart Storage for Zuckerfreie Desserts
These Zuckerfreie Desserts come together fast: you only need about 15 minutes of prep and 20 minutes of baking or chilling, depending on the exact method your base recipe uses. I like to set out all ingredients first (butter or oil, sweetener, flour or nut base, eggs, spices) so the workflow stays smooth and you really hit that 35-minute total. If you’re making these for guests, you can easily double the batch and bake in 2 trays at once; just rotate the pans halfway through so everything browns evenly. For weeknights, I recommend mixing the dry ingredients in the morning and keeping them in a sealed container, then you only need to whisk in the wet ingredients later. That way your Zuckerfreie Desserts feel almost “mix and bake” when you get home.
In terms of storage, let your Zuckerfreie Desserts cool completely before you even think about covering them—trapped steam makes them soggy and dulls the bakery-style texture. Once cooled, store them in an airtight container at room temperature for 2–3 days, layering with parchment if they’re soft or sticky. For longer storage, freeze portions in a single layer on a tray, then transfer to a freezer bag; they’ll keep for about 2 months and thaw quickly at room temp. If your recipe includes a cream or quark-based element, keep those portions in the fridge and aim to enjoy them within 2 days for the best flavor and texture. When you want that fresh-from-the-oven feel again, a quick 3–5 minutes in a low oven brings most Zuckerfreie Desserts back to life without drying them out.
Flexible Options and Serving Notes for Everyday Zuckerfreie Desserts
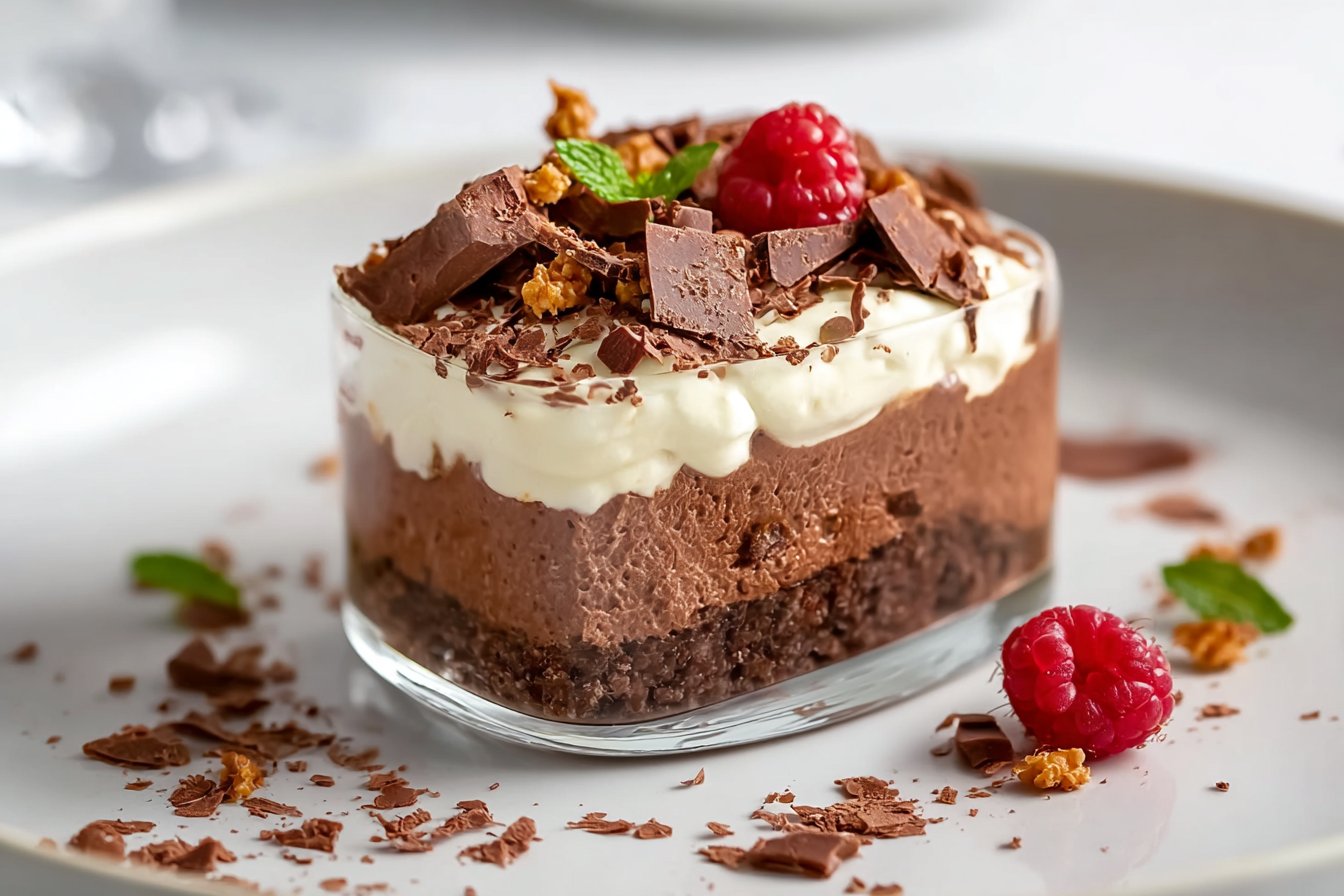
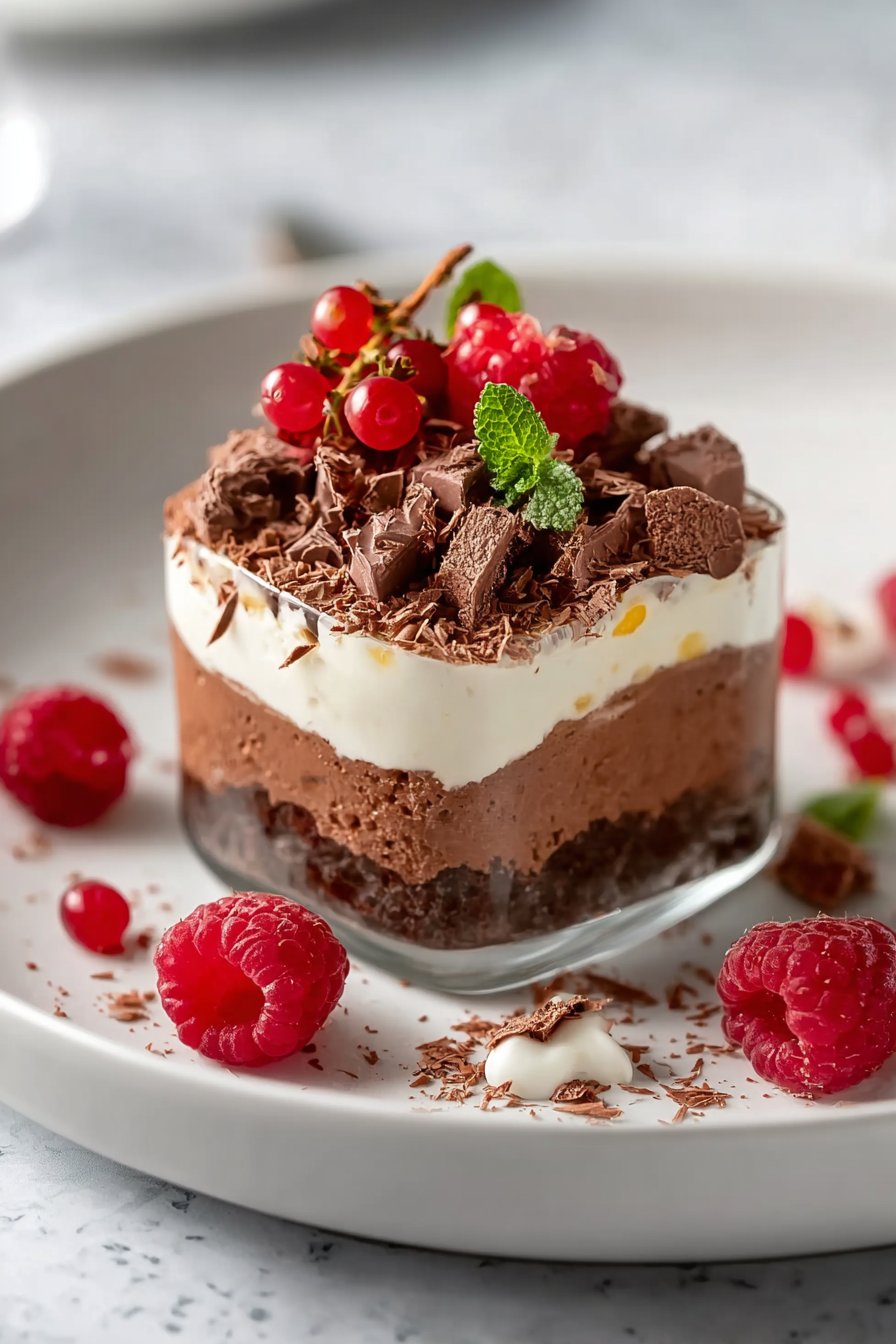
Zuckerfreie Desserts play very nicely with real-life schedules and different diets, so you can adjust this recipe without losing that bakery-style feel. For a creamier, richer texture, swap part of the milk for unsweetened coconut milk or add a spoonful of Greek yogurt once the dessert has cooled slightly. If you prefer things less sweet, reduce the sweetener by 25% the first time and taste as you go; most sugar alternatives taste sweeter than classic sugar, especially after chilling. You can also layer the cooled mixture with fresh berries or lightly sweetened chia jam in small glasses for a simple “trifle” style presentation that still stays zuckerfrei. For crunch, add toasted sliced almonds or crushed nuts right before serving so they don’t soften.
These Zuckerfreie Desserts work well as make-ahead treats, which makes them ideal for weeknights or small gatherings. Chill them in individual ramekins or glasses for easy portion control, especially helpful if you track carbs or calories. If you serve them directly from the fridge, the texture will be firmer and more custardy; let them sit at room temperature for 10–15 minutes if you want a softer, silkier spoon dessert. A dusting of unsweetened cocoa powder, a few curls of 85% chocolate, or a spoon of warm berry compote instantly makes them dinner-party ready, much like I do with my baked berry oatmeal cups or simple yogurt panna cotta. Keep in mind that intense sweeteners can flatten flavors, so finish with a squeeze of lemon, a pinch of flaky salt, or a touch of vanilla to brighten your zuckerfreie Desserts right before they go to the table.
Serving of Zuckerfreie Desserts
Conclusion
I love how a simple homemade dessert can quietly turn an ordinary day into something worth remembering. When you take the time to whisk, fold, and bake with intention, you’re not just making a sweet—you’re creating a small ritual that feels good to share. This recipe fits beautifully into real life: it’s approachable, a little nostalgic, and still mindful enough for everyday enjoyment.
Serve this at a family gathering, a coffee date, or a quiet evening at home, and you’ll see how quickly it brings people together. Someone leans in for “just a small slice,” another asks for the recipe, and suddenly you’ve got a table full of conversation and crumbs. That’s the magic of Zuckerfreie Desserts done well: all the pleasure, none of the fuss, and a treat everyone can feel good about.
If you’ve been on the fence about making this, consider this your gentle nudge—print the recipe, preheat the oven, and give it a try.
For more delicious recipes like this, follow us on social media!
Instructions Process of Zuckerfreie Desserts
Was bedeutet „zuckerfreie Desserts“ im Alltag genau?
Zuckerfreie Desserts sind Nachspeisen, bei denen kein herkömmlicher Haushaltszucker zugesetzt wird. Stattdessen nutze ich natürliche oder kalorienarme Süßungsmittel wie Erythrit, Xylit, Stevia, Datteln oder sehr reife Bananen. In vielen Rezepten steckt dennoch natürliche Süße aus Milchprodukten, Früchten oder Nüssen. **Wichtig:** „Zuckerfrei“ heißt im Alltag oft „ohne zugesetzten Zucker“, nicht zwingend komplett frei von natürlich vorkommendem Zucker. Lies bei Bedarf immer die Zutatenliste oder Rezeptanmerkungen, wenn du sehr streng darauf achten möchtest.
Sind zuckerfreie Desserts immer gesünder und auch für Diabetiker geeignet?
Zuckerfreie Desserts können eine leichtere Alternative zu klassischen Süßspeisen sein, weil sie oft weniger schnell wirksame Kohlenhydrate enthalten. Trotzdem liefern Zutaten wie Nüsse, Sahne, Trockenfrüchte oder Mehl weiterhin Kalorien und können den Blutzucker beeinflussen. Für viele Diabetiker sind „Zuckerfreie Desserts“ eine gute Option, wenn sie mit zuckerarmen Früchten, Vollkornmehlen und Zuckeraustauschstoffen zubereitet sind. Sprich im Zweifel mit deinem Arzt oder deiner Ernährungsberatung und teste neue Rezepte in kleinen Portionen. Achte dabei immer aufmerksam auf deine individuelle Blutzuckerreaktion.
Welche Zuckeralternativen funktionieren am besten in zuckerfreien Desserts?
Für klassische Bakery-Style Zuckerfreie Desserts nutze ich gern Erythrit oder Xylit, weil sie sich ähnlich wie Zucker verhalten und neutral schmecken. Stevia ist sehr intensiv und eignet sich gut in Kombination mit Erythrit, damit der Nachgeschmack milder bleibt. Für natürliche Süße funktionieren Datteln, Apfelmark ohne Zuckerzusatz oder reife Bananen sehr gut, vor allem in Rührteigen oder Cremes. Denke daran: Flüssige Süße (z.B. Dattelsirup) kann den Teig weicher machen, also die übrige Flüssigkeit leicht reduzieren. Starte lieber mit etwas weniger Süßungsmittel und taste dich an deine Lieblingssüße heran.
Recipe
Bakery-Style Zuckerfreie Desserts
Ingredients
Method
- Preheat the oven to 350°F and lightly grease or line an 8x8-inch square baking pan with parchment paper.
- In a medium bowl, whisk together the all-purpose flour, almond flour, baking powder, salt, and cinnamon until well combined.
- In a separate large bowl, beat the softened butter and sugar substitute with a hand mixer for 2 to 3 minutes until light and slightly fluffy.
- Add the eggs to the butter mixture one at a time, beating well after each addition, then mix in the vanilla bean paste and lemon zest.
- Add one-third of the dry ingredients to the wet mixture and mix on low just until combined, then add half of the yogurt and mix briefly.
- Repeat with another third of the dry ingredients, the remaining yogurt, and then the final third of the dry mixture, mixing only until no dry streaks remain.
- Scrape the batter into the prepared pan and smooth the top evenly with an offset spatula or the back of a spoon.
- Bake on the center rack for 18 to 20 minutes, until the edges are lightly golden, the center springs back when gently pressed, and a toothpick comes out with a few moist crumbs.
- Let the cake cool in the pan on a rack for 10 minutes, then slice into 4 generous squares and serve warm or at room temperature, plain or with a sugar-free fruit compote or a spoonful of Greek yogurt.
Notes
- Do not overmix the batter once you add the flour; this helps keep the cake tender instead of rubbery.
- Start checking for doneness a couple of minutes early, as sugar-free batters can dry out if overbaked.
- Store completely cooled cake in an airtight container at room temperature for up to 3 days, or freeze individual pieces for up to 2 months.


