

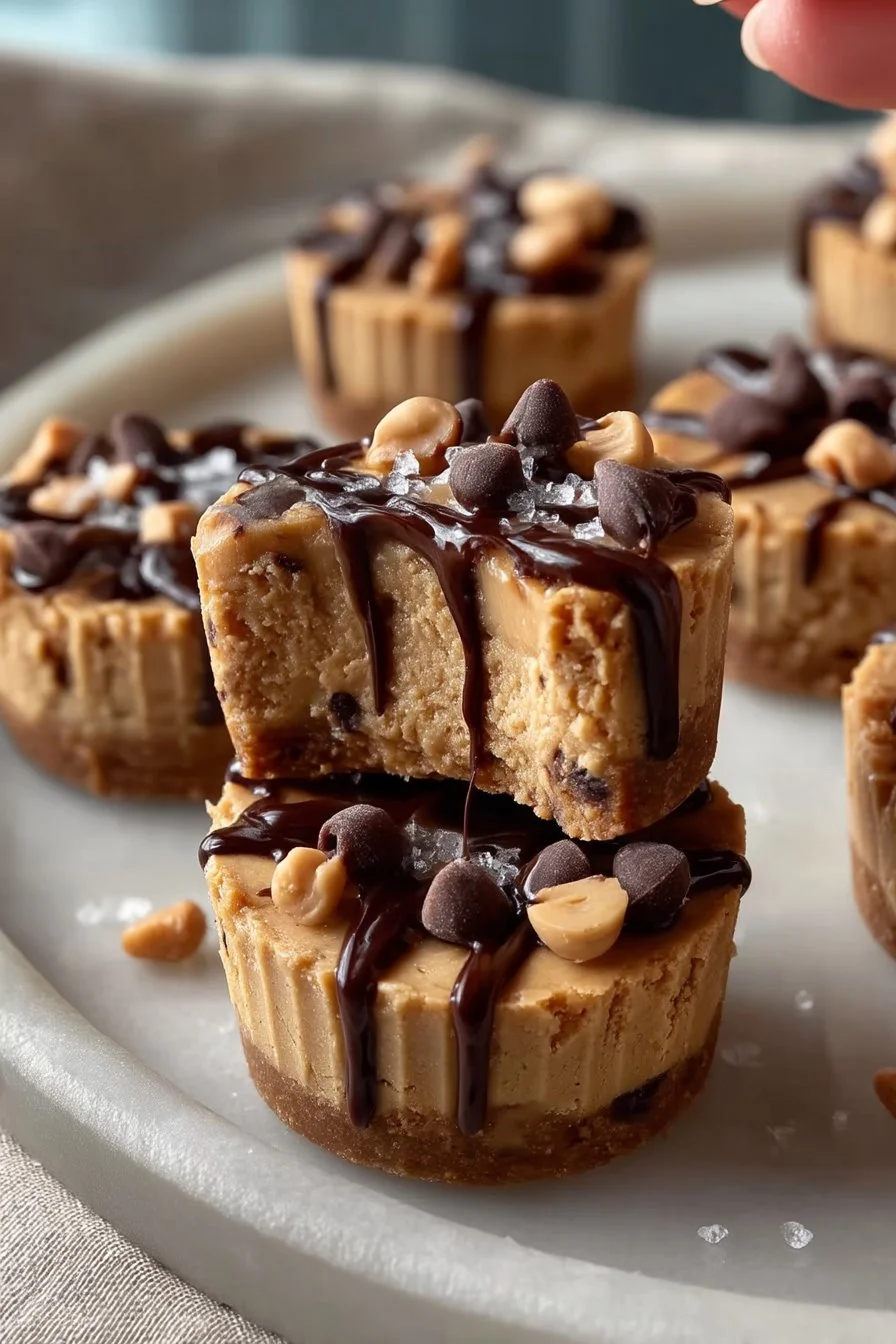
There are days when you want something sweet but don’t want to bake, wash a sink full of dishes, or babysit an oven timer. These Peanut Butter Banana Cookie Dough Fudge Cups hit that exact moment: a quick mash-and-mix dough, pressed into liners, then frozen until firm enough to pick up and snack on.
They taste like peanut-butter-forward cookie dough with a clear banana note and a soft “fudge cup” bite—dense, creamy, and lightly sweet. If you already make no-bake peanut butter treats like peanut butter fudge, this is the same low-effort vibe, just with bananas doing a lot of the binding and moisture work.
Why This Recipe Works
- Banana + peanut butter creates structure without baking. The mashed bananas give moisture and body, while peanut butter sets up firmly once frozen.
- Oat flour makes it feel like “cookie dough,” not a smoothie. It thickens the mix into a pressable dough so you can shape clean cups in liners.
- Sweetness stays controlled and adjustable. Honey or maple syrup adds just enough sweetness without masking the peanut butter.
- Minimal tools, minimal cleanup. One bowl, one fork (or potato masher), and a muffin tin—done.
- Fast set time for a real-life schedule. About 30 minutes in the freezer is enough to go from sticky dough to grab-and-go cups.
- Portioning is built in. The muffin liners keep them tidy, stackable, and easy to serve straight from the freezer.
Quick Kitchen Note
I rely on freezer-set treats like these when I want something portioned and ready—especially alongside simple baking projects like 3-ingredient peanut butter cookies, because the mixing is familiar and the ingredients are usually already in the pantry.
What It Tastes Like
These are rich and peanut-buttery up front, with banana rounding out the flavor and a mellow honey/maple finish. The texture lands between cookie dough and fudge: dense, smooth, and slightly chewy once fully set, with a quick melt as they warm in your hand.
Ingredients
Ripe bananas provide sweetness and moisture, peanut butter brings richness and the “fudge” base, oat flour thickens everything into a dough you can press into shape, and honey or maple syrup smooths the mix while adding a little extra sweetness. If you’re choosing between sweeteners, honey tastes a bit more direct and floral; maple syrup reads slightly warmer and caramel-like—either works well here.
- 2 ripe bananas
- 1 cup peanut butter
- 1/2 cup oat flour
- 1/4 cup honey or maple syrup
Step-by-Step Instructions
- Mash the bananas until smooth. In a mixing bowl, mash the ripe bananas thoroughly. You’re aiming for a mostly smooth puree with as few lumps as possible—this helps the cups set evenly.
- Mix in the peanut butter. Add the peanut butter and stir until the mixture looks uniform and creamy. It will look glossy and thick, and the banana will lighten the peanut butter color slightly.
- Add oat flour and sweetener to form a dough. Stir in the oat flour and honey (or maple syrup). Keep mixing until the mixture turns from thick batter to a soft dough you can scoop and press. It should hold together when you pinch a bit between your fingers.
- Prep your muffin tin. Line a muffin tin with cupcake liners. This step matters—without liners, the frozen cups can be difficult to remove cleanly.
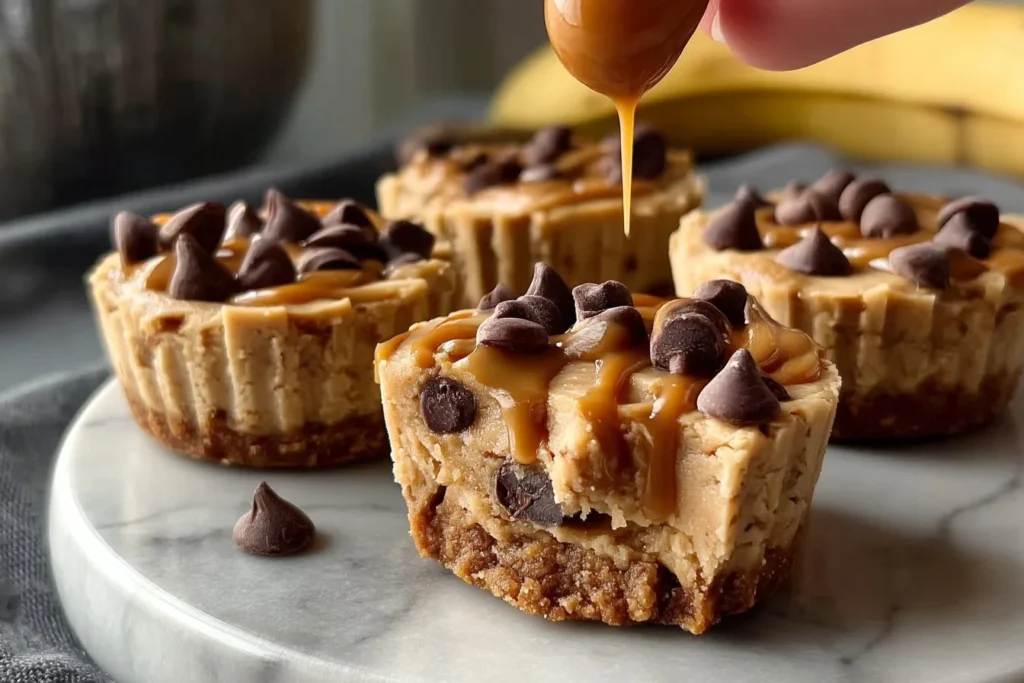
- Portion and press. Scoop the dough into the lined cups, then press it firmly into the bottom of each liner. A firm press helps the surface look smoother and makes the cups feel more “fudge-like” when you bite in.
- Freeze until set. Freeze for about 30 minutes, or until the cups feel firm to the touch and lift easily from the tin without slumping.
- Serve. Eat straight from the liner. If they’ve been in the freezer longer than 30 minutes, let them sit for a minute or two so the bite softens slightly.
Common Mistakes to Avoid
- Using under-ripe bananas: Less-ripe bananas mash poorly and taste flatter; use ripe bananas so the dough tastes naturally sweet and blends smoothly.
- Stopping the mash too early: Big banana chunks can make the texture uneven and a little icy once frozen; mash until mostly smooth before adding anything else.
- Not mixing until fully uniform: If peanut butter isn’t fully incorporated, you’ll get streaks that set differently; keep stirring until the dough looks consistent throughout.
- Pressing too lightly into the liners: Loose packing can make the cups crumbly; press firmly so they freeze into a cohesive puck.
- Pulling them too soon: If the centers still feel soft, they’ll bend when you peel the liner; give them the full freeze time until they’re clearly set.
Variations and Swaps
- Honey vs. maple syrup: Both work; choose honey for a slightly brighter sweetness, maple syrup for a warmer flavor.
- Texture adjustment with oat flour: If your dough feels too soft to press cleanly, mix a bit longer first—oat flour thickens as it hydrates. If it still feels loose, add oat flour in very small increments until it’s pressable.
- Peanut butter flavor intensity: A stronger peanut butter will read more “fudge-like.” If you like the peanut flavor to stay front and center, keep the mix very smooth before portioning. For more peanut-butter-forward cookie inspiration, see oatmeal peanut butter cookies.
Serving Suggestions
- As a freezer treat: Keep a few cups ready to grab after dinner when you want something small and sweet without baking.
- With coffee or tea: The peanut butter richness pairs well with a hot drink and makes one cup feel like a complete little dessert.
- As a snack plate add-on: Add one cup alongside fruit or yogurt for a simple, portioned snack. If you’re into quick cookie-style snacks, peanut butter Greek yogurt cookies are another practical option.
Storage and Meal Prep
- Freezer: These are designed for the freezer. Keep them in their liners so they don’t stick, and store in a sealed container once fully frozen.
- Make-ahead: Make the batch, freeze until firm, then consolidate into a container so your muffin tin is free again.
- Texture note: They’re firmest straight from the freezer. If you prefer a softer bite, let one sit at room temperature briefly before eating—just long enough to take the hard chill off.
- Transport: For taking on the go, keep them cold; they’re easiest to handle when fully set.

FAQs
Can I make these ahead for the week?
Yes. Freeze until set, then store in a sealed container in the freezer so you can pull one at a time.
Why is my dough too sticky to press into the liners?
It may need a bit more mixing time for the oat flour to absorb moisture. Mix again and give it a minute; it should become more dough-like.
Why are my cups not setting after 30 minutes?
They likely need more time in your freezer, or they were pressed very thick. Freeze longer until the tops feel firm and the cups lift cleanly.
Can I use honey or maple syrup interchangeably?
Yes. Use the one you like; the main difference is flavor (honey a bit brighter, maple a bit warmer).
Final Tip
Before you freeze, take 10 seconds to press each cup firmly and smooth the top—this simple step helps them set into a cohesive, fudge-like bite instead of a crumbly, uneven puck. If you want another peanut-butter-heavy treat for comparison, almond flour peanut butter cookies are a good benchmark for how different “set” textures can be without changing your routine much.
Conclusion
If you want to see how other cooks approach this exact style of freezer cup, compare this method with Four Ingredient Peanut Butter Banana Cookie Dough Fudge Cups, then check the texture ideas in One Bite Cookie ‘n Fudge Cups. For more no-bake dessert momentum when you’re in a “stock the freezer” phase, the 7 healthy desserts i can’t stop making is a useful roundup to browse right after you stash this batch.
Peanut Butter Banana Cookie Dough Fudge Cups
Ingredients
Method
- Mash the bananas until smooth in a mixing bowl.
- Mix in the peanut butter until uniform and creamy.
- Add oat flour and honey or maple syrup, mixing until a soft dough forms.
- Line a muffin tin with cupcake liners.
- Scoop the dough into the lined cups and press firmly into the bottom.
- Freeze for about 30 minutes or until set.
- Serve directly from the liners, allowing to soften slightly if frozen longer than 30 minutes.
