
When you want something sweet in the fridge that doesn’t require turning on the oven, this strawberry fudge is an easy win. It’s a quick mix-and-chill situation—one bowl, one dish, and a couple hours later you’ve got neat little squares that feel like a treat without a lot of effort. On days I’m already batch-prepping a few basics, I’ll often tuck this in alongside something like no-bake sugar-free cookies so desserts are handled for the week.
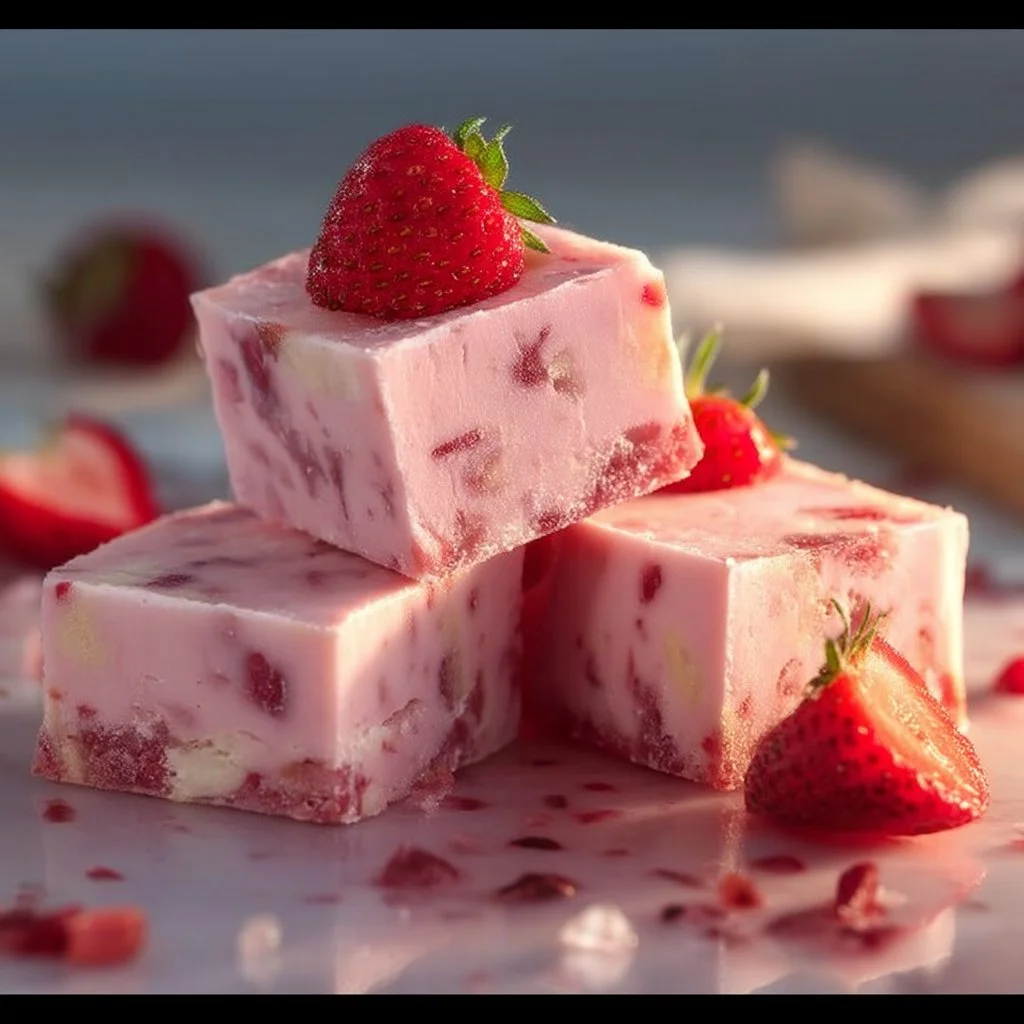
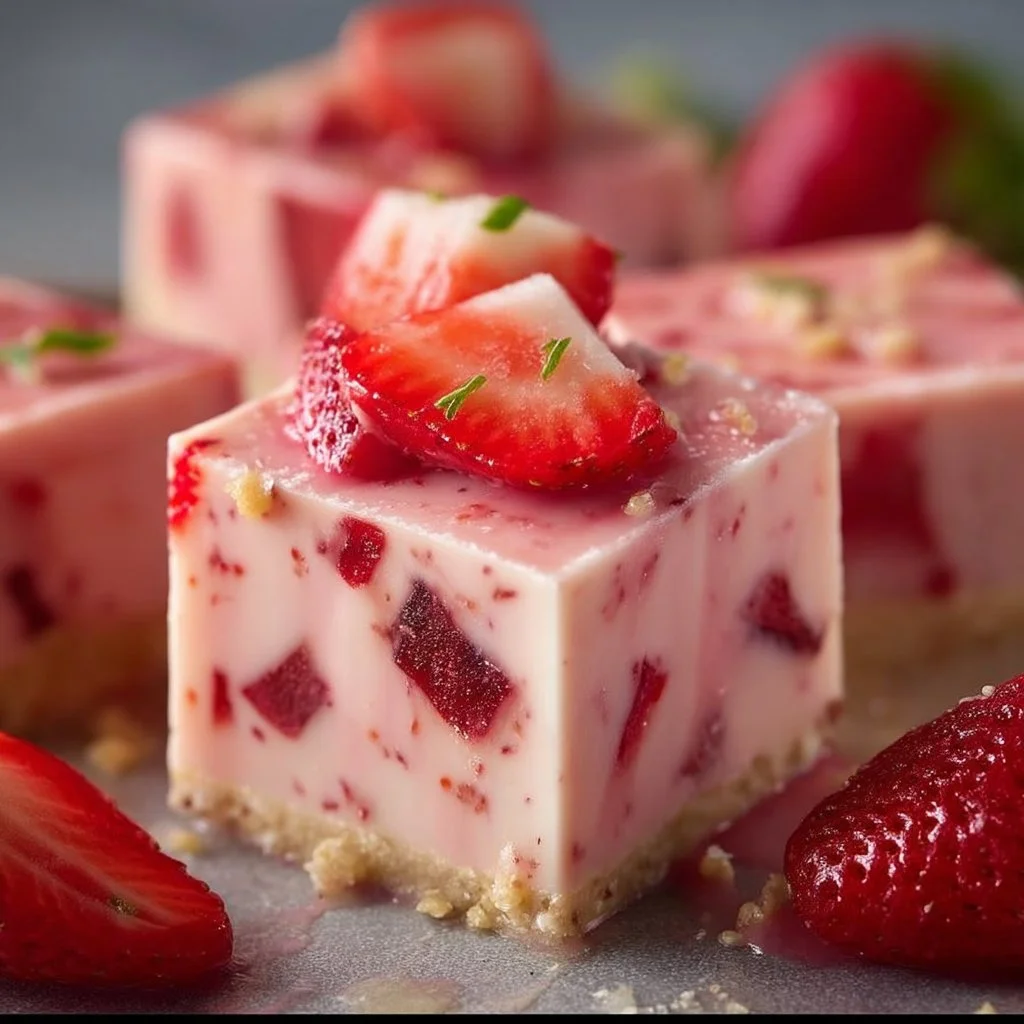
The payoff here is the texture: creamy from coconut cream, lightly thickened with almond flour, and brightened by fresh strawberry purée. It sets up sliceable in the fridge (not rock-hard), and the flavor stays clean—strawberry-forward with a soft vanilla finish and just enough salt to keep it balanced. If you’ve made my peanut butter fudge, this is the fruitier, lighter cousin.
Why This Recipe Works
- No stove, no oven: Everything comes together in a mixing bowl, and the refrigerator does the setting.
- Fresh strawberry flavor: Using pureed fresh strawberries keeps the flavor bright and natural instead of candy-like.
- Creamy structure from coconut cream: Coconut cream gives richness and helps the mixture firm up into clean squares once chilled.
- Almond flour for body: It thickens the base so it sets sliceable, not runny, without extra steps.
- Balanced sweetness: Maple syrup (or another natural sweetener) sweetens without masking the strawberry and vanilla.
- Minimal cleanup: One bowl, one spatula, one lined dish—easy to rinse and reset your kitchen.
Quick Kitchen Note
I like recipes like this for the “I want something sweet, but I don’t want a project” moment: it’s fast to assemble, forgiving, and it gives you a ready-to-grab dessert that lives in the fridge for the next couple days.
What It Tastes Like
This fudge tastes like strawberries and cream—fresh, lightly sweet, and softly rich from coconut cream. The texture is dense and creamy (more like a chilled, sliceable bite than a snappy candy), with almond flour giving it a smooth, thick finish. Vanilla rounds everything out, and the pinch of salt keeps the sweetness from feeling flat.
Ingredients
This recipe is built on a short list: strawberry purée brings the fruit and color, coconut cream provides the rich, creamy base, and almond flour thickens so it can set. Maple syrup adds sweetness with a mild flavor that plays well with fruit; if you prefer, you can swap in another natural sweetener at the same amount. Vanilla and salt are small, but they’re what make it taste finished.
- 1 cup fresh strawberries, pureed
- 1 cup coconut cream
- 1/2 cup almond flour
- 1/4 cup maple syrup or other natural sweetener
- 1 teaspoon vanilla extract
- Pinch of salt
Step-by-Step Instructions
- Line your dish. Line a square dish so you can lift the fudge out cleanly later. (Lining matters here—this mixture sets softly, and a liner makes slicing much easier.)
- Combine everything in a bowl. Add the pureed strawberries, coconut cream, almond flour, maple syrup (or your chosen natural sweetener), vanilla extract, and a pinch of salt to a mixing bowl.
- Mix until completely smooth. Stir until the mixture looks uniform in color and texture, with no visible streaks of coconut cream or dry pockets of almond flour. It should look thick, creamy, and spreadable—more like a dense batter than a pourable sauce.
- Spread into the prepared dish. Pour (or spoon) the mixture into your lined square dish. Use a spatula to spread it into an even layer, smoothing the top so it chills and sets evenly.
- Refrigerate to set. Chill for 2–3 hours, or until the surface feels firm to a gentle touch and the slab holds its shape when you lift an edge of the liner.
- Slice and serve. Lift the fudge out using the liner, place it on a cutting board, and cut into squares. Serve chilled.
Common Mistakes to Avoid
- Not pureeing the strawberries well: Larger bits can make the texture uneven and harder to slice cleanly. Fix: Purée until smooth before mixing.
- Stopping mixing too soon: Streaks of coconut cream or dry almond flour pockets lead to inconsistent setting. Fix: Mix until the color is fully uniform and the mixture looks glossy and cohesive.
- Skipping the liner: The chilled fudge can stick and tear when you try to remove it. Fix: Line the dish so you can lift the whole slab out.
- Cutting before it’s fully set: If it’s still soft in the center, the squares will smear and lose shape. Fix: Give it the full 2–3 hours, then check for a firm surface and sturdy edges.
- Uneven spreading: Thick areas set differently than thin ones. Fix: Take an extra 30 seconds to level the top before chilling.
Variations and Swaps
- Sweetener swap: Use another natural sweetener in place of maple syrup at the same amount. Keep in mind the flavor will change slightly depending on what you choose.
- Vanilla tweak: If you like a stronger vanilla note, you can nudge the vanilla up slightly, but don’t overdo it—this recipe is meant to stay strawberry-forward.
- Texture preference: For slightly firmer squares, chill on the longer end of the 2–3 hour window before slicing.
If you’re building a small dessert rotation for the week, these pair well with a pan of sugar-free brownies or something bright like sugar-free lemon meringue pie—different textures, same low-effort vibe.
Serving Suggestions
- Serve straight from the fridge for the cleanest squares and the creamiest bite.
- Add a couple squares to a snack plate with fruit for an easy, low-mess sweet option.
- For a simple dessert board, pair with other no-bake treats like edible sugar-free cookie dough so you’ve got variety without extra cooking.
Storage and Meal Prep
Store the cut squares in the refrigerator so they stay firm and easy to pick up. I like to keep them in a covered container so they don’t take on fridge odors. For meal prep, slice the full batch once it’s set, then keep the pieces chilled so you can grab one (or two) as needed—no reheating, no assembly.

FAQs
Can I make this ahead?
Yes. It’s designed for that—mix it, chill it, and slice when set. It holds well in the fridge for ready-to-serve squares.
How do I know it’s set enough to cut?
The top should feel firm to a light touch, and the slab should lift without bending too much when you pull up on the liner. If it feels soft in the center, give it more time.
My mixture looks a little grainy—what happened?
Usually it’s almond flour that hasn’t fully mixed in. Keep stirring until the mixture is completely uniform, with no dry bits.
Can I use a different sweetener than maple syrup?
Yes—use another natural sweetener in the same amount. Expect a slightly different flavor depending on what you choose.
Final Tip
For the cleanest cuts, don’t rush the chill: let it set fully, then lift the slab out and slice on a cutting board in decisive, straight-down cuts instead of sawing back and forth.
Conclusion
If you like keeping a simple, chill-and-slice dessert on hand, this strawberry fudge is a solid option—and it’s also a good base idea for pairing with classic toppings or sundae-style nights, like sugar-free hot fudge spoonable topping for contrast. If you’re leaning into an old-school dessert spread, it’s fun to borrow inspiration from an old-fashioned ice cream parlor setup—just keep it simple and let the strawberry-coconut flavor do the work. And if you’re comparing product styles or textures, the alternate listing for Smucker’s sugar-free hot fudge topping can be a useful reference point for how thick, spoonable toppings are formulated.
Strawberry Fudge
Ingredients
Method
- Line a square dish with parchment paper for easy removal.
- In a mixing bowl, combine the pureed strawberries, coconut cream, almond flour, maple syrup, vanilla extract, and a pinch of salt.
- Mix until smooth, ensuring no visible streaks of coconut cream or dry almond flour remain.
- Pour the mixture into the prepared dish and smooth the top with a spatula.
- Refrigerate for 2-3 hours until firm.
- Once set, lift the fudge out using the parchment paper, place it on a cutting board, and cut into squares.
- Serve chilled.
