
Some weeks I just want a chocolatey spread in the fridge that’s ready when I am—no blender, no candy thermometer, no pile of dishes. This chocolate hazelnut keto spread is my practical answer when I need something rich for a quick snack plate, a low-effort dessert moment, or a make-ahead treat that feels a little special without turning into a project. It also pairs nicely with simple meal planning—especially if you’re already doing a reset like the recipes in this no-sugar beginner guide and want something that still tastes like chocolate.
The payoff here is texture and control. You mix everything in one bowl, spread it out, bake briefly to “set” it, then cool. The result is a thick, fudgy, cocoa-forward spread with a clear hazelnut finish and a clean salt-and-vanilla balance. Cleanup stays minimal (one bowl, one sheet pan), and the flavor holds up whether you’re eating it straight from a spoon or using it as a component in a bigger weeknight routine like the ideas in these quick, practical meals.
Why This Recipe Works
- Baking briefly “sets” the spread so it turns thick and cohesive instead of staying loose and greasy like some no-cook mixes.
- Almond flour + hazelnut meal build body without relying on sugar; they give the spread a smooth, dense structure once baked and cooled.
- Cocoa powder keeps it deeply chocolatey—this reads like dark chocolate, not milk-chocolate candy, which helps it feel balanced with stevia.
- Hazelnut butter brings the classic flavor and a round, roasted-nut finish without needing extra steps like toasting nuts.
- Butter + heavy cream make it glossy and rich, and the ratio keeps it spreadable once it cools (not crumbly, not chalky).
- One-bowl mixing and parchment-lined baking keeps cleanup realistic: scrape, spread, bake, cool.
Quick Kitchen Note
I rely on this kind of baked, one-bowl spread when I want a dependable texture without standing at the stove—mixing everything cold-to-softened, then letting the oven do the setting is simple, repeatable, and forgiving as long as you don’t overbake it.
What It Tastes Like
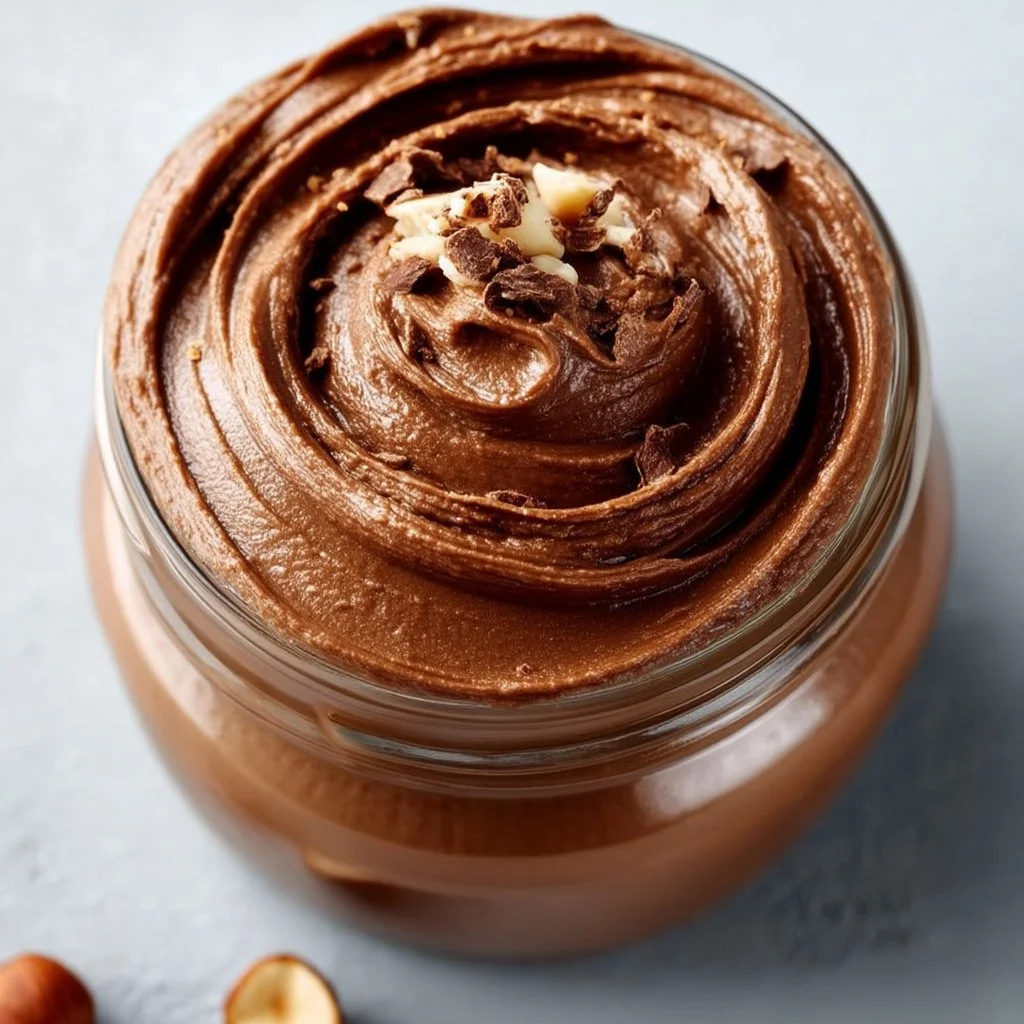
This is cocoa-forward and nutty, with a bold chocolate aroma and a clear hazelnut finish. The texture is thick and fudgy once cooled—smooth, but not runny—thanks to the nut flours setting in the oven. Vanilla and sea salt keep the sweetness from tasting sharp, so it reads like a grown-up chocolate-hazelnut spread rather than frosting.
Ingredients
This recipe is built around three “structure” ingredients—almond flour, cocoa powder, and blanched hazelnut meal—plus butter, cream, and smooth hazelnut butter for richness and spreadability. If you’re adjusting anything, the most realistic tweak is sweetness: stevia amounts vary a lot by brand, so start small and add to taste.
- 1 cup almond flour
- 1/2 cup unsweetened cocoa powder
- 1/4 cup hazelnut meal (blanched)
- 1/2 tsp vanilla extract
- 1/2 tsp stevia or to taste
- 1/2 tsp sea salt
- 1/2 cup butter, softened
- 1/4 cup heavy whipping cream
- 1/4 cup hazelnut butter (smooth)
Step-by-Step Instructions
- Preheat and prep the pan. Heat the oven to 350°F (175°C). Line a baking sheet with parchment paper so you can lift and scrape the spread easily later.
- Combine everything in one bowl. In a mixing bowl, add the almond flour, cocoa powder, hazelnut meal, vanilla, stevia, sea salt, softened butter, heavy whipping cream, and hazelnut butter.
- Mix until fully smooth. Stir and mash until the mixture looks evenly chocolate-brown with no dry pockets of cocoa or flour. It should be thick and spreadable, like a dense batter.
- If you see streaks of butter or clumps of cocoa, keep mixing—those won’t fix themselves in the oven.
- Spread into an even layer. Scrape the mixture onto the parchment-lined baking sheet and spread it out evenly. Aim for a consistent thickness so it sets at the same rate across the pan.
- Bake just until set. Bake for 10–15 minutes, until the surface looks set and matte rather than wet, and the spread feels more cohesive (not liquidy) when you gently nudge the edge with a spatula.
- You’re not looking for browning; you’re looking for structure.
- Cool completely before using. Let it cool on the pan. It will firm up as it cools, becoming more spread-like and less batter-like. Once fully cool, use as a spread.
Common Mistakes to Avoid
- Overbaking it. If you bake past “set,” the spread can dry out and lose that fudgy texture. Fix: pull it when the surface looks set and the center isn’t glossy-wet—usually closer to 10 minutes than 15, depending on thickness.
- Trying to spread it while warm. Warm spread can feel greasy and loose. Fix: cool completely so the butter re-firms and the nut flours finish tightening the texture.
- Under-mixing the cocoa and nut flours. Dry pockets can taste bitter or powdery. Fix: mix until the color is fully uniform and the texture looks smooth and dense.
- Using butter that’s not softened. Cold butter won’t blend well and can leave lumps. Fix: soften the butter first so it incorporates evenly with the cream and hazelnut butter.
- Oversweetening with stevia. A little goes a long way, and different types vary in strength. Fix: start with the listed amount, then adjust next batch if needed.
Variations and Swaps
- Adjust sweetness thoughtfully: Keep everything the same and change only the stevia “to taste.” This is the safest tweak and doesn’t affect the set.
- Make it more “dark chocolate” leaning: Reduce stevia slightly so the cocoa leads; the salt and vanilla will still keep it balanced.
- Change the texture by baking time (within the 10–15 window): Bake closer to 10 minutes for a softer, fudgier spread; closer to 15 minutes for a firmer set—just avoid drying it out.
If you want another low-effort chocolate option for your rotation, I often pair this style of pantry-friendly treat planning with this 3-minute chocolate fudge when I need something even faster.
Serving Suggestions
- Spread a spoonful onto a simple snack plate and pair it with whatever you already have prepped—this is especially handy alongside make-ahead basics like 3-ingredient keto coconut macaroons.
- Use it as a rich “finisher” spread: a thin layer goes a long way because the cocoa and hazelnut are both strong.
- For a savory-meets-sweet contrast on busy days, I’ll keep it separate from dinner but still plan it the same way I plan protein batches—if you’re already meal prepping from a list like these keto beef recipes, this spread is an easy add-on treat that doesn’t create extra cooking steps.
Storage and Meal Prep
Once cooled, store the spread in a sealed container in the refrigerator so it stays thick and scoopable. Because it firms as it chills, give it a minute at room temperature if you want it easier to spread. For meal prep, I like making it while I’m already using the oven for something else—mix it in one bowl, bake on a lined sheet, then cool while you clean up. If the texture seems too firm straight from the fridge, stir it briefly to loosen before serving.

FAQs
Do I really need to bake it?
Baking is what helps this mixture set into a cohesive spread. Without that brief bake, it’s more likely to stay loose and uneven in texture.
How do I know it’s “set” in the oven?
Look for a surface that turns from glossy-wet to set and matte, with a thicker feel at the edges. It shouldn’t be browned; it should just look structured.
Can I make it less sweet?
Yes—adjust the stevia. Everything else can stay the same, and the spread will still set properly.
Why does it feel greasy when it’s warm?
That’s normal while the butter is still soft. Cool it fully; the texture tightens and becomes more spread-like as it cools.
Final Tip
Spread it evenly on the parchment before baking—an even layer is the simplest way to get consistent “set” across the pan, so you don’t end up with dry edges and a soft center.
Conclusion
If you like having a ready-to-go chocolate hazelnut option in the fridge, it’s useful to compare textures and sweetness styles across a few staples—like the no added sugar chocolate hazelnut spread, the dark chocolate vegan hazelnut spread, or a pantry-style option such as this sugar-free triple chocolate low carb spread—and then come back to this baked version when you want a thicker, more fudgy set you can control at home.

Chocolate Hazelnut Keto Spread
Ingredients
Method
- Preheat the oven to 350°F (175°C) and line a baking sheet with parchment paper.
- In a mixing bowl, combine the almond flour, cocoa powder, hazelnut meal, vanilla, stevia, sea salt, softened butter, heavy whipping cream, and hazelnut butter.
- Mix until the mixture is fully smooth and thick like a dense batter.
- Scrape the mixture onto the parchment-lined baking sheet and spread it into an even layer.
- Bake for 10–15 minutes until the surface looks set and matte, but not browned.
- Let it cool completely on the pan before using.
