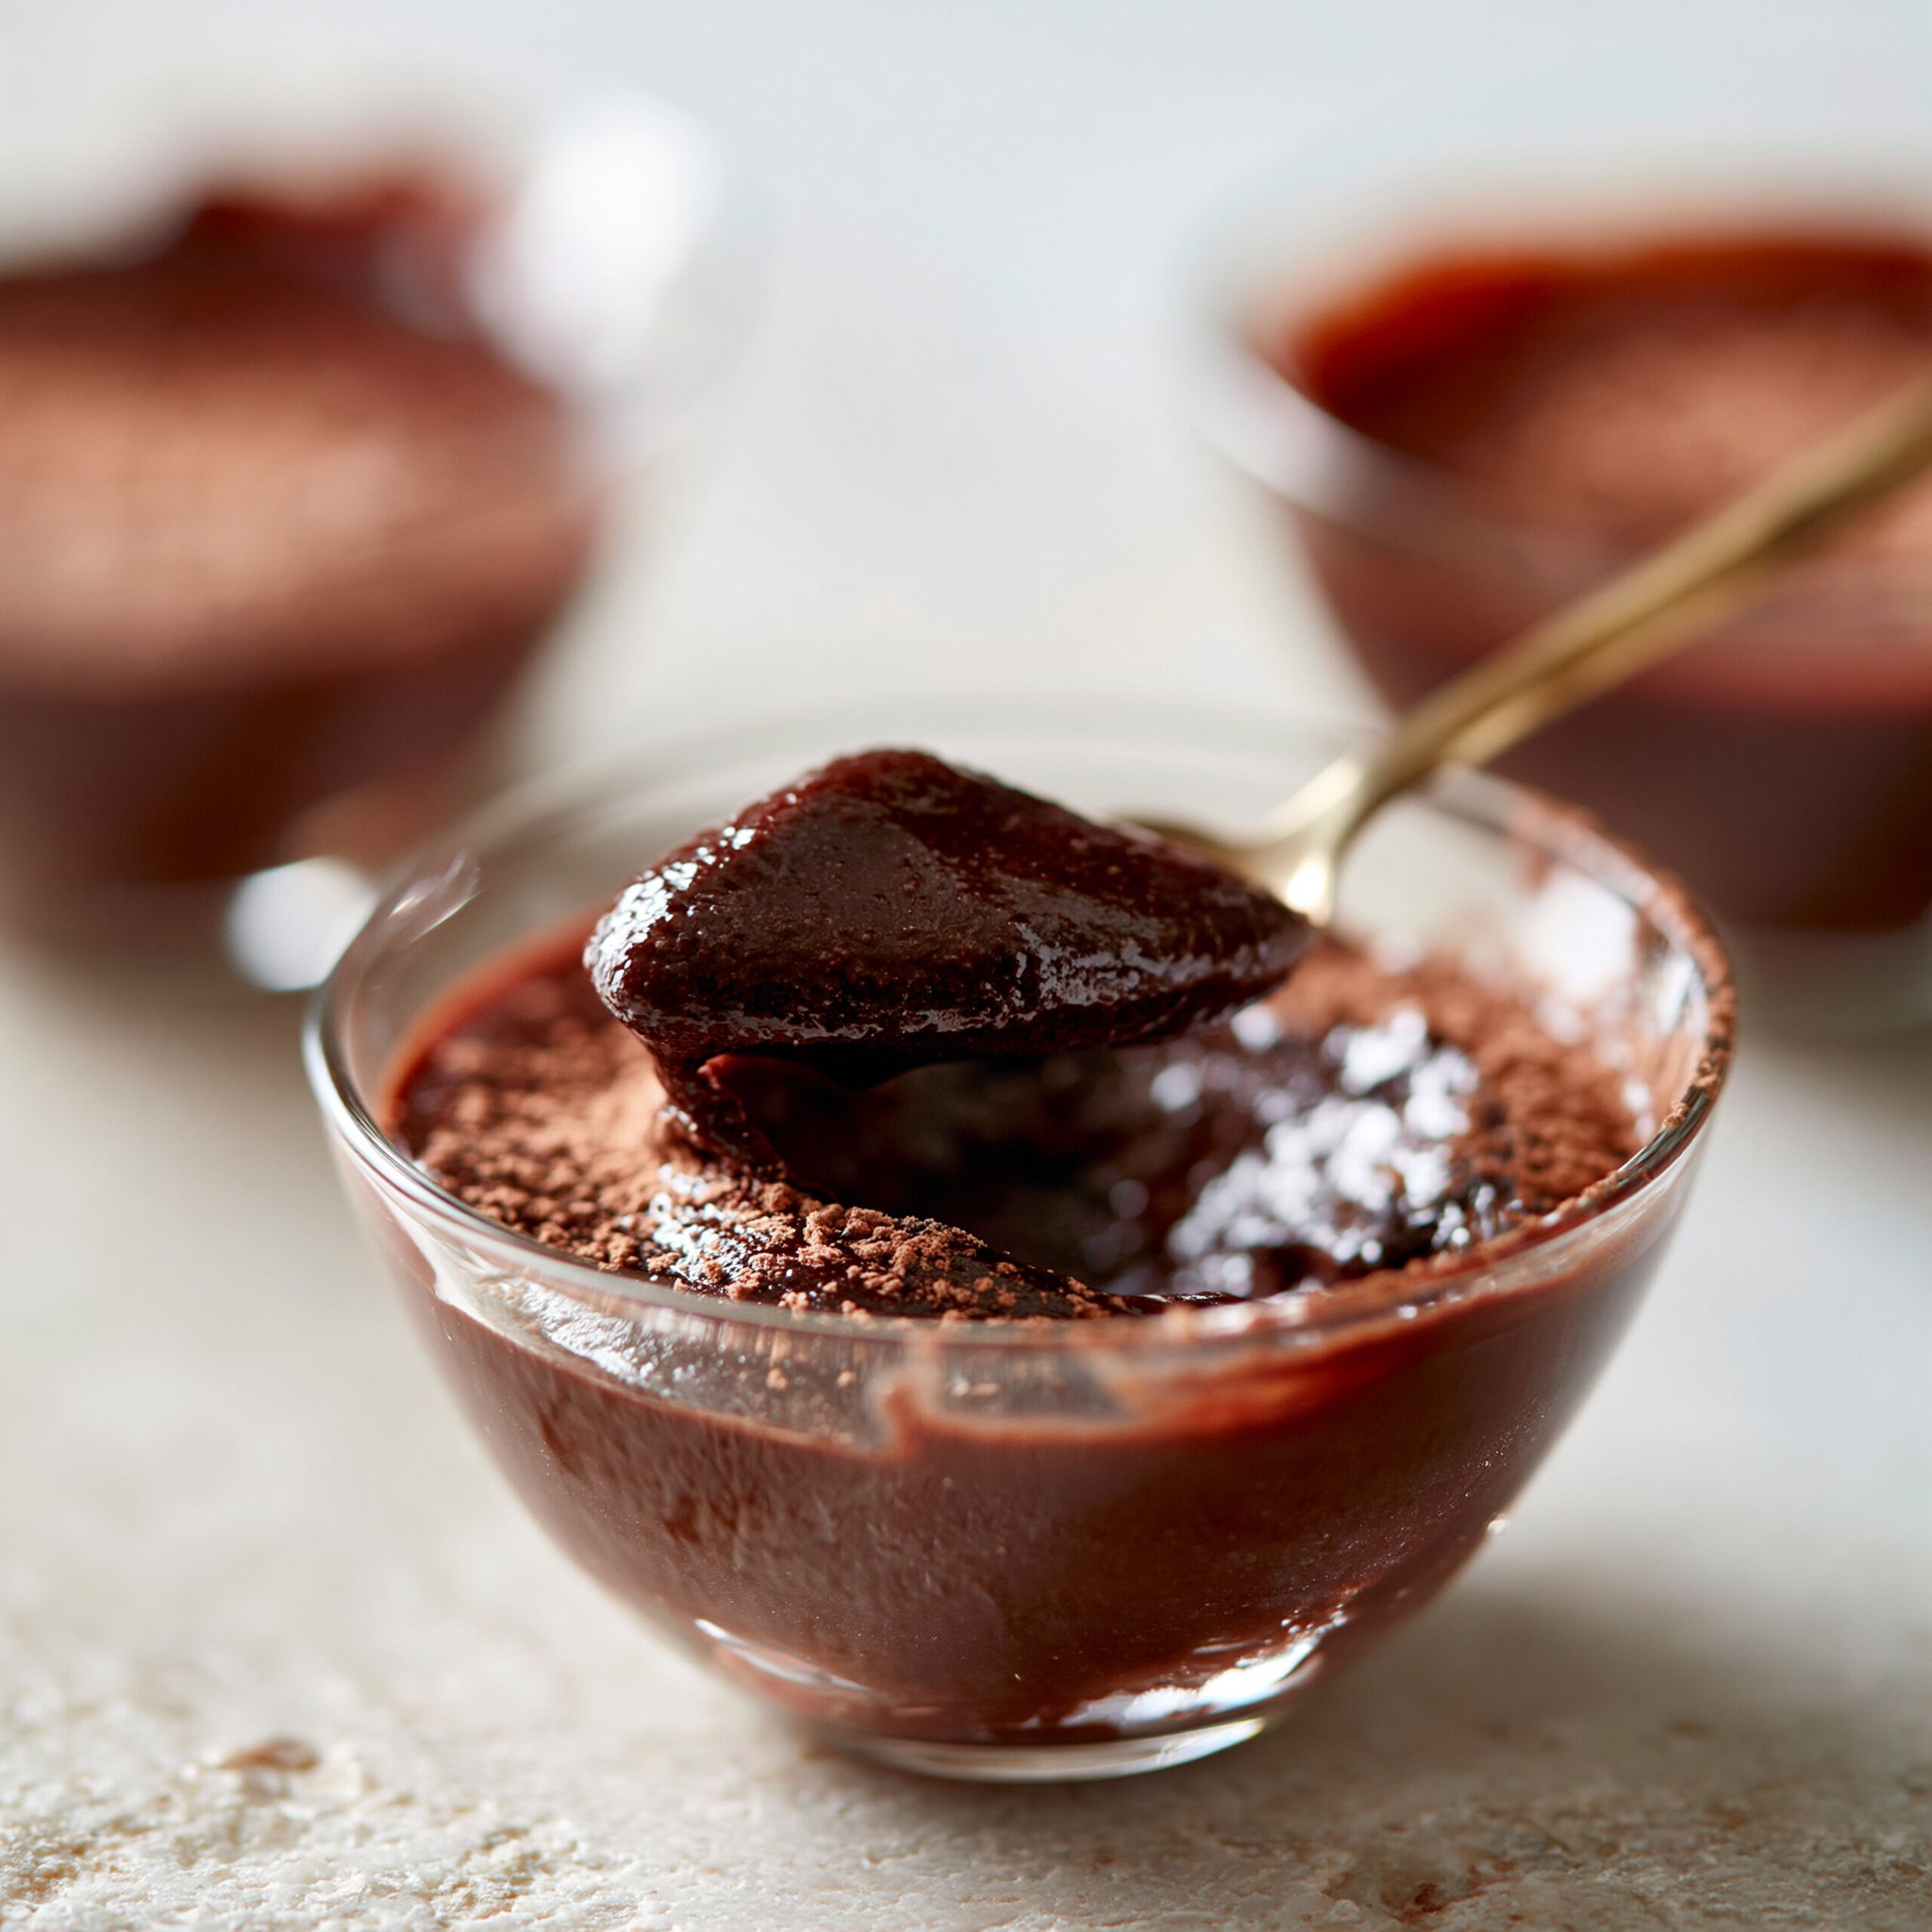
Some days you want something chocolatey and cold from the fridge, but you don’t want a sink full of bowls or a complicated custard situation. This chocolate pudding is my practical answer: one saucepan, one whisk, and a short chill while you handle the rest of the evening.
It’s cocoa-forward and deeply chocolate in flavor, with a smooth, spoonable texture that sets up nicely after an hour in the fridge. It also happens to be an easy way to use up protein powder without turning it into a gritty shake. If you like pudding-style breakfasts, it slides right into a routine alongside recipes like blueberry chia pudding or a more dessert-leaning option like peanut butter chocolate chia pudding.
Why This Recipe Works
- One-pot, low-mess method: Everything starts in a saucepan, and the whisk does most of the work—no tempering eggs, no extra bowls unless you use the optional slurry.
- Strong chocolate flavor without heaviness: Unsweetened cocoa powder gives that classic pudding intensity, while almond milk keeps it lighter on the palate.
- Protein powder is integrated the right way: Whisking it in from the beginning helps it dissolve so you’re not chasing clumps later.
- Optional cornstarch lets you control thickness: Skip it for a looser, more pourable pudding; add it for a thicker, more classic set.
- Clear “done” cues: You’re looking for a gentle simmer and a mixture that visibly thickens and coats a spoon—simple to judge as you stir.
- Great make-ahead payoff: An hour in the fridge turns it into a ready-to-grab snack or quick sweet finish after dinner.
Quick Kitchen Note
I rely on this style of pudding when I want a chocolate fix that’s not a baking project—especially when I already have almond milk and cocoa in the pantry and I’d rather wash one saucepan than a blender and a pile of cups.
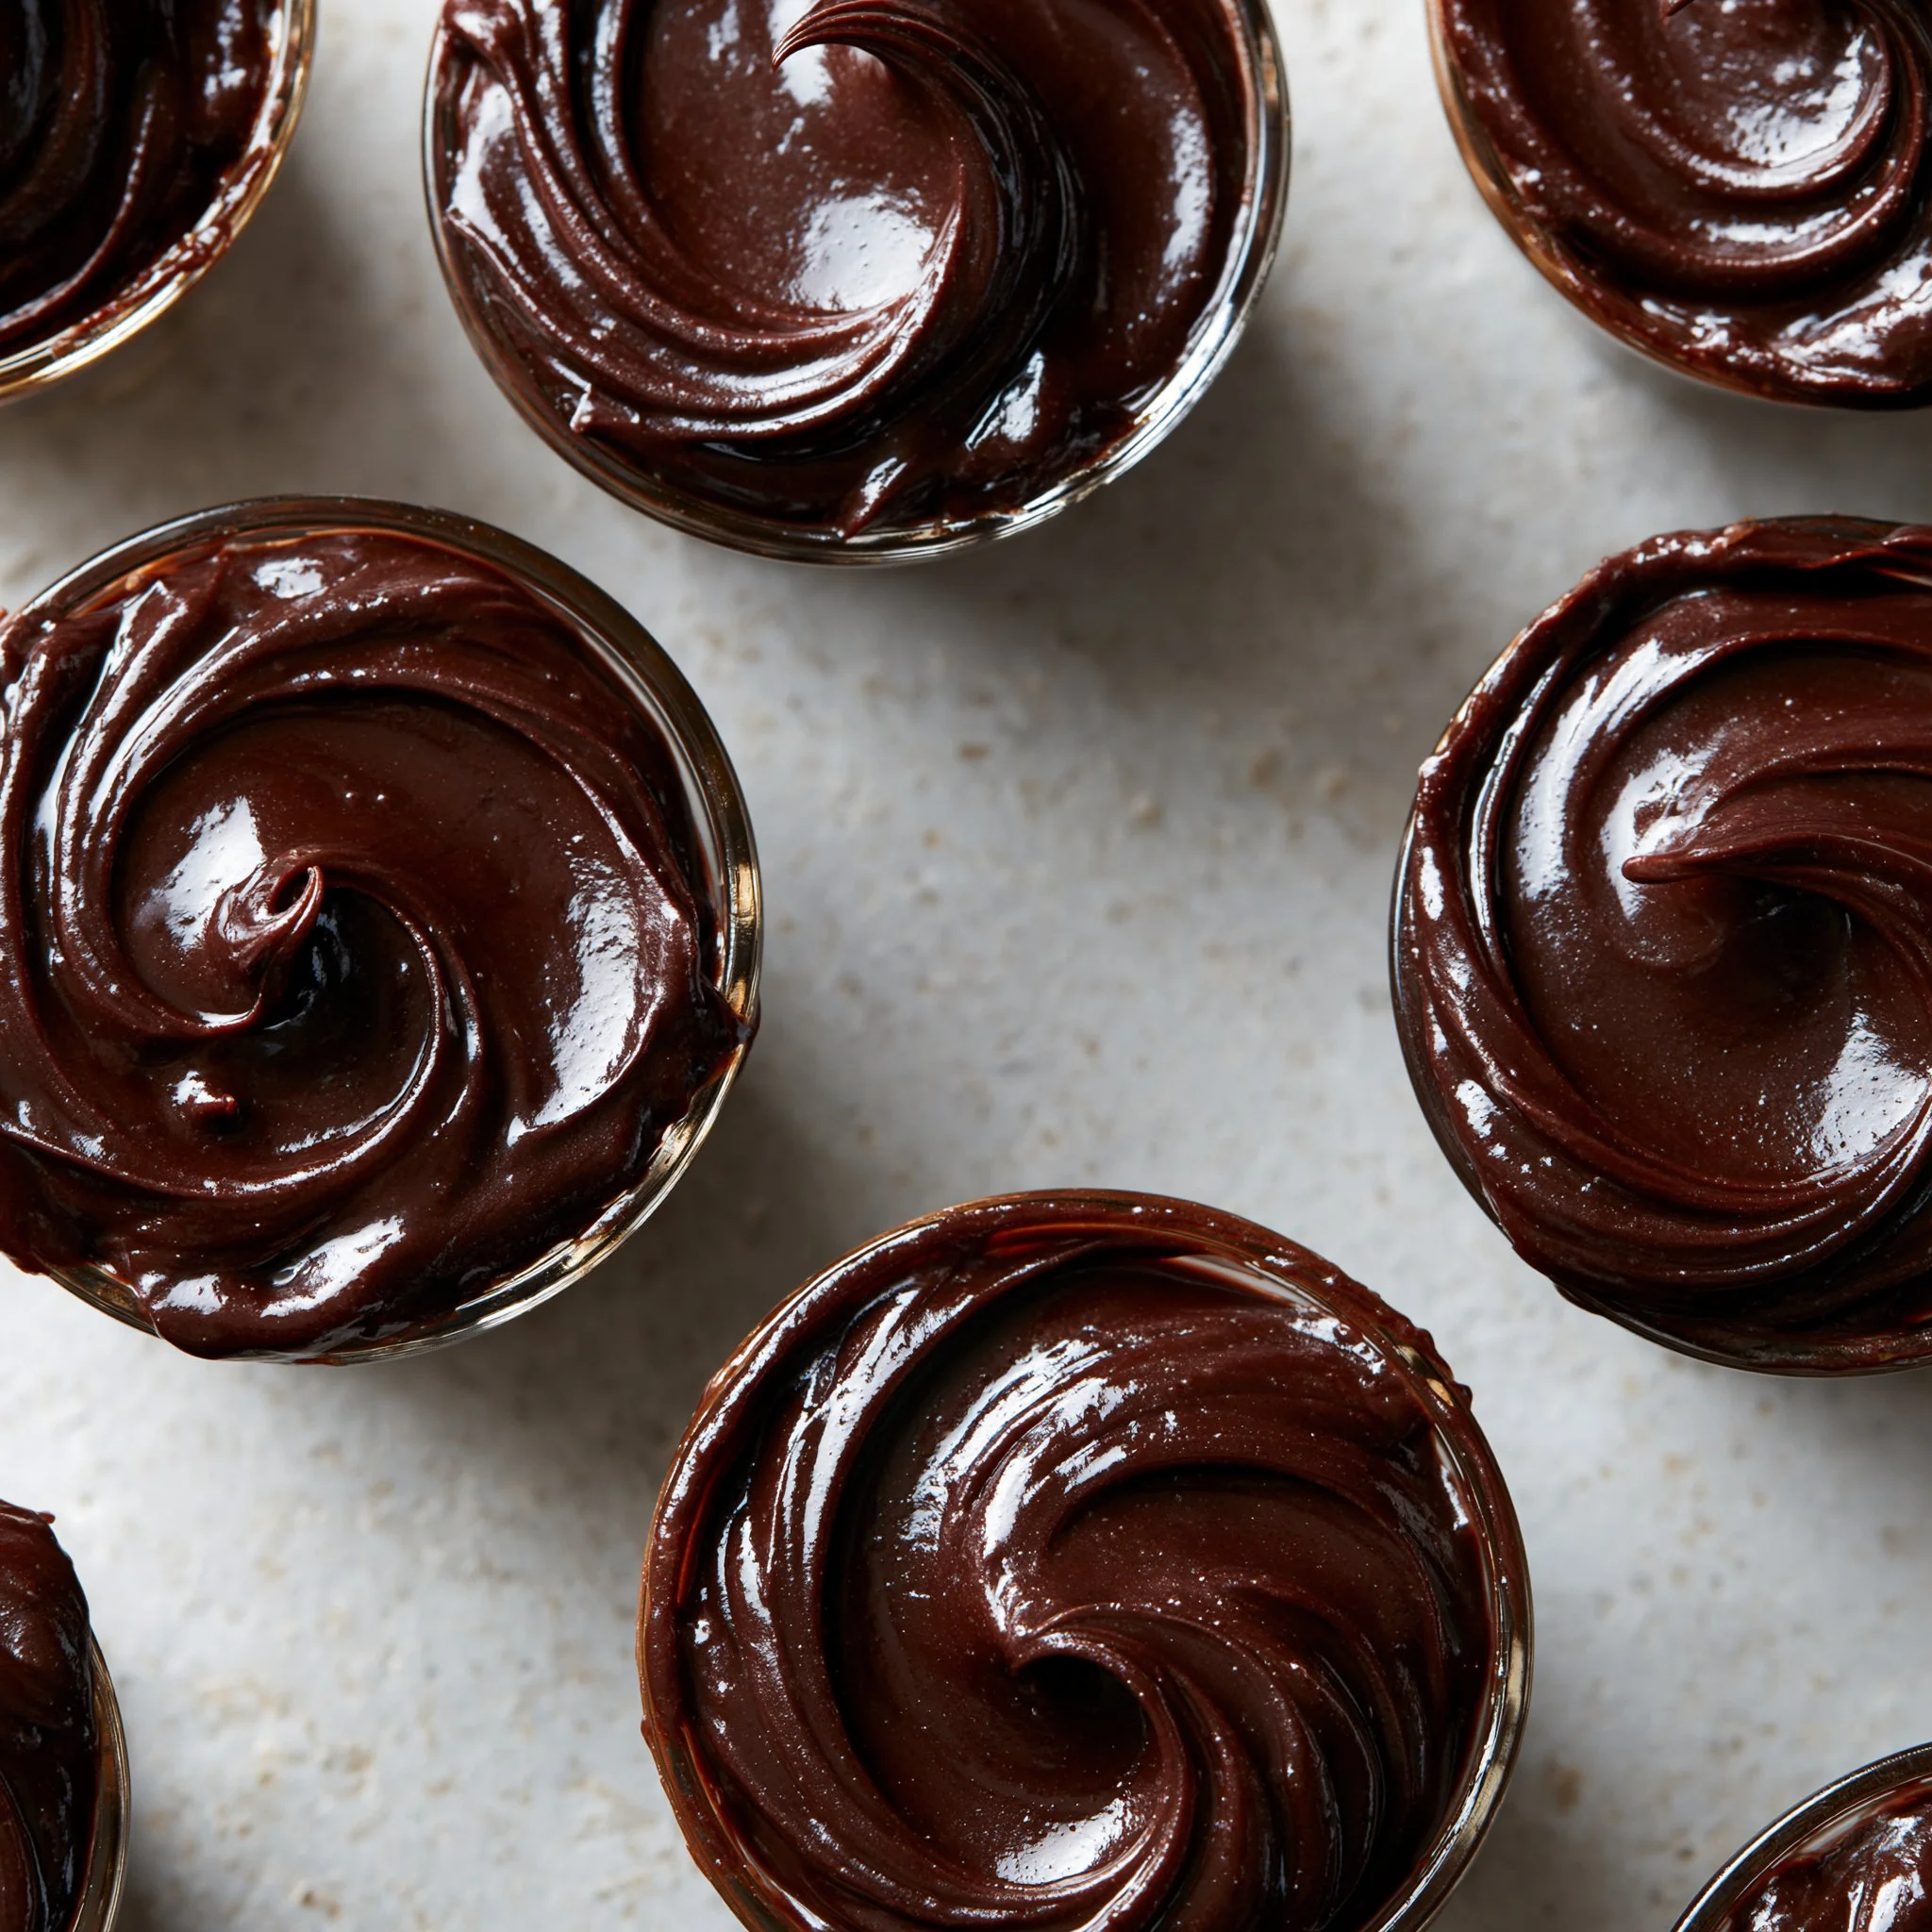
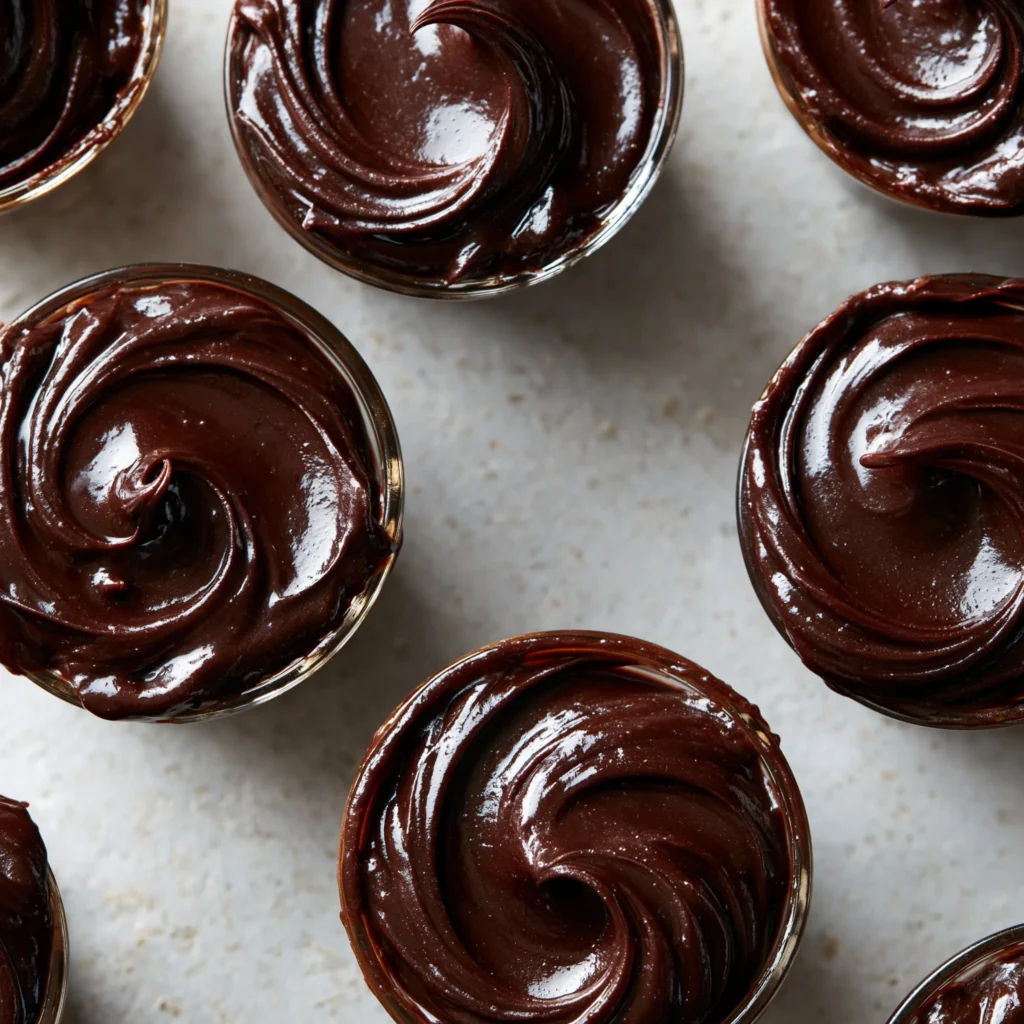
What It Tastes Like
This pudding tastes like clean, dark cocoa with a clear vanilla note and just enough salt to keep the sweetness from feeling flat. Warm, it smells like hot cocoa; chilled, it becomes more concentrated and fudgy. The texture is smooth and creamy, and if you use the cornstarch slurry it sets up into a thicker spoonful that feels closer to classic stovetop pudding.
Ingredients
This recipe is built around unsweetened cocoa powder for a bold chocolate base, almond milk for a light, clean dairy-free liquid, and protein powder for structure and body. Your sweetener choice matters here: stevia and erythritol both work, but they don’t behave exactly like sugar, so taste and adjust before chilling. Cornstarch is optional, but it’s the difference between “chocolate pot de crème vibe” and “traditional pudding cup.”
- 2 cups unsweetened almond milk
- 1/2 cup unsweetened cocoa powder
- 1/4 cup protein powder
- 1/4 cup sweetener (like stevia or erythritol)
- 1 tablespoon vanilla extract
- 1/4 teaspoon salt
- 2 tablespoons cornstarch (optional for thickening)
Step-by-Step Instructions
-
Whisk the base in a saucepan. Add the almond milk, cocoa powder, protein powder, sweetener, vanilla extract, and salt to a saucepan. Whisk until the cocoa is fully moistened and the mixture looks evenly brown with no dry pockets clinging to the sides.
-
Heat and stir to a gentle simmer. Set the pan over medium heat and stir constantly, sweeping the whisk along the bottom and corners. The mixture will look thin at first. You’re ready for the next step when you see small bubbles around the edges and light steam—think “hot cocoa,” not a rolling boil.
-
(Optional) Add cornstarch slurry for a thicker set. If you want a thicker pudding, stir the cornstarch into a small splash of cold almond milk to make a smooth slurry (no lumps), then whisk it into the simmering pudding. Keep stirring so it doesn’t settle on the bottom.
-
Cook until it thickens. Continue cooking while stirring. Watch for the texture change: it should go from thin and glossy to slightly thicker and more velvety, coating the whisk and leaving brief tracks as you stir. Once it reaches a pudding-like consistency, take it off the heat.
-
Cool slightly, then portion. Let the pudding cool in the pan for a few minutes so it’s not piping hot, then transfer to serving dishes. (This is also a good time to taste and decide if your sweetener level is right—flavors will read a little milder warm and a little stronger once chilled.)
-
Chill to fully set. Refrigerate for at least 1 hour before serving. The pudding will thicken further as it cools, becoming more scoopable and cohesive.
Common Mistakes to Avoid
- Not whisking thoroughly at the start: Dry cocoa or protein pockets can turn into stubborn lumps. Fix: whisk until the mixture looks uniform before turning on the heat.
- Letting it sit on the heat without constant stirring: Cocoa and protein can catch at the bottom, leading to scorched flavor. Fix: keep the whisk moving, especially in the corners of the pan.
- Adding cornstarch directly to the hot pudding: It can clump instantly. Fix: make a smooth slurry with cold almond milk first, then whisk it in.
- Boiling aggressively: A hard boil can make the texture less smooth and can concentrate the mixture too quickly. Fix: aim for a gentle simmer—small bubbles, steady steam.
- Judging thickness only while hot: Warm pudding always seems looser. Fix: stop cooking when it coats a spoon; the fridge time is what gives it the final set.
Variations and Swaps
- Thicker vs. looser pudding: Use the cornstarch slurry for a thicker, more traditional texture; skip it for a softer pudding that’s still rich once chilled.
- Sweetener flexibility: Stevia or erythritol both work. Since sweetness can vary by brand, taste the mixture before chilling and adjust within your comfort zone.
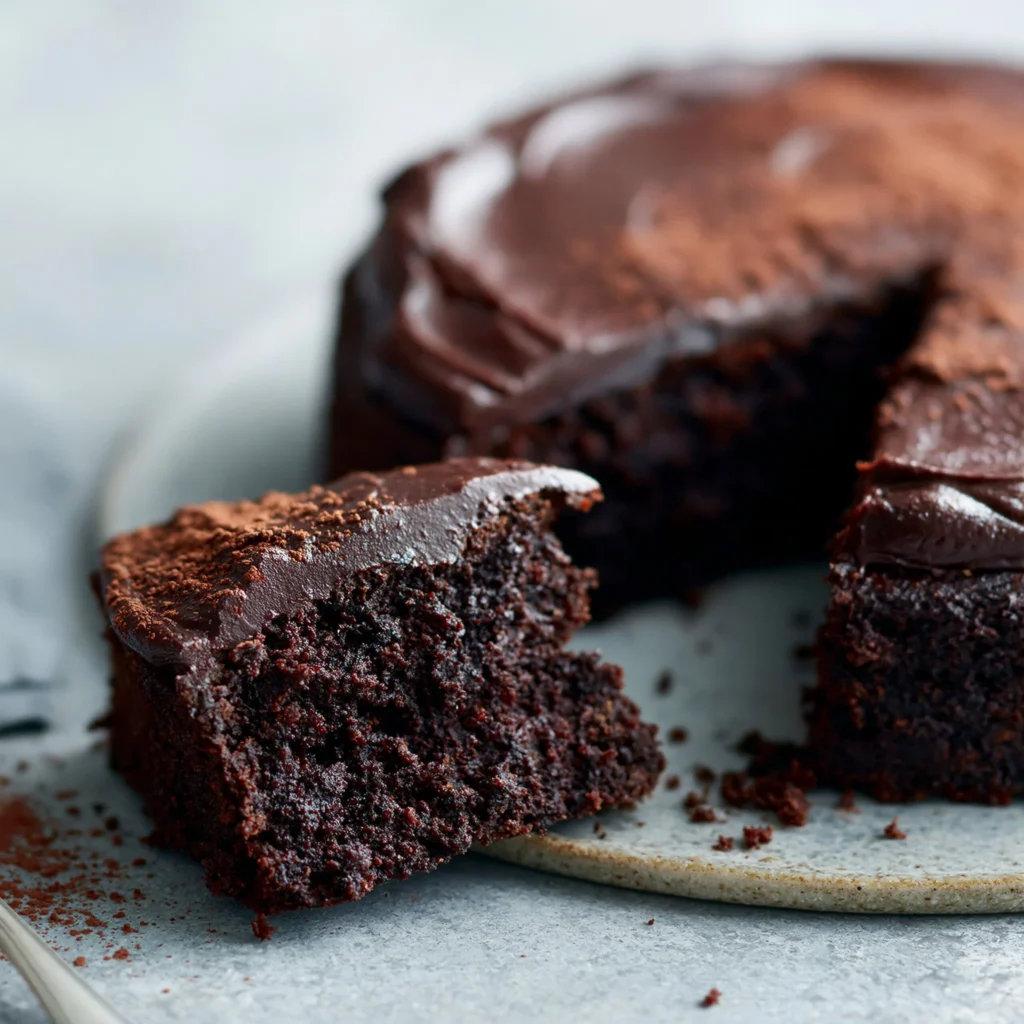
- Protein powder choice: Use the protein powder you already have, but whisk well and keep the heat gentle to help it dissolve smoothly. If you’re after a different chocolate format later in the week, I’ll often rotate between this pudding and a quick chocolate fudge-style recipe depending on whether I want something spoonable or sliceable.
Serving Suggestions
- Serve cold straight from the fridge as a simple dessert cup.
- Portion into small containers for grab-and-go snacks.
- If you’re planning a more “dessert night” feel without baking, pair it with something crisp like chocolate brownie waffles on the side, or use it as a creamy layer idea alongside a chilled pudding-style pie approach like this chocolate pudding pie format.
Storage and Meal Prep
Store the pudding in the refrigerator, covered, in the same serving dishes or in a sealed container. It’s a good make-ahead option because the texture continues to set as it chills—plan on at least 1 hour before serving. If you’re meal prepping, portioning it right after it cools slightly makes the next day easier and keeps the surface from drying out as quickly.
FAQs
Can I make this ahead?
Yes. It needs at least 1 hour in the refrigerator to chill and set, so making it earlier in the day (or the night before) works well.
Do I have to use the cornstarch?
No. Cornstarch is optional and mainly affects thickness. Without it, you’ll still get a chilled chocolate pudding, just on the softer side.
Why is my pudding lumpy?
Usually it’s from cocoa or protein powder not being fully whisked in, or from adding cornstarch directly to the hot mixture. Whisk thoroughly at the start and use a cold slurry if thickening.
How do I know it’s thick enough before chilling?
Look for a noticeable change while stirring: the mixture should coat a spoon and briefly hold whisk lines. Remember it will thicken more once refrigerated.
Final Tip
Keep the heat at a calm simmer and don’t stop stirring—this pudding rewards steady, patient whisking. If you’re unsure when to stop cooking, err on the side of “just thickened”; the fridge will do the rest of the setting for you.
Conclusion
If you want to compare this streamlined, protein-friendly approach to more classic versions, it’s helpful to read a traditional stovetop method like Homemade Chocolate Pudding from Spend With Pennies, a richly written deep-dive like Smitten Kitchen’s best chocolate pudding, or a familiar old-school style such as Nana’s Homemade Chocolate Pudding on Allrecipes—then come back to this one when you want the same comfort with fewer steps and one saucepan to wash.
Chocolate Protein Pudding
Ingredients
Method
- Whisk the base in a saucepan. Add almond milk, cocoa powder, protein powder, sweetener, vanilla extract, and salt to a saucepan. Whisk until fully moistened.
- Heat and stir to a gentle simmer. Set the pan over medium heat and stir constantly until small bubbles appear and light steam rises.
- (Optional) Add cornstarch slurry for a thicker set by stirring cornstarch into a small splash of cold almond milk, then whisking it into the simmering pudding.
- Cook until it thickens. Continue cooking while stirring until the mixture coats the whisk and leaves brief tracks.
- Cool slightly, then portion into serving dishes.
- Chill to fully set in the refrigerator for at least 1 hour before serving.