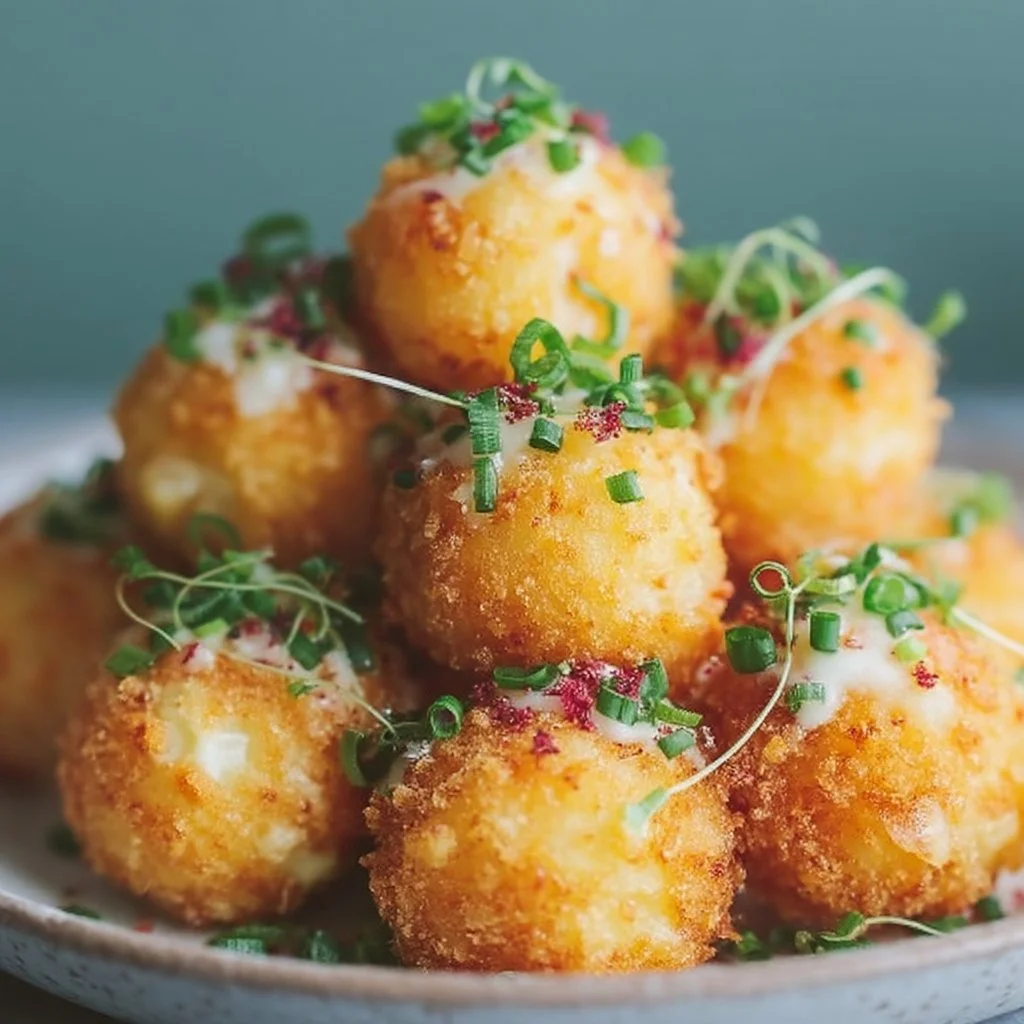
Leftover mashed potatoes are great—until they’re not. When they’ve been reheated once and the texture starts to feel a little tired, this is the move: turn them into crisp, cheesy fried mashed potato balls with a soft center and a golden, crackly crumb.
They’re especially useful when you need something snackable that still feels like real food: a quick lunch plate, a game-day tray, or a “use what’s in the fridge” dinner side. The setup is simple (mix, roll, bread, fry), and the payoff is big: cheesy potato flavor, a little bite from green onions, and that clean crunch you only get from hot oil and breadcrumbs. If you’re into other “roll-and-go” cooking projects, these fit right alongside recipes like lemon butter salmon with crispy potatoes and broccoli—practical, satisfying, and very straightforward.
Why This Recipe Works
- Mashed potatoes + cheese = a sturdy, creamy interior. The cheese melts into the potatoes, helping the centers stay rich instead of dry.
- Green onions brighten the flavor. They cut through the richness so each bite tastes balanced, not heavy.
- A simple breading station creates real crunch. Flour helps the egg stick; egg helps the breadcrumbs stick—so the coating fries up evenly.
- Fast cook time, high reward. At 350°F (175°C), you’re frying just long enough to brown the outside (about 3–5 minutes), not “cook” the potatoes from scratch.
- Batch-friendly. You can shape and bread everything first, then fry in rounds with minimal decision-making.
- Optional bacon adds smoky salt without changing the method. It’s truly optional—skip it and the recipe still holds together well.
Quick Kitchen Note
I rely on this kind of recipe when I want something hot and crispy without starting from zero—especially when there’s already a container of mashed potatoes in the fridge that needs a better ending than another plain reheat.
What It Tastes Like
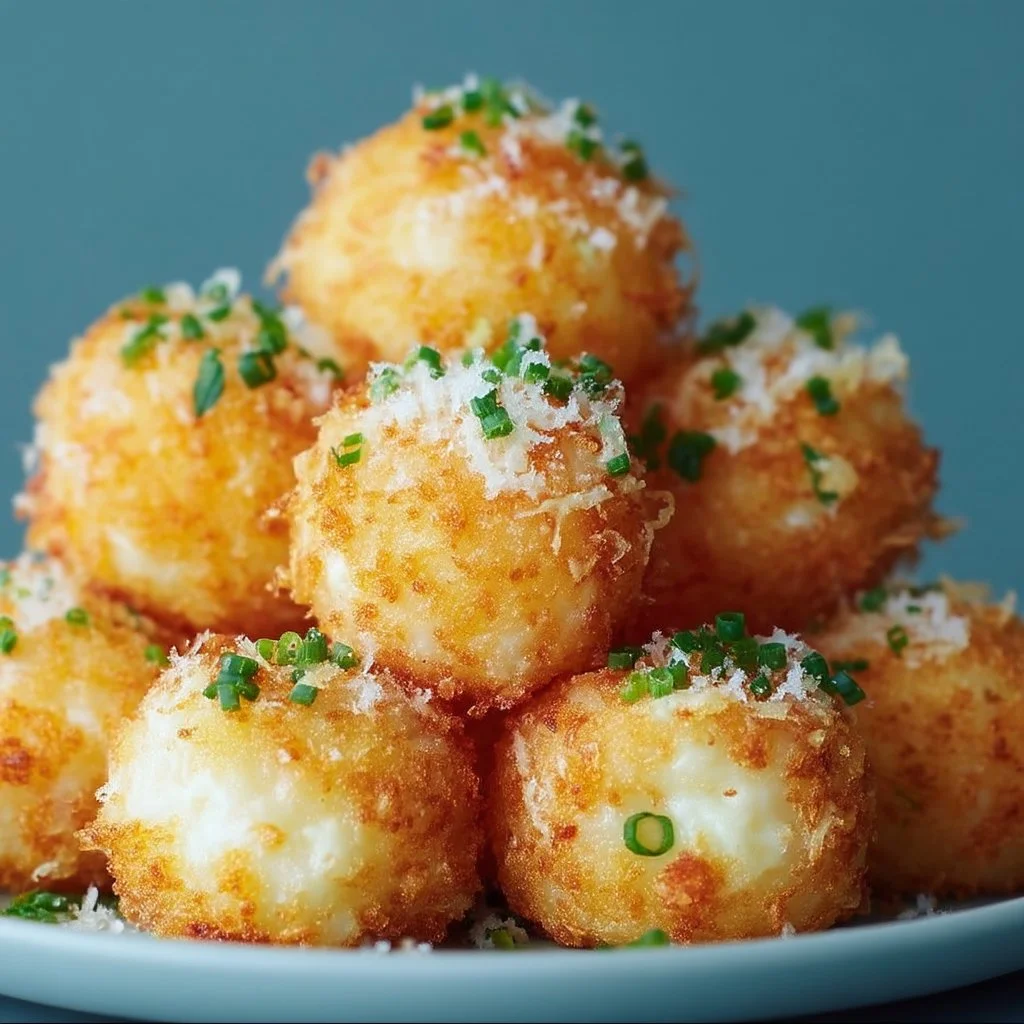
These are savory and cheesy with a gentle oniony bite, and they smell like toasted breadcrumbs as soon as they hit the oil. The outside is crunchy and well-seasoned, while the inside stays soft and creamy—more like a loaded mashed potato in snack form than a dense croquette. If you add bacon, you’ll get little salty pops throughout; if you don’t, the cheese and green onions still carry the flavor.
Ingredients
This recipe is built around already-made mashed potatoes, with shredded cheese for melt and structure, green onions for freshness, and (optionally) bacon for smoky depth. The classic flour–egg–breadcrumb breading is what gives you that crisp, shattering shell. Use cheddar or any shredded cheese you like; the method doesn’t change. If you’re on a “balls and bites” kick, you might also like my carrot cake energy balls for a no-cook option on a different day.
- 2 cups mashed potatoes
- 1 cup shredded cheese (cheddar or your choice)
- 1/2 cup cooked bacon bits (optional)
- 1/4 cup green onions, chopped
- 1/2 cup all-purpose flour
- 1 cup breadcrumbs
- 2 eggs, beaten
- Salt and pepper to taste
- Oil for frying
Step-by-Step Instructions
- Mix the base. In a mixing bowl, combine the mashed potatoes, shredded cheese, bacon bits (if using), and chopped green onions. Season with salt and pepper. Mix until everything is evenly distributed and the mixture looks uniform (no big pockets of plain potato).
- Shape into balls. Scoop and roll the mixture into balls about 1–2 inches wide. Aim for consistent size so they fry at the same pace.
- Set up a breading station. Place the flour on one plate, the beaten eggs in a second, and the breadcrumbs on a third. This assembly-line setup keeps your hands cleaner and your coating more even.
- Bread each ball thoroughly. Roll each potato ball in flour first (light, even coat), dip into the beaten egg, then roll in breadcrumbs. Press the breadcrumbs on gently so the surface is fully covered—any bare spots are where oil can sneak in and soften the crust.
- Heat the oil to 350°F (175°C). Use a deep fryer or a large pot and bring the oil to temperature. This temperature matters: too cool and they’ll absorb oil; too hot and the coating browns before the outside sets properly.
- Fry in batches. Carefully add a few balls at a time (don’t crowd the pot). Fry for 3–5 minutes, turning as needed, until they’re deep golden brown with a crisp-looking exterior.
- Drain and serve. Remove the potato balls and drain on paper towels. Serve while hot, when the coating is at its crunchiest and the cheese is still melty.
Common Mistakes to Avoid
- Oil not at 350°F (175°C). If it’s cooler, the coating can turn greasy; if hotter, the breadcrumbs brown too fast. Fix: give the oil a moment to come back to temp between batches.
- Skipping the flour step. Flour is what helps the egg cling to the potato surface. Fix: do a quick, even flour coat before the egg every time.
- Bare or thin breadcrumb coverage. Thin spots can fry up soft or uneven. Fix: press breadcrumbs on gently so the outside looks fully coated.
- Overcrowding the pot. Too many at once drops the oil temperature and leads to uneven browning. Fix: fry in smaller batches for consistent crunch.
- Under-seasoning the potato mixture. Once breaded and fried, it’s harder to correct blandness. Fix: taste the mixture (as you normally would with mashed potatoes) and season with salt and pepper before shaping.
Variations and Swaps
- Cheese: Cheddar works well, but any shredded cheese you like is fine—just keep the amount the same for similar melt and structure.
- Bacon: Leave it out for a cleaner potato-and-cheese flavor, or include it for smoky, salty bites.
- Green onions: If you want a sharper onion note, use the whites; for a milder finish, lean on the green parts. (Keep the total amount the same.)
- Size: Make slightly smaller balls if you want more crunch-to-center ratio, or closer to 2 inches for a softer, creamier middle—just keep them consistent so the timing stays predictable.
For another bite-sized prep that’s easy to portion, my coconut mango bliss balls are great when you want something no-fry and pantry-friendly.
Serving Suggestions
Serve these hot and crisp, straight from the paper towels. They’re great as a snack plate, or as a side with something simple and savory. If you’re building a bigger spread, I like pairing them with a main that already has vegetables on the plate, like lemon butter salmon with crispy potatoes and broccoli, so dinner feels complete without extra effort.
Storage and Meal Prep
- Refrigerate: Store cooled fried potato balls in an airtight container in the fridge.
- Reheat: Reheat until hot; they’re best when rewarmed in a way that brings back some exterior crispness (the coating will soften if reheated gently).
- Meal prep approach: If you want to get ahead, shape and bread the balls first so frying goes quickly when you’re ready to eat. Keep the workflow tidy by breading all of them before the oil heats—then you’re not juggling sticky hands over hot oil.
FAQs
Can I make these without bacon?
Yes. The bacon is optional; the cheese and green onions still give plenty of flavor.
Why do I need flour and egg and breadcrumbs?
Flour gives the egg something to grab onto; egg is the glue for breadcrumbs. That full chain is what creates an even, crisp shell.
How do I know they’re done frying?
Look for a deep golden-brown color and a crust that looks dry and crisp, not pale or soggy. Timing is typically 3–5 minutes at 350°F (175°C).
My coating looks uneven—what happened?
Usually it’s from light breadcrumb coverage or skipping a full flour coat. Make sure each ball is completely coated at every step, and press breadcrumbs on gently.
Final Tip
Before you start frying, line up your breaded balls and double-check the coating—any thin spots are worth touching up. It takes an extra minute, but it’s the difference between “mostly crisp” and evenly crunchy all the way around.
Conclusion
If you want to compare a few classic approaches to this exact style of recipe, it’s worth skimming Delish’s fried mashed potato balls, Peas and Crayons’ version, and The Pioneer Woman’s take—then come back to this method when you want a clean, reliable workflow with the same crisp-and-creamy payoff.