

I pulled a can of black beans from the pantry one evening when I wanted chocolate but didn’t want to bake with flour or fuss. These brownies are what I landed on: simple, reliably chocolate, and forgiving enough that you can make them after dinner without much clean-up. If you’re curious about other lower-sugar brownie approaches, I’ve tested a Greek-yogurt version that follows a similar “simple swap” idea and is a good comparison for texture and sweetness — see that method here.
They’re especially useful when you want a quick bake that still feels like a treat: a single blender, pantry staples, and a 20–25 minute oven time. The payoff is chocolate that’s fudgy rather than cakey, with a mild bean background that’s more about texture and moisture than flavor, and a tidy, easy cleanup that’s great on a weeknight.
Why This Recipe Works
- Bean-based structure: pureed black beans replace flour and add moisture and body so the brownies stay fudgy instead of drying out.
- Straightforward sweetness: honey or maple syrup blends smoothly with the cocoa, giving even sweetness and a glossy surface once baked.
- Minimal tools and cleanup: everything goes in the blender or food processor, then into one greased 8×8 pan—no sifting, no bowls.
- Predictable timing: 20–25 minutes at 350°F yields brownies that are set but still tender; a clean toothpick is the simple doneness check.
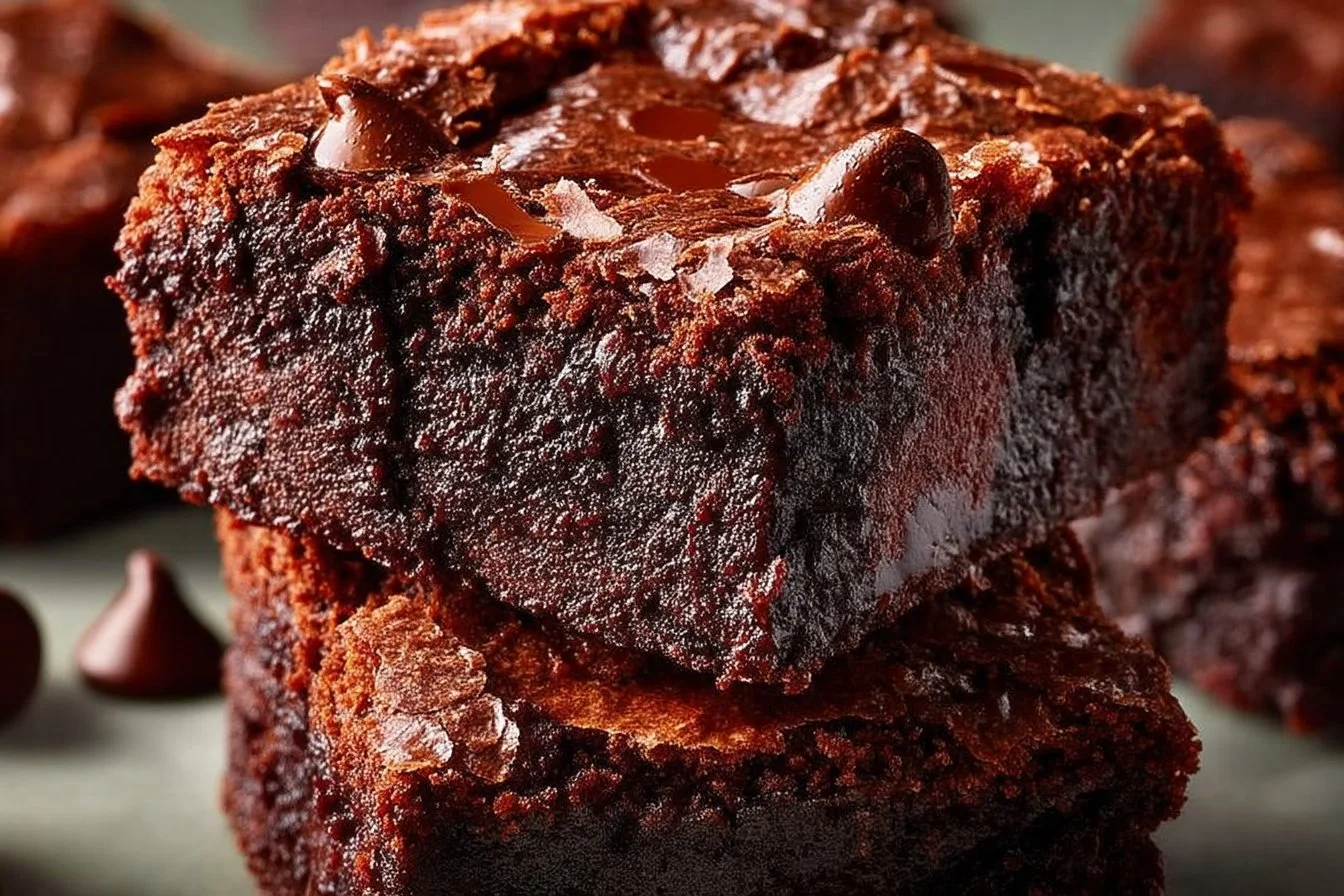
- Flexible finish: stirring in chocolate chips before baking creates pockets of melted chocolate without extra steps.
- Good for make-ahead: they hold shape and texture well when cooled, making them useful for portioning into lunches or snacks.
Quick Kitchen Note
I reach for this recipe when I want dessert that feels intentionally simple—no multiple bowls, no tempering, and no special flours. The blender makes it dependable: as long as the beans are well-rinsed and the batter is smooth, the bake is consistent. For a different texture profile and a little tang, try my Greek-yogurt brownies for comparison — that version is here.
What It Tastes Like
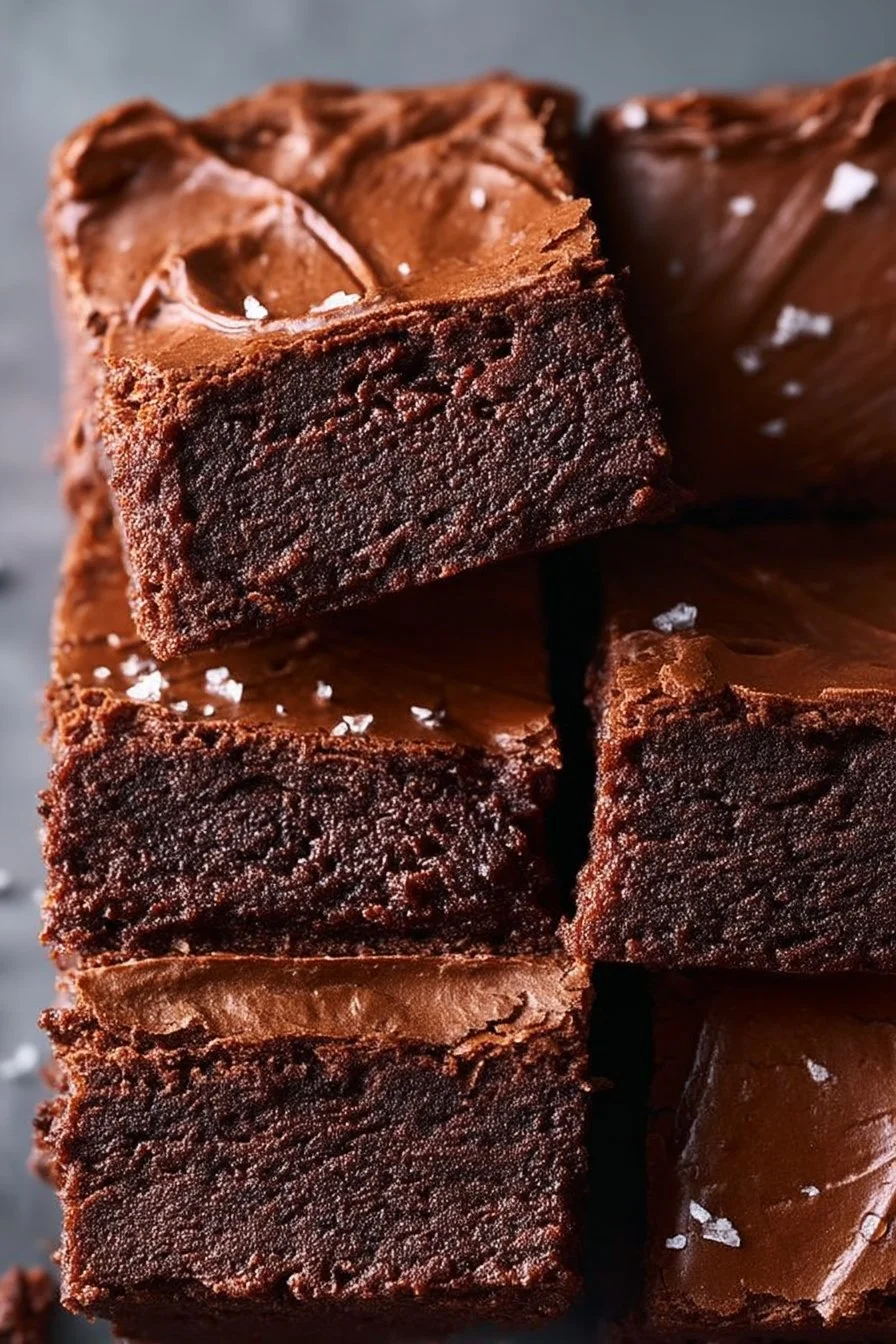
These brownies are chocolate-forward with a rounded sweetness from honey or maple syrup. The crumb is moist and fudgy, not cakey; you’ll notice a dense interior and a slightly glossy, thin top. Aroma is straightforward cocoa and vanilla, and the finish is mildly sweet with a clean cocoa bitterness—chocolate chips add bursts of melty richness where used.
Ingredients
The key players here are black beans for structure and moisture, unsweetened cocoa for the chocolate backbone, and honey or maple syrup for liquid sweetness and shine. Coconut oil keeps the texture tender and helps the batter blend smoothly; eggs provide lift and set the interior.
- 1 cup black beans, rinsed and drained
- 1/2 cup unsweetened cocoa powder
- 1/2 cup honey or maple syrup
- 1/4 cup coconut oil, melted
- 2 large eggs
- 1 tsp vanilla extract
- 1/2 tsp baking powder
- 1/4 tsp salt
- 1/2 cup chocolate chips (optional)
Step-by-Step Instructions
- Preheat and prep. Preheat your oven to 350°F (175°C). Grease an 8×8 inch baking dish (butter, oil, or nonstick spray works) and set it aside so it’s ready when the batter is blended.
- Combine in a blender or food processor. Add the rinsed and drained black beans, cocoa powder, honey (or maple syrup), melted coconut oil, eggs, vanilla, baking powder, and salt to the blender. Pulse first to break up the beans, then blend on medium-high until the batter is completely smooth and glossy. Stop and scrape the sides once or twice—there should be no bean bits.
- Check the batter texture. The final batter should be thick but pourable, similar to a thick brownie batter—glossy and uniform in color. If it looks grainy, blend a bit longer and scrape again.
- Add chocolate chips (optional). Stir the chocolate chips into the batter with a spatula—you want even distribution but not full melting.
- Bake. Pour the batter into the prepared pan and spread it evenly with a spatula. Bake 20–25 minutes. Start checking at 20 minutes: the edges should look set and slightly pulled away from the pan, the center should be firm but give slightly to the touch, and a toothpick inserted in the center should come out mostly clean (a few moist crumbs are fine).
- Cool before cutting. Let the brownies cool in the pan at least 15–20 minutes—this helps them firm up for cleaner squares. For tidy slices, chill 30 minutes in the fridge before cutting.
Common Mistakes to Avoid
- Not rinsing the beans thoroughly: canned beans can carry a metallic or salty can-flavor; rinse until the water runs clear to avoid off-flavors.
- Under-blending the batter: small bean bits give a grainy texture. Scrape the blender and blend until the batter is smooth and glossy.
- Overbaking: bake to a mostly-clean toothpick; leaving them in too long yields a drier, crumbly brownie instead of fudgy.
- Using too-cold coconut oil: if the oil solidifies in the batter, it won’t blend smoothly. Use melted (but not hot) coconut oil so it incorporates evenly.
Variations and Swaps
- Sweetener swap: maple syrup works 1:1 for honey and will add a hint of maple flavor.
- Fat swap: melted butter or a neutral oil (canola, avocado) can replace coconut oil for a less coconut-forward note.
- Chocolate options: use chopped dark chocolate instead of chips for a more intense chocolate flavor.
- Make it nut-free: keep as written; the recipe is naturally nut-free unless you add nuts as a topping.
For other texture experiments and sugar-free alternatives, you might compare this to my sugar-free chocolate brownie options — here’s a tested fudgy, lower-sugar approach.
Serving Suggestions
These brownies work well on their own or paired simply: a scoop of yogurt or a spoonful of ricotta balances the sweetness, and a handful of fresh berries cuts through the richness. For an afternoon pick-me-up, warm a square briefly and serve with coffee or a small scoop of vanilla ice cream.
Storage and Meal Prep
Store cooled brownies in an airtight container at room temperature for up to 2 days, or in the fridge for 4–5 days. For longer storage, wrap individual squares tightly and freeze up to 2 months; thaw in the fridge or at room temperature. If reheating, warm a single square for 10–15 seconds in the microwave to soften without drying.
FAQs
Q: Can I make the batter ahead?
A: You can blend the batter and store it in the fridge for up to 24 hours, but you may need to stir before pouring and expect an extra minute or two of baking time.
Q: Will the black-bean flavor be strong?
A: No—the beans mostly provide texture and moisture. The cocoa and sweetener dominate the flavor, so the bean background is subtle.
Q: Can I use maple syrup instead of honey?
A: Yes—maple syrup is a direct swap and will give a slightly different, pleasantly earthy sweetness.
Q: How do I get a fudgier brownie?
A: Slightly underbake toward the 20-minute mark and let the brownies cool fully; chilling before cutting also enhances fudginess.
Final Tip
For clean slices, chill the pan for 20–30 minutes before cutting and run a sharp knife under hot water between cuts to keep edges neat.
Conclusion
If you want a reference for other healthy brownie textures, this Hummusapien healthy brownie recipe offers a different take on ingredients and texture worth comparing. For a very fudgy, lower-sugar approach that tests chocolate intensity differently, try this Loopy Whisk super fudgy healthy brownies.
Fudgy Black Bean Brownies
Ingredients
Method
- Preheat your oven to 350°F (175°C). Grease an 8x8 inch baking dish and set it aside.
- In a blender or food processor, combine the rinsed black beans, cocoa powder, honey (or maple syrup), melted coconut oil, eggs, vanilla, baking powder, and salt.
- Pulse to break up the beans, then blend on medium-high until completely smooth and glossy. Stop to scrape the sides once or twice.
- Ensure the batter is thick but pourable. If it looks grainy, blend longer.
- If desired, stir in the chocolate chips for even distribution.
- Pour the batter into the prepared pan and spread evenly.
- Bake for 20-25 minutes. Start checking at 20 minutes; the edges should look set and a toothpick in the center should come out mostly clean.
- Let the brownies cool in the pan for at least 15-20 minutes before cutting.
- For tidier slices, chill for 30 minutes in the fridge before cutting.


