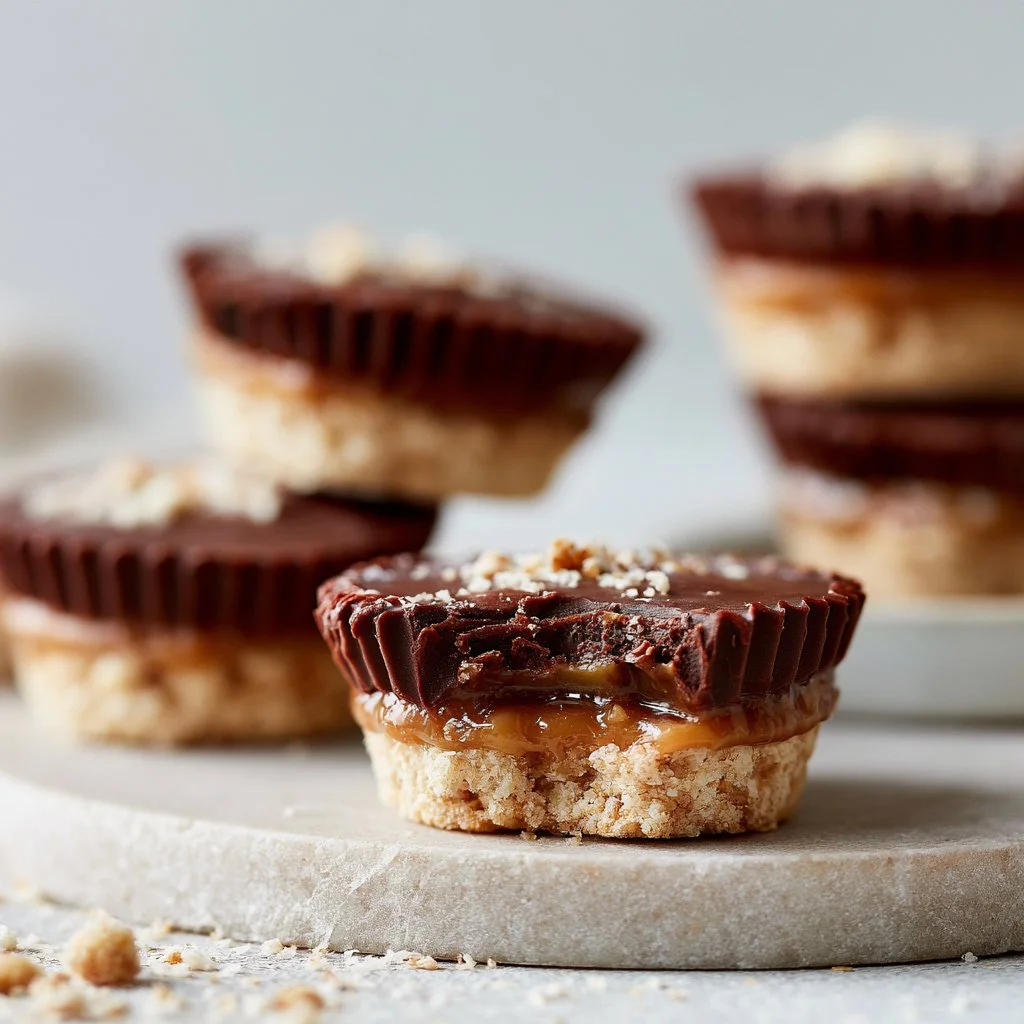
The first bite of these Healthy Twix Cups brings a delightful crunch followed by a smooth, creamy layer of caramel, perfectly balancing rich chocolate and nutty flavors. They’re the kind of treat that satisfies your sweet cravings without weighing you down. Made from wholesome ingredients, each layer complements the others, making this homemade version a decadent yet guilt-free indulgence. You may also find Healthy Keto Twix Bars useful.
The beauty of these cups lies not just in their comforting taste but also in their effortless preparation. With just a few simple steps, you can create a dessert that’s not only visually appealing but also packed with nutrients. The combination of almond flour and coconut oil creates a sturdy base, while the dates and nut butter join forces for a luscious caramel layer that feels both refreshing and satisfying. You may also find Healthy Twix Bars Gluten Free Homemade Recipe useful.
Why You’ll Love This Recipe
- The contrast of textures: a crunchy base paired with creamy caramel and smooth chocolate.
- It’s quick and easy to make, perfect for a weeknight dessert or a snack.
- Made with wholesome ingredients—without refined sugars, making it a healthier option.
- These cups are naturally gluten-free, catering to a variety of dietary preferences.
- You can easily customize the toppings or ingredients to suit your taste.
The Story Behind This Recipe
Inspired by a classic favorite, these Healthy Twix Cups transform a beloved candy bar into a nutritious treat. With fresh ingredients and a straightforward method, this recipe is designed for those who crave something sweet without compromise. You may also find Healthy Air Fryer Churro Bites useful.
What It Tastes Like
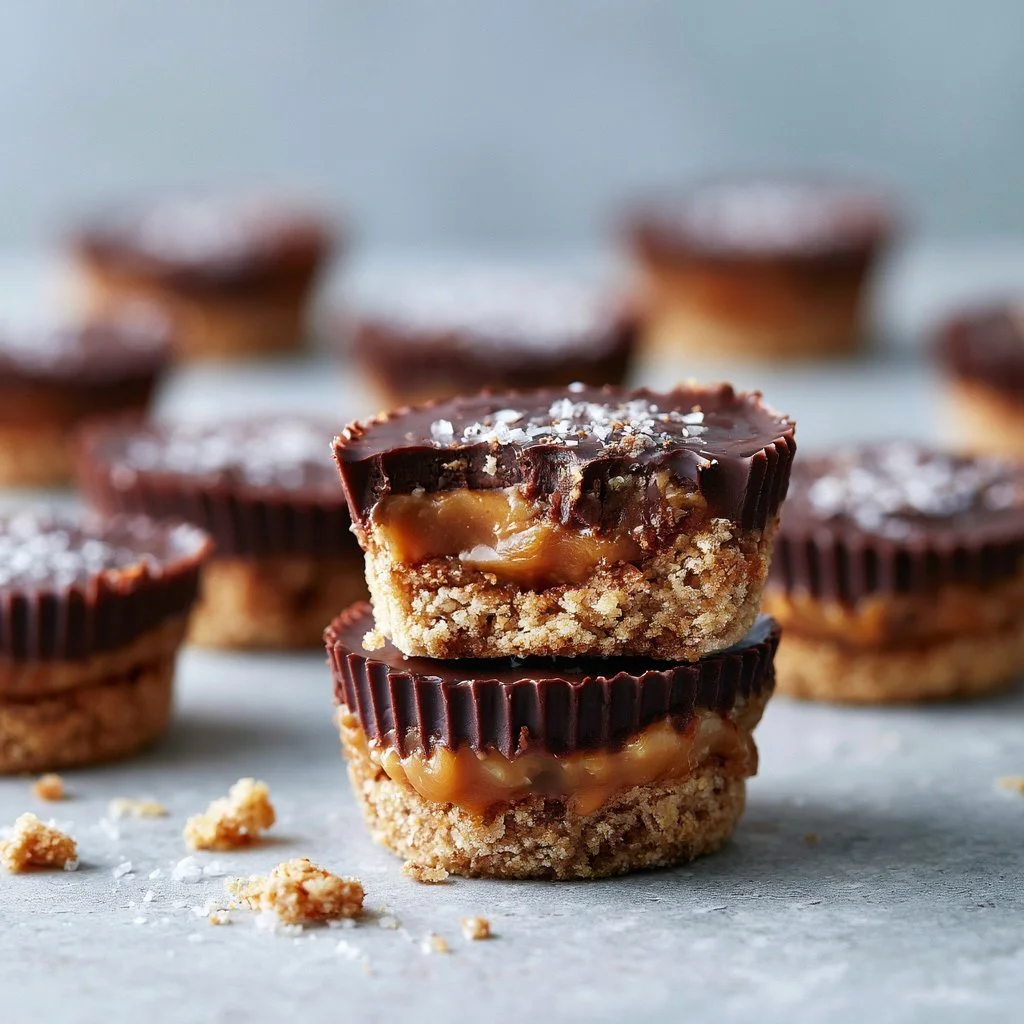
Expect a delightful blend of nutty sweetness from the almond flour and maple syrup, combined with the caramel’s rich flavor and the deep undertones of dark chocolate. Each bite offers a harmonious contrast of textures, from the crumbly base to the gooey caramel and the glossy chocolate layer. The slight hint of salt on top elevates the flavors, creating a satisfyingly sweet treat. You may also find Healthy Chickpea Salad useful.
Ingredients You’ll Need
The key ingredients in these Healthy Twix Cups are almond flour, which provides a wonderful nutty base; coconut oil, adding richness; and maple syrup, giving the perfect touch of sweetness. Pitted dates lend a natural caramel flavor alongside the nut butter, while dark chocolate chips create a decadent topping. Feel free to experiment with different nut butters for a unique twist! You may also find Healthy Chocolate Protein Donuts useful.
- 1 cup almond flour
- 1/4 cup coconut oil
- 1/4 cup maple syrup
- 1/2 cup pitted dates
- 1/4 cup nut butter (e.g., almond or peanut)
- 1/4 cup coconut milk
- 1 cup dark chocolate chips
- Sea salt (optional, for topping)
How to Make Healthy Twix Cups
- In a mixing bowl, combine the almond flour, melted coconut oil, and maple syrup. Mix well until you have a sticky and cohesive base.
- Firmly press this mixture into the bottom of muffin cups, creating an even layer that forms a solid foundation.
- For the caramel layer, blend the pitted dates, nut butter, and coconut milk in a food processor until smooth and creamy. Pour this evenly over the cookie base.
- In a microwave-safe bowl, melt the dark chocolate chips in timed 30-second intervals, stirring in between until the chocolate is completely smooth.
- Carefully pour the melted chocolate over the caramel layer, ensuring it’s evenly spread.
- Refrigerate the cups for 1-2 hours, or until fully set. Once firm, carefully remove them from the molds and sprinkle with sea salt if desired.
Tips for Best Results
- Make sure the almond flour is fine to ensure a smooth base without any chunks.
- When melting the chocolate, stir frequently to avoid burning it—smooth and glossy is the aim.
- If your caramel layer seems too thick, add a little more coconut milk until you reach a creamy consistency.
- Serve the cups cold for the best mouthfeel and texture.
- For added flavor, consider drizzling a little extra melted chocolate or sprinkling crushed nuts on top before serving.
Variations and Substitutions
You can swap the almond flour for another nut or seed flour if allergies are a concern. While almond butter works wonderfully, feel free to use cashew or sunflower seed butter for variation. For a vegan option, ensure your chocolate chips are dairy-free.
How to Serve It
These Healthy Twix Cups are delicious served chilled, offering a refreshing bite on warm days. Pair them with a cup of herbal tea for a light afternoon snack or as a post-dinner treat. For a fun presentation, consider putting them on a platter with fresh fruit.
How to Store It
These cups can be stored in an airtight container in the refrigerator for up to a week. If you’d like to keep them longer, they freeze beautifully; individually wrap each cup and store them in a freezer-safe bag. When you want one, let it thaw for a bit at room temperature before enjoying.

Final Thoughts
I hope you enjoy making these Healthy Twix Cups as much as I do. They’re a fantastic way to indulge while still staying on the healthier side of dessert. With their delicious layers and satisfying textures, you might just find yourself reaching for one (or two) every time you’re looking for a sweet treat!
Conclusion
If you’re looking for more delectable options, check out these Healthy Twix Cups (Vegan) or the Healthy Vegan Twix Cups (paleo). For even more bite-sized treats, consider trying Bite-Sized Twix Cups. Enjoy exploring these healthy dessert alternatives!
Healthy Twix Cups
Ingredients
Method
- In a mixing bowl, combine the almond flour, melted coconut oil, and maple syrup. Mix well until you have a sticky and cohesive base.
- Firmly press this mixture into the bottom of muffin cups, creating an even layer that forms a solid foundation.
- For the caramel layer, blend the pitted dates, nut butter, and coconut milk in a food processor until smooth and creamy. Pour this evenly over the cookie base.
- In a microwave-safe bowl, melt the dark chocolate chips in timed 30-second intervals, stirring in between until the chocolate is completely smooth.
- Carefully pour the melted chocolate over the caramel layer, ensuring it’s evenly spread.
- Refrigerate the cups for 1-2 hours, or until fully set. Once firm, carefully remove them from the molds and sprinkle with sea salt if desired.