

Why These Low Carb Cheesecakes with Raspberry Sauce Actually Taste Classic
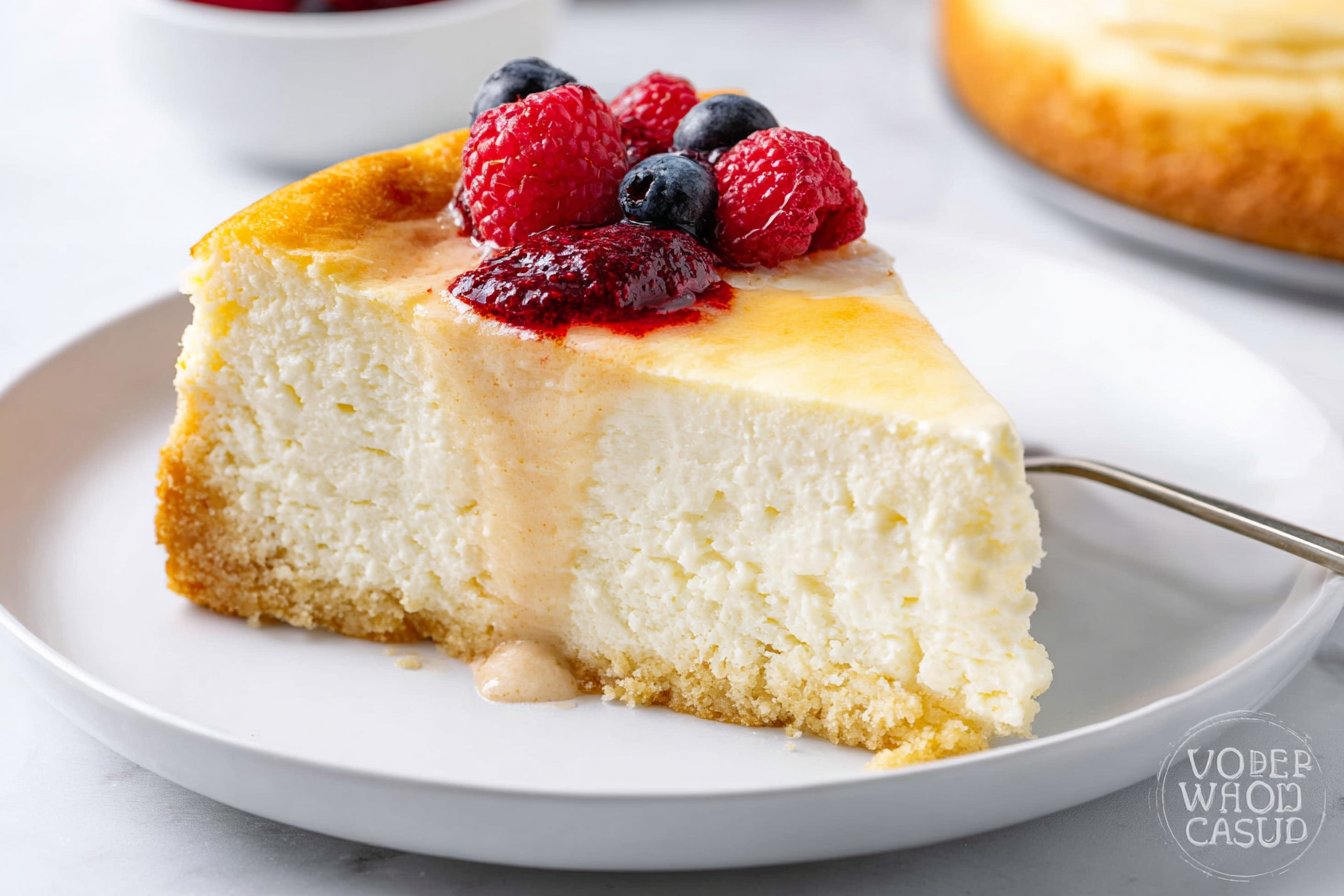
I build these low carb cheesecakes with raspberry sauce the same way I’d build a classic New York–style cheesecake: a real almond flour butter crust, a generous amount of full-fat cream cheese, and a slow, steady bake. Using a monk fruit allulose blend instead of sugar keeps the sweetness clean and very close to the real thing—no cooling aftertaste and no gritty texture. Keeping the mixer at low to medium speed limits air bubbles, so the filling bakes up dense, creamy, and smooth rather than loose or soufflé-like. That’s how you get a slice that holds its shape on the plate but still feels soft at the center.
The crust uses blanched almond flour and melted butter, so it presses together easily and bakes into a lightly crisp, golden base that mimics a traditional graham crust without the carbs. A brief prebake sets the structure, which prevents sogginess once you pour in the filling. Lemon juice and vanilla bean paste cut through the richness and brighten the cheesecake, so even with a high-fat filling, each bite tastes balanced and not heavy. If the middle looks slightly jiggly when you take it out, that’s perfect—it will finish setting as it cools, leaving you with a tender, velvety texture.
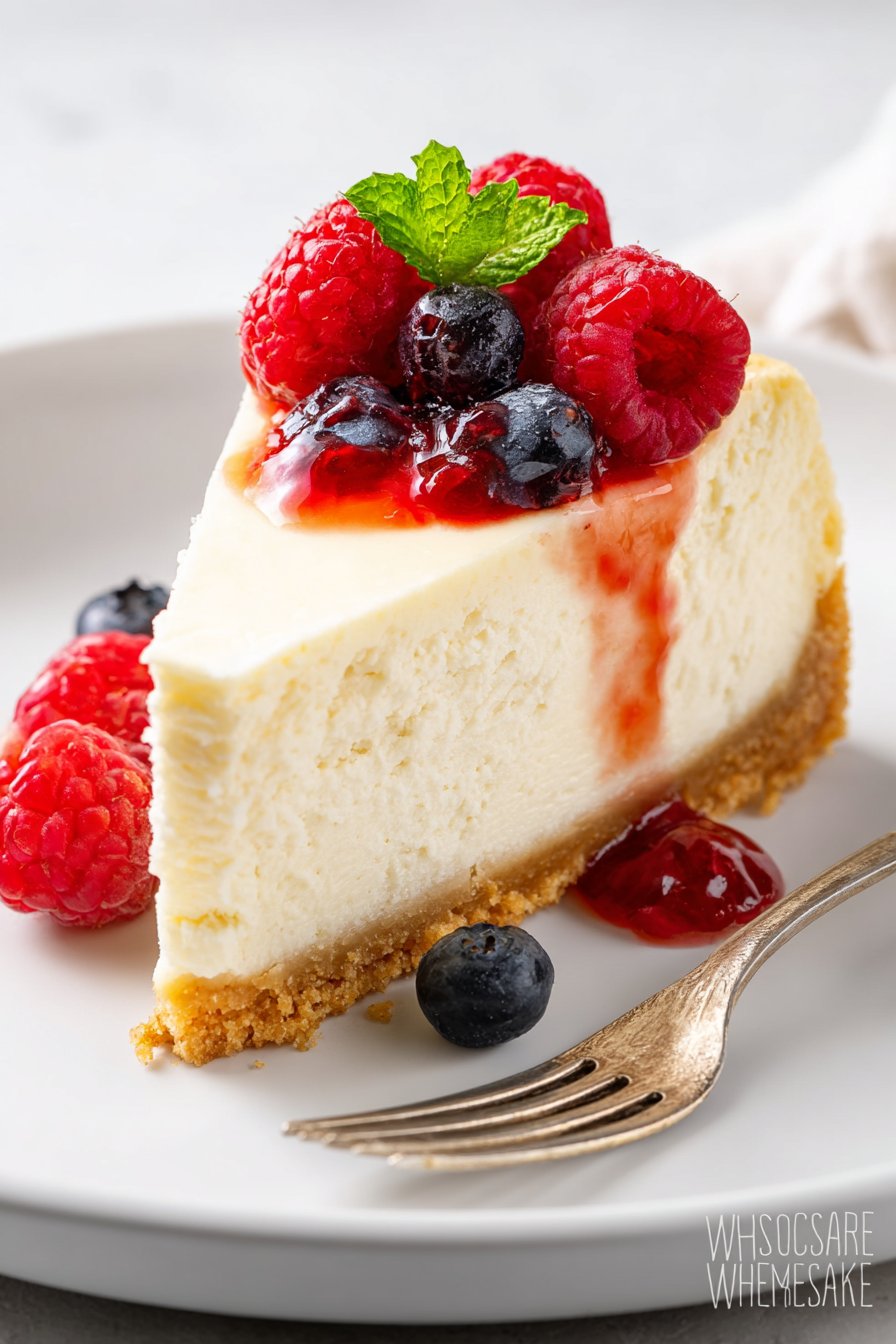
The raspberry sauce is the final piece that makes these Low Carb Cheesecakes with Raspberry Sauce feel dessert-shop worthy instead of “diet dessert.” The natural acidity and berry flavor contrast the sweet, rich base, so you can keep portions satisfying without feeling like you need a huge slice. Because everything is low in sugar and higher in fat, the cheesecake is filling and works well for keto or low carb eaters who still want a classic dessert experience. The recipe scales easily for gatherings, just like a traditional cheesecake, so you can serve it on the same table as your regular treats without anyone guessing it’s low carb.
How to Make These Low Carb Cheesecakes with Raspberry Sauce
Start by heating your oven to 350°F (177°C) and lining a 9-inch springform pan with parchment on the bottom—this makes it much easier to release clean slices later. For the crust, mix the almond flour, melted butter, sweetener, and vanilla bean paste until the mixture looks like damp, slightly crumbly sand that holds together when you press it. Press it firmly and evenly into the pan; if you see gaps or thin patches, use the back of a spoon or your fingers to push it back into place. Bake the crust for 10–12 minutes, just until it turns barely golden around the edges, then let it cool for at least 10 minutes so the cheesecake layer doesn’t melt into it.
While the crust cools, make the cheesecake filling. Beat the softened cream cheese and powdered sweetener on low to medium speed until smooth and fluffy, scraping down the bowl so you don’t get lumps later. Add the eggs one at a time, mixing just until each egg disappears—this keeps the batter smooth without whipping in too much air. Mix in the lemon juice and more vanilla bean paste, still on low to medium; the batter should be thick but pourable. Pour the filling over the cooled crust, then tap the pan firmly on the counter a few times to bring air bubbles to the surface and smooth the top with a spatula.
Bake your Low Carb Cheesecakes with Raspberry Sauce base for 40–55 minutes, until the edges are set and the center still has a gentle jiggle when you nudge the pan. If the top starts to brown too quickly, you can tent it loosely with foil for the last 10–15 minutes. When it’s done, turn off the oven, crack the door, and let the cheesecake sit inside for about an hour to cool gradually and reduce cracking. After that, chill it completely in the refrigerator—at least 4 hours, preferably overnight—before adding your raspberry sauce and slicing. If the center looks slightly soft when you first take it out, don’t worry; it firms up beautifully as it chills.
Time-Saving Prep and Smart Storage for Low Carb Cheesecakes with Raspberry Sauce
You can have these Low Carb Cheesecakes with Raspberry Sauce prepped and in the oven in about 10 minutes, then baked and cooled enough to slice in roughly 3–4 hours total (including a chill). The crust mixes in a single bowl and bakes for just 10–12 minutes while you make the filling, so active work stays very light. Plan at least 1–2 hours of chilling time after baking; the cheesecake sets and slices much more cleanly when cold, and the flavor improves. If you like to work ahead, you can bake the cheesecake the night before, chill it in the fridge, then add the raspberry sauce right before serving for the best texture contrast. For a busy day or holiday, this dessert behaves like a make-ahead dream: all the effort happens well before your guests arrive.
For storage, cover the cooled Low Carb Cheesecakes with Raspberry Sauce tightly and refrigerate for up to 5 days. I like to keep the cheesecake and raspberry sauce separate in the fridge and spoon the sauce over just before serving, which keeps the top from getting soggy and the berry color bright. For longer storage, slice the cheesecake, wrap each piece in plastic, and place the slices in an airtight container or freezer bag; they freeze well for up to 2 months. Thaw slices overnight in the fridge, then add fresh or reheated raspberry sauce right before you eat. If you plan to bake other low carb desserts the same week, you can batch-prep your almond flour crusts for recipes like mini cheesecakes or low carb bars on the same day, then assemble and bake as needed to keep your schedule—and your oven—running efficiently.
Flexible Options and Serving Notes for Low Carb Cheesecakes with Raspberry Sauce
These Low Carb Cheesecakes with Raspberry Sauce adapt easily to whatever you have on hand and however many people you need to serve. For a different base, swap the almond flour crust for ground pecans or walnuts, keeping the same amount of butter and sweetener, or go crustless and simply grease the pan well. If you prefer a different sweetness level, start by using 75% of the powdered sweetener in the filling, then taste and adjust before adding the eggs. You can also trade the raspberry sauce for fresh strawberries, a mixed-berry blend, or a drizzle of melted sugar-free chocolate for a richer finish. If you love the raspberry flavor but want extra shine, stir a tablespoon of warm water into your sauce and mash the berries just enough to keep a few pieces visible.
This recipe also scales and portions well. Bake in a standard 9-inch springform as written, or divide the batter into lined muffin tins for mini low carb cheesecakes with raspberry sauce; reduce the bake time to about 18–22 minutes and look for a slightly jiggly center. For a more elegant presentation, slice the full-size cheesecake into thin wedges and spoon the raspberry sauce just over the top edge, letting it drip slightly down the sides. You can serve it chilled straight from the fridge for a firmer, denser texture, or let slices sit at room temperature for 20–30 minutes if you prefer a creamier, softer bite. Pair with unsweetened whipped cream, a sprinkle of lemon zest, or a few toasted almond slices to add contrast without adding many carbs.
Serving of Low Carb Cheesecakes with Raspberry Sauce
Conclusion
When you pull these Oven-Baked Low Carb Cheesecakes with Raspberry Sauce from the oven and add that vibrant, tangy topping, you’re not just making dessert—you’re creating a little pause in the day that everyone can look forward to. It’s the kind of treat you can serve on a weeknight or at a small gathering and still feel like you did something special, without juggling complicated steps or a pile of dishes.
I love how a simple, creamy cheesecake can bring people to the table and keep them there a little longer—talking, laughing, and going back for “just one more bite.” This is a dessert that fits real life: balanced, manageable, and worth every minute you put into it. If you’ve been waiting for a sign to try homemade cheesecake, this is it.
Give this recipe a try the next time you want a beautiful, feel-good dessert that doesn’t derail your day. Then let me know how it went and what you served it with—I’d truly love to hear.
For more delicious recipes like this, follow us on social media!
Instructions Process of Low Carb Cheesecakes with Raspberry Sauce
Is this Low Carb Cheesecakes with Raspberry Sauce recipe keto and gluten-free?
Yes, these Low Carb Cheesecakes with Raspberry Sauce fit well into a keto and gluten-free lifestyle. The crust uses blanched almond flour instead of wheat flour, so there is no gluten in the base. Monk fruit allulose blend keeps net carbs low while still giving you a classic cheesecake sweetness. As always, double-check labels on cream cheese, almond flour, and sweetener to avoid hidden starches or fillers. If you swap any ingredients, make sure they are both low in net carbs and certified gluten-free if needed.
What are the best sweetener options for these low carb cheesecakes?
Monk fruit allulose blend works especially well because it dissolves easily and does not crystallize, which keeps the texture smooth. For the filling, always use a powdered sweetener so the batter turns out silky and lump-free. You can use erythritol or a stevia blend, but they may taste slightly less “sugar-like” and can firm up the texture a bit more. If you change sweeteners, start with about 75 % of the original amount, taste, and adjust before adding eggs. For the raspberry sauce, a granular or powdered keto sweetener both work, as long as you simmer long enough for it to dissolve fully.
How do I prevent cracks and get the creamiest texture?
Bring your cream cheese, eggs, and lemon juice to room temperature so they blend smoothly without overmixing. Beat on low to medium speed and stop as soon as the batter looks uniform to avoid whipping in extra air. Bake just until the center is slightly jiggly; it will finish setting as it cools. Let the cheesecake cool in the turned-off oven with the door slightly open for about 30–60 minutes to reduce temperature shock. If a few surface cracks appear, do not worry—the raspberry sauce covers them nicely.
Recipe
Low Carb Cheesecakes with Raspberry Sauce
Ingredients
Method
- Preheat the oven to 350 degrees F. Line the bottom of a 9-inch springform pan with parchment paper and lightly grease the sides.
- In a medium bowl, stir together the almond flour, melted butter, granular sweetener, and 1 tsp vanilla bean paste until the mixture is well combined and slightly crumbly.
- Press the crust mixture firmly and evenly into the bottom of the prepared pan. Bake for 10 to 12 minutes, until the edges are just barely golden. Remove from the oven and let cool for at least 10 minutes.
- Reduce the oven temperature to 325 degrees F. In a large bowl, beat the softened cream cheese and 1 1/4 cups powdered sweetener on low to medium speed until smooth and fluffy, scraping the bowl as needed.
- Add the eggs one at a time, beating on low to medium speed just until each egg is incorporated before adding the next.
- Beat in 1 tbsp lemon juice and the remaining 1 tsp vanilla bean paste on low to medium speed until the batter is smooth and well blended.
- Pour the cheesecake filling over the cooled crust. Smooth the top with a spatula and tap the pan firmly on the counter several times to release air bubbles.
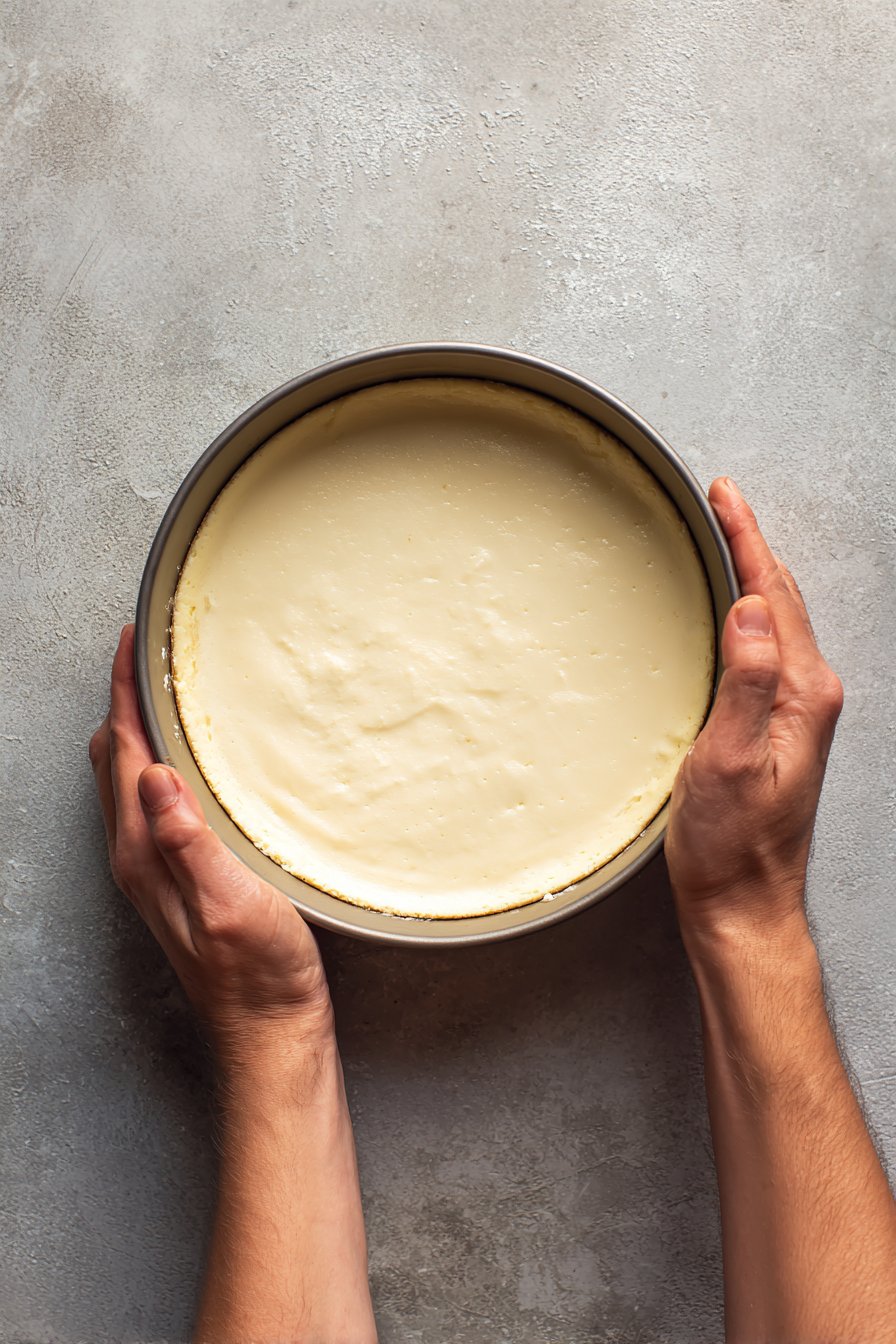
- Place the springform pan on a baking sheet and bake for 40 to 55 minutes, until the edges are set and the center is slightly jiggly when you gently shake the pan.
- Turn off the oven, crack the oven door, and let the cheesecake cool in the oven for 1 hour. Remove, cool to room temperature, then refrigerate for at least 3 hours, or until fully chilled.
- While the cheesecake chills, make the raspberry sauce: In a small saucepan, combine raspberries, 1/4 cup powdered sweetener, water, and 1 tsp lemon juice.
- Cook the raspberry mixture over medium heat, stirring and lightly mashing the berries, until the raspberries break down and the sauce thickens slightly, 5 to 8 minutes.
- Remove the sauce from the heat and let cool to room temperature, then chill until ready to serve. For a smoother sauce, press through a fine mesh sieve to remove seeds.
- When ready to serve, release the cooled cheesecake from the springform pan, slice, and spoon raspberry sauce over each slice.
Notes
- For the cleanest slices, chill the cheesecake overnight before serving.
- Tent the cheesecake loosely with foil if the top begins to brown too quickly near the end of baking.
- Store cheesecake and raspberry sauce separately in the refrigerator for up to 5 days.


