

When you want a real brownie moment without turning on the oven, these no-bake brownies are the kind of recipe that earns a permanent spot in your rotation. I make them when I need a small batch dessert that can be mixed in minutes, pressed into a pan, and set while I clean up the kitchen.
The payoff is very practical: one food processor, a quick ganache, and a freezer/fridge set that gives you thick, fudgy squares with a glossy chocolate top. If you like date-sweetened desserts, this sits in the same lane as my 3-ingredient no-bake brownie bites, but with a more classic brownie slab feel and a clean slice.
Why This Recipe Works
- Medjool dates do the heavy lifting: they sweeten, bind, and create that dense, fudgy center without flour or baking.
- Nut butter adds structure and richness: it makes the base pressable and keeps the texture brownie-like instead of truffle-soft.
- Cocoa powder balances the sweetness: it brings a deep chocolate flavor so the dates don’t read as “fruity.”
- A simple two-ingredient ganache finishes it: chocolate chips + non-dairy milk melt into a smooth, glossy layer that sets fast in the fridge.
- Small pan, small batch, minimal cleanup: one processor bowl, one pan lined with parchment, and you’re done.
- Chill steps are short and purposeful: a quick freeze firms the base so the ganache spreads cleanly, then a short fridge set makes slicing easy.
Quick Kitchen Note
This is a dependable “I need dessert, not a project” recipe—especially when you’re already using the freezer and fridge for weekly meal prep (the same vibe I go for in my bakery-style no-bake cheesecake): fast assembly, predictable set, and a finish that looks put-together without extra work.
What It Tastes Like
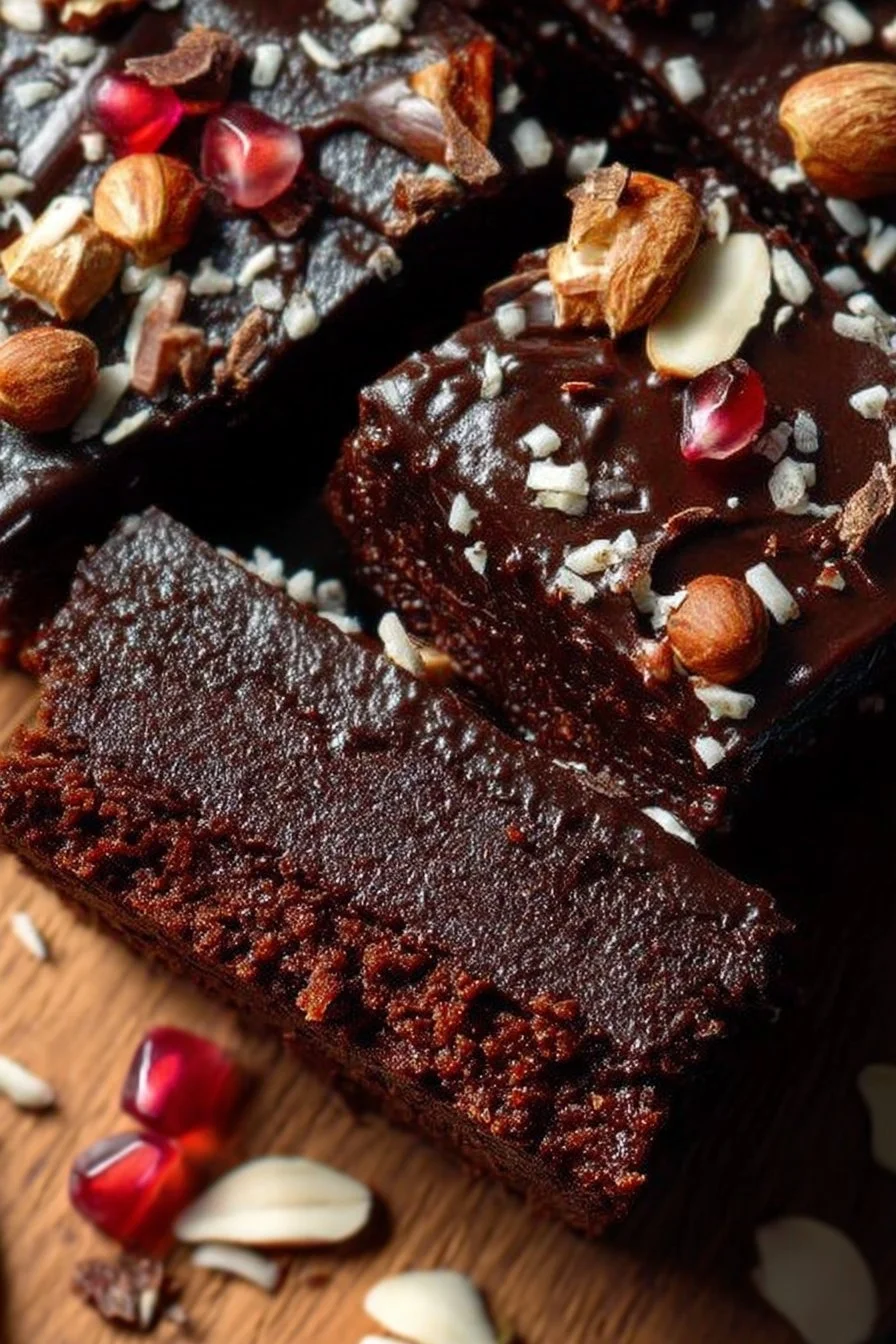
These taste like dark, fudgy brownies with a pronounced cocoa aroma and a caramel-like sweetness from the dates. The base is dense and chewy (in a good way), while the ganache sets into a thin, glossy layer that snaps slightly when cold and melts quickly on your tongue. The optional hazelnuts add a clean, toasty crunch that keeps each bite from feeling too rich.
Ingredients
This recipe is built around a short list: Medjool dates create the sticky, fudgy base; almond butter (or another nut butter) gives richness and helps everything hold together; cocoa powder and vanilla round out the chocolate flavor. The ganache is intentionally simple—vegan chocolate chips loosened with a little non-dairy milk—so it spreads smoothly and sets quickly. If you don’t have almond butter, another nut butter works well; just aim for one that’s creamy and easy to blend.
- 1 cup medjool dates
- ½ cup almond butter (or other nut butter)
- ¼ cup cocoa powder
- 1 teaspoon vanilla extract
- ½ cup vegan chocolate chips
- ¼ cup non-dairy milk
- chopped hazelnuts (for garnish)
Step-by-Step Instructions
-
Pit the dates (and soften if needed).
Remove the pits from the Medjool dates. If they feel dry or firm, soak them in warm water for 10 minutes, then drain well. (This is the difference between a smooth, fudgy dough and a crumbly, hard-to-blend mix.) -
Blend the brownie base.
Add the pitted dates, nut butter, cocoa powder, and vanilla extract to a food processor. Process until a sticky dough forms.
What you’re looking for: it should clump together and feel tacky, not sandy. Pinch a little between your fingers—if it presses together and holds its shape, it’s ready. -
Line your pan and press firmly.
Line a small loaf pan or square container with parchment paper so you can lift the brownies out cleanly. Press the mixture evenly into the pan, packing it down firmly (a flat-bottomed cup or spatula helps).
Optional thick-brownie move: If you use a loaf pan, you can cut the slab in half and stack it for extra-thick brownies before topping. -
Freeze briefly to firm the base.
Freeze the pressed brownie base for 10–15 minutes. This quick chill makes the surface firm enough that the ganache spreads smoothly instead of dragging the base. -
Make the quick ganache.
Add the vegan chocolate chips and non-dairy milk to a bowl. Melt in the microwave in 30-second bursts, stirring each time, or melt over a double boiler until smooth and glossy.
Tip: Stop heating as soon as it’s mostly melted and stir to finish—overheating can make chocolate look grainy. -
Top and finish.
Pour the ganache over the chilled brownie base and spread evenly with a spatula. If you like, sprinkle with chopped hazelnuts (and a pinch of flaky sea salt, if that’s your thing). -
Set, slice, and serve.
Pop the brownies in the fridge for 5–10 minutes, just until the ganache is set to the touch. Lift out using the parchment, cut into squares, and serve.
Slicing cue: If the ganache is smearing, give it another couple minutes in the fridge, then try again.
Common Mistakes to Avoid
-
Using very dry dates without soaking: the mixture won’t blend smoothly and can turn crumbly.
Fix: soak in warm water for 10 minutes, then drain. -
Not processing long enough: you’ll end up with a loose, pebbly mix that won’t press cleanly.
Fix: process until it forms a cohesive, sticky dough that holds when pinched. -
Pressing the base lightly: the brownies can crumble when you lift and slice.
Fix: pack it down firmly and evenly—especially around the edges and corners. -
Skipping the brief freeze before ganache: the top can get messy and the base may pull up while spreading.
Fix: freeze 10–15 minutes so the surface firms up. -
Overheating the chocolate: it can seize or look dull.
Fix: melt in short bursts (30 seconds), stirring often, and stop early.
Variations and Swaps
- Nut butter swap: Use another nut butter in place of almond butter. Choose a creamy one so it blends easily and binds the dates well.
- Topping swap: Replace hazelnuts with a different chopped nut you like for crunch.
- Finish adjustment: If you prefer a cleaner, more “dessert bar” look, keep the top plain; if you want more texture, go heavier on the chopped nuts.
- If you’re looking for other chilled chocolate desserts with a similar set-and-slice routine, my low-carb no-bake chocolate cheesecake and no-bake keto chocolate cheesecake are both good frameworks for that style of prep.
Serving Suggestions
- Slice small squares and serve straight from the fridge for the cleanest edges and a snappy ganache.
- For a slightly softer bite, let a piece sit at room temp for a few minutes before eating.
- If you’re putting together a low-effort dessert spread, pair these with something creamy and chilled (like a no-bake cheesecake) for contrast.
Storage and Meal Prep
- Fridge: Store in an airtight container in the refrigerator so the ganache stays set and the bars hold their shape.
- Freezer: These also do well frozen; slice first so you can grab one piece at a time. Let sit a few minutes before eating if you want a softer texture.
- Meal prep value: Because there’s no baking, these are easy to make ahead—press the base, chill, top, and you’re set for several quick desserts through the week.

FAQs
Can I make these without soaking the dates?
Yes—if your dates are already soft and sticky. If they’re dry or firm, soaking for 10 minutes makes blending much easier and improves the fudgy texture.
My mixture isn’t coming together in the food processor. What should I do?
It usually means the dates are too dry or the mixture needs more processing time. Soak and drain the dates next time, and keep processing until the dough clumps and holds when pinched.
How do I know when the ganache is set?
After 5–10 minutes in the fridge, the top should look matte-glossy and feel set to the touch (not wet). If it still smears when you slice, chill a few minutes longer.
Can I cut them into clean squares?
Yes—chilling is the key. Let the ganache set fully in the fridge, then lift the slab out with parchment and slice.
Final Tip
If you want ultra-thick brownies without using a larger batch, use a loaf pan, press the base firmly, then do the cut-and-stack trick before adding the ganache—it’s a simple move that makes the finished squares feel bakery-sized.
Conclusion
If you want to compare approaches or riff on this style, it’s helpful to see how other small-batch no-bake brownie recipes handle the base and topping—this no-bake brownies small batch guide is a close match, this vegan tiramisu brownie variation shows a different flavor direction, and these no-bake pistachio brownies are a good example of how far you can take the same basic method with a simple swap.

No-Bake Brownies
Ingredients
Method
- Pit the dates and soak them in warm water for 10 minutes if they feel dry or firm, then drain well.
- In a food processor, blend the pitted dates, nut butter, cocoa powder, and vanilla extract until a sticky dough forms.
- Line a small loaf pan or square container with parchment paper and press the dough evenly into the pan.
- Freeze the pressed mixture for 10-15 minutes to firm it up.
- Melt vegan chocolate chips and non-dairy milk in the microwave or double boiler until smooth.
- Pour the ganache over the chilled brownie base and spread evenly. Optionally, sprinkle with chopped hazelnuts.
- Refrigerate the brownies for 5-10 minutes until the ganache is set.
- Lift out of the pan using the parchment paper, cut into squares, and serve.


