
Some weeks I need a snack that can live in the fridge, doesn’t require an oven, and still feels like a real treat when I grab it between meetings. These no-bake chia pudding bars do that job well: mix, rest, chill, slice.
The payoff is practical—one bowl, one pan lined with parchment, and a batch of bars with a fudgy, spoonable-then-sliceable texture. With nut butter for richness and cocoa for depth, they land somewhere between chocolate pudding and a soft snack bar. If you already make chia pudding, this is the same idea in a cleaner, more portable format (and a nice companion to my coconut chia seed pudding when you want variety).
Why This Recipe Works
- Chia seeds do the setting for you. After a short rest and a longer chill, they turn the mixture from liquid to sliceable without baking.
- Nut butter makes it feel substantial. It adds body and a creamy finish so the bars don’t eat like plain gelled chia.
- Cocoa balances the sweetness. Whether you use cocoa powder or chocolate chips, the chocolate note keeps the bars tasting dessert-like without being heavy.
- Built for make-ahead. You can mix it in minutes, chill it while you do something else, then portion it for the next few days.
- Minimal cleanup. One mixing bowl and a parchment-lined dish means no sticky scrubbing—just lift and slice.
- Flexible with what you have. Any milk works, and the sweetener can be honey or maple syrup without changing the basic method.
Quick Kitchen Note
I rely on recipes like this when I want something ready-to-go in the fridge that isn’t fussy: the whole mixture comes together fast, and the only “work” is giving chia seeds the time they need to thicken and set.
What It Tastes Like
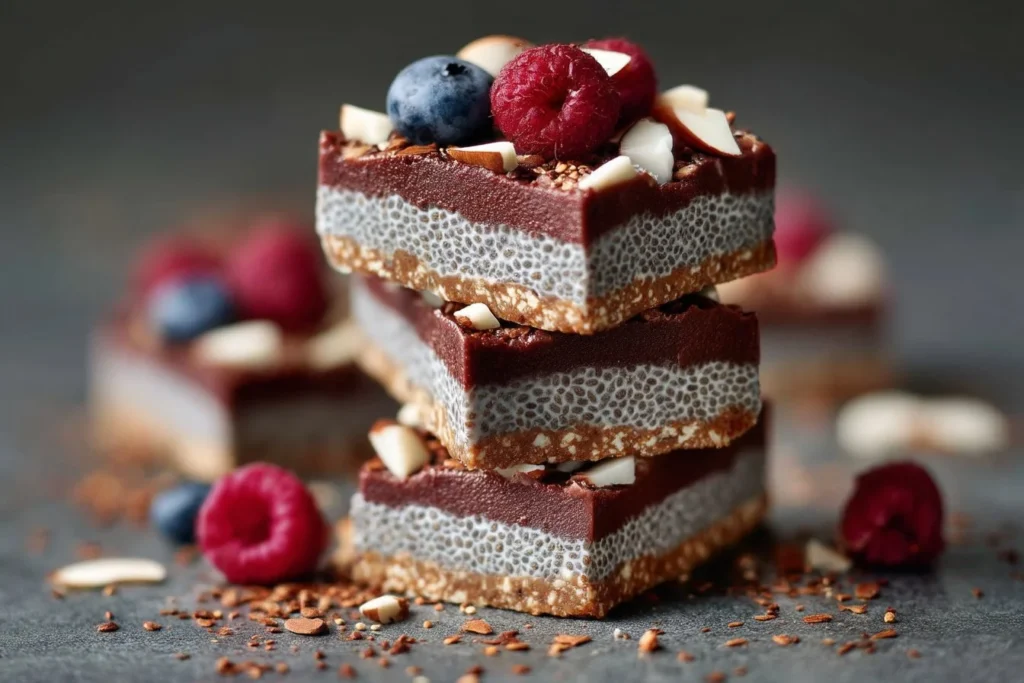
These bars are chocolate-forward with a gentle nutty richness underneath. The texture is soft and pudding-like but firm enough to cut—think chilled chocolate chia pudding in bar form, with tiny chia pop throughout. The aroma is cocoa and nut butter, and the finish is lightly sweet with a pinch of salt keeping it from tasting flat.
Ingredients
This recipe is built on a simple ratio: chia seeds plus milk to create the set, nut butter to add richness and structure, sweetener for balance, and cocoa (or chocolate chips) for that chocolate bite. Almond milk is easy here, but any milk of choice works; just keep the quantities the same. For a slightly different feel, you can also explore my no sugar chia seed pudding delight for another approach to chia texture.
- 1 cup chia seeds
- 4 cups almond milk (or any milk of choice)
- 1/2 cup nut butter (peanut butter, almond butter, etc.)
- 1/4 cup honey or maple syrup
- 1/4 cup cocoa powder or chocolate chips
- Pinch of salt
- Toppings (optional: fruits, nuts, or coconut flakes)
Step-by-Step Instructions
- Mix the base. In a large bowl, combine the chia seeds, almond milk, nut butter, honey or maple syrup, cocoa powder (or chocolate chips), and a pinch of salt. Stir very well until the nut butter is fully blended and you don’t see dry pockets of chia clinging to the bowl.
- Let it thicken for 10 minutes. Set the bowl aside for about 10 minutes, stirring occasionally. You’re looking for the mixture to go from thin and milky to noticeably thicker—like a loose pudding that coats the spoon.
- Prepare the pan. Line a baking dish with parchment paper. Leave a little overhang so you can lift the bars out easily later.
- Spread and smooth. Pour the thickened chia mixture into the lined dish and spread it into an even layer. Take a moment here—an even layer means even setting and cleaner slices.
- Chill until set. Refrigerate for at least 2 hours, or until the mixture feels firm when you press gently on the surface. “Set” here means it holds its shape rather than flowing back like a pudding cup.
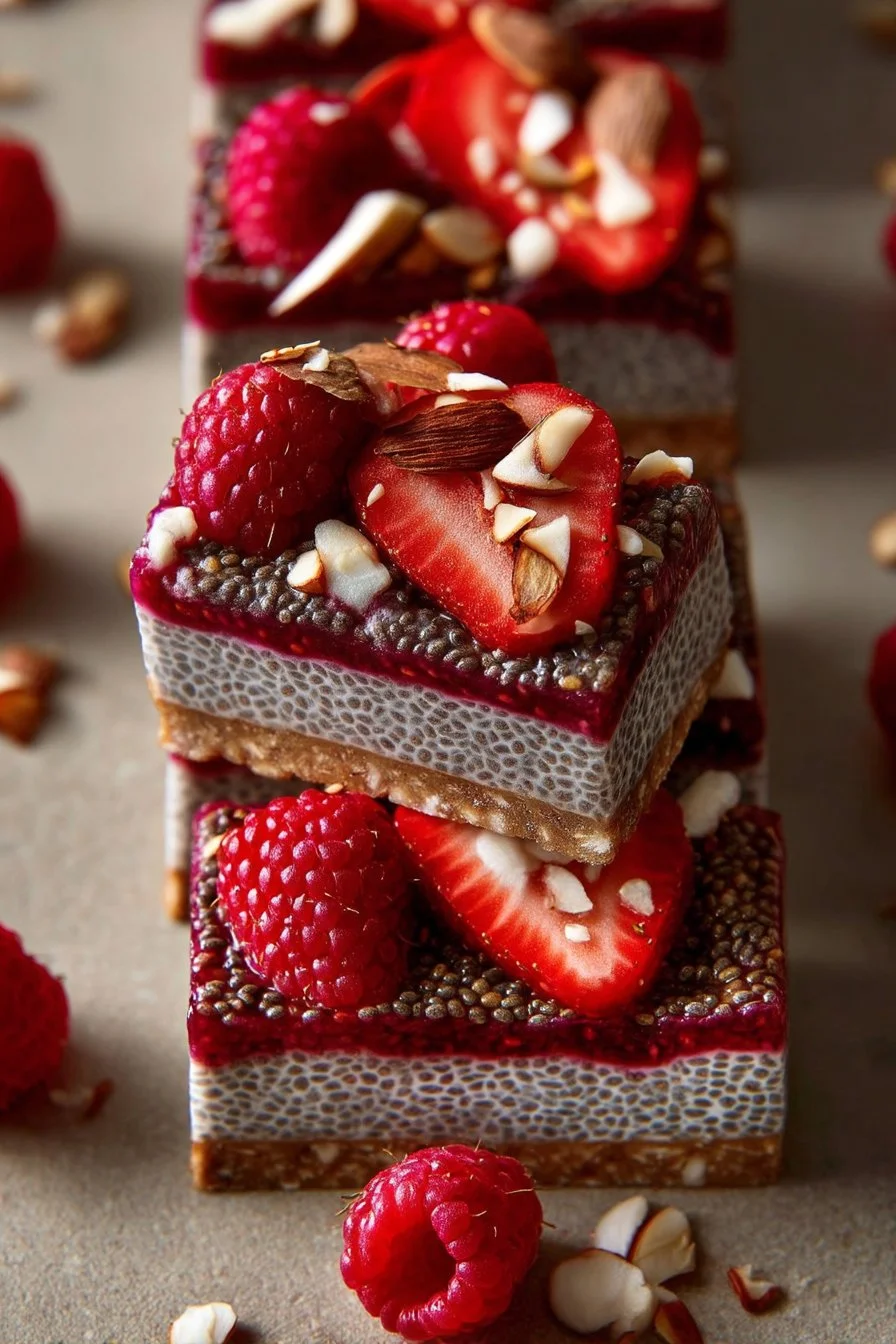
- Lift, slice, and top. Use the parchment to lift the slab out of the dish. Cut into squares or rectangles. Add toppings if you like (fruit, nuts, or coconut flakes) right before serving so they stay fresh and crunchy.
Common Mistakes to Avoid
- Not stirring thoroughly at the start. If nut butter isn’t fully mixed in or chia clumps together, you’ll get uneven texture; stir until the mixture looks uniform and the chia is well distributed.
- Skipping the 10-minute rest. Pouring immediately can lead to chia settling and a less even set; let it thicken first and stir a couple of times during that window.
- Cutting before it’s fully set. If you slice too soon, it will smear and won’t hold clean edges; give it the full 2 hours (or longer) until it feels firm to the touch.
- Uneven thickness in the dish. Thin spots set firmer and thick spots stay softer; spread the mixture level before chilling.
- Adding toppings too early. Fruit can weep and nuts can soften; keep toppings for serving time for the best texture.
Variations and Swaps
- Milk: Almond milk or any milk of choice works—use what you already buy.
- Nut butter: Peanut butter and almond butter both work well; choose based on the flavor you want (peanut = more classic “PB-chocolate,” almond = a bit milder).
- Sweetener: Honey or maple syrup are both reliable here. If you want less sweetness, reduce slightly—just note it will taste more cocoa-forward.
- Chocolate element: Cocoa powder gives a smooth, even chocolate base; chocolate chips give little bursts of chocolate and a slightly more textured bite.
If you like no-bake snacks that slice cleanly, you might also keep something like 3-ingredient no-bake brownie bites in rotation for variety.
Serving Suggestions
- Serve straight from the fridge as a quick snack with coffee or tea.
- Add toppings right before eating: sliced fruit for freshness, nuts for crunch, or coconut flakes for a toasty finish.
- For a more “dessert” feel, cut smaller squares and serve as part of a snack plate alongside other easy bites (my peach crumble-style bars are another slice-and-grab option when you want something fruity).
Storage and Meal Prep
Store the cut bars in the refrigerator so they stay firm and easy to pick up. For the cleanest texture, keep any toppings separate and add them just before serving. This recipe is well-suited to meal prep: chill the full slab, slice once, and you’ve got portions ready to go for the next few days.

FAQs
Can I make these ahead?
Yes—these are designed for it. Make them, chill until set, slice, and keep refrigerated.
Do I have to use almond milk?
No. The recipe works with any milk of choice; just keep the measurement the same.
Cocoa powder or chocolate chips—what’s better?
Cocoa powder blends in for a smooth, even chocolate flavor. Chocolate chips give little chocolate pockets and a slightly more textured bite.
Why are my bars not setting firmly?
Most often it’s not enough chill time or the mixture wasn’t stirred well (chia can clump). Chill longer and make sure the chia is evenly dispersed next time.
Final Tip
When you’re mixing, take an extra 30 seconds to scrape the bottom and sides of the bowl—chia likes to hide in dry clusters, and a thorough stir is what gives you bars that slice neatly instead of breaking apart.
Conclusion
If you want more chia-based no-bake ideas to compare textures and flavors, take a look at this blueberry chia pudding cake, these mint chocolate chia bars, or a bright, tangy key lime chia pudding for a different direction using the same basic ingredient.

No-Bake Chia Pudding Bars
Ingredients
Method
- In a large bowl, combine the chia seeds, almond milk, nut butter, honey or maple syrup, cocoa powder (or chocolate chips), and a pinch of salt. Stir very well until the nut butter is fully blended and there are no dry pockets of chia.
- Let the mixture thicken for 10 minutes, stirring occasionally, until it resembles a loose pudding.
- Line a baking dish with parchment paper, leaving some overhang for easy removal later.
- Pour the thickened chia mixture into the lined dish and spread it into an even layer for uniform setting.
- Refrigerate the mixture for at least 2 hours, or until it feels firm to the touch.
- Using the parchment paper, lift the slab out of the dish and cut into squares or rectangles.
- Add optional toppings right before serving.


