

Some weeks I want a chocolate treat that doesn’t ask much of me: no oven to preheat, no mixer to drag out, and no sink full of bowls afterward. These raw chocolate brownies are what I make when I need something rich and reliable waiting in the fridge—easy to slice, easy to pack, and honestly easier than most “quick” baking projects.
The base is a simple walnut-date dough pressed into a pan, then finished with a glossy cocoa-coconut oil topping. The result is deeply chocolatey with a fudgy bite and just enough structure to cut cleanly once chilled. If you like a little crunch, you can pulse in extra walnut chunks without changing the method.
Why This Recipe Works
- Dates do the heavy lifting. They sweeten and bind the brownies, creating a sticky dough that presses firmly into the pan without baking.
- Walnuts add structure and richness. Two cups give the base a sturdy, sliceable texture instead of something that falls apart when you lift it.
- Double cocoa keeps it boldly chocolate. Cocoa powder is in the base and the topping, so the chocolate flavor doesn’t get lost behind the nuts.
- One main tool: the food processor. After that, it’s just press, melt, pour, chill—minimal cleanup and minimal decision-making.
- The topping sets like a thin shell. Coconut oil helps the cocoa topping firm up in the fridge/freezer for a clean finish and easy slicing.
- Flexible format for real life. Use an 8×8 pan for bars or a mini silicone muffin pan for two-bite portions that stash well in the freezer.
Quick Kitchen Note
I rely on this style of no-bake brownie when I want something chocolate-forward that’s already portioned and ready—especially for afternoons when I’d otherwise grab whatever’s around. Once it’s chilled, it’s low-effort to keep in the fridge and slice as needed.
What It Tastes Like
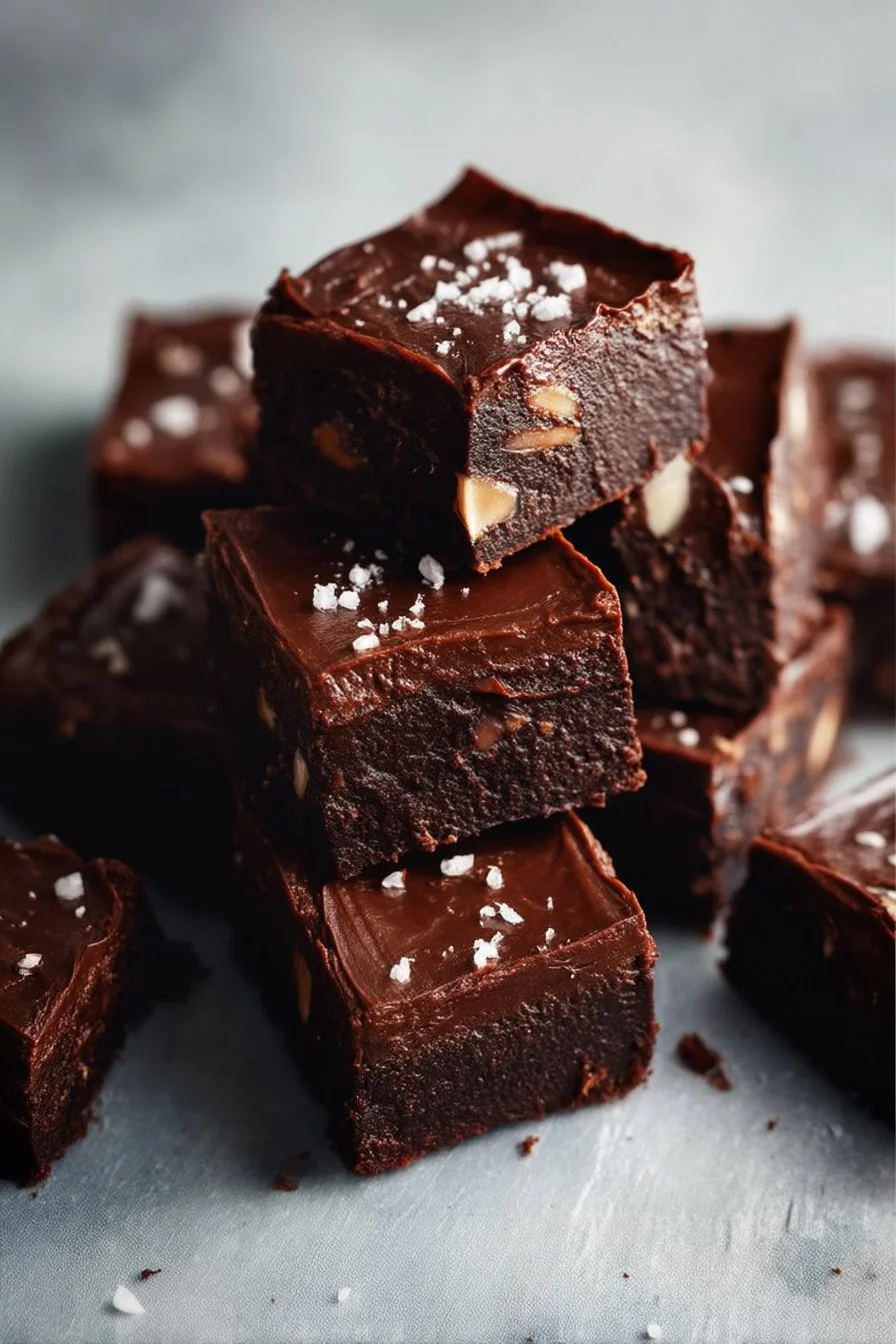
These are dense and fudgy with a deep cocoa flavor and a nutty backbone from the walnuts. The aroma is straight-up chocolate, and the texture lands somewhere between a brownie and a truffle: soft and chewy, but not gooey. The cocoa topping adds a slightly firmer bite and a clean, chocolatey finish.
Ingredients
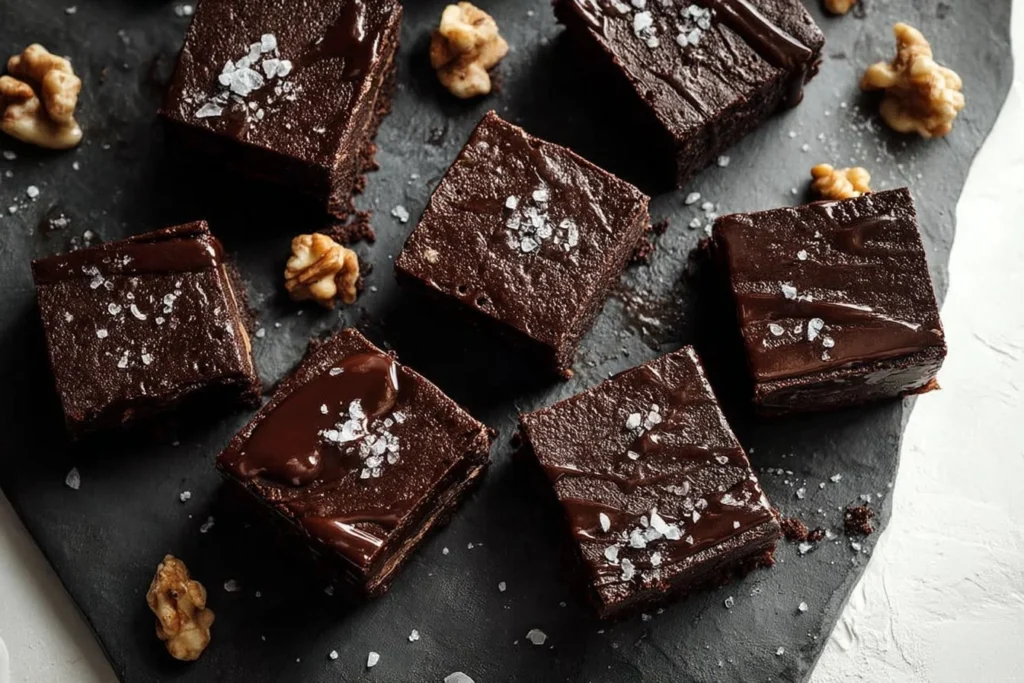
This recipe is built around walnuts and Medjool dates: walnuts provide the body and richness, while dates create a sticky dough that holds everything together. Cocoa powder brings the chocolate flavor in both layers. If you want more texture, add the optional walnut chunks; they make the brownies feel a little more like a classic “nuts in brownies” bar without changing the base.
- 2 cups raw unsalted walnuts
- 2 cups packed pitted medjool dates
- 1/3 cup walnuts (optional, if you want some walnut chunks)
- 1/2 cup cocoa powder
- 1 tsp vanilla extract
- pinch of salt
- 1/4 cup coconut oil
- 1/3 cup cocoa powder
- 1/4 tsp vanilla extract
- 2 tbsp maple syrup
Step-by-Step Instructions
- Prep the pan. Line an 8×8-inch pan with parchment paper, leaving a little overhang so you can lift the brownies out later. (If you prefer two-bite portions, use a mini silicone muffin pan instead.)
- Start the base in the food processor. Add the 2 cups walnuts, Medjool dates, 1/2 cup cocoa powder, 1 tsp vanilla extract, and a pinch of salt. Pulse, then process until the mixture turns into a sticky, cohesive dough.
- What you’re looking for: the mixture should clump together and hold when pinched.
- Quick cue: if it’s still sandy, keep processing and scrape down the sides once or twice so everything blends evenly.
- Add walnut chunks (optional). If you’re using the extra 1/3 cup walnuts, add them now and pulse just a few times to mix them in. You want visible pieces—don’t over-process or the chunks will disappear.
- Press into the pan. Transfer the dough to your prepared pan. Press firmly and evenly, smoothing the top with your hands or a spatula.
- Why pressing matters: a tight, compact layer makes clean slices and keeps the base from crumbling.
- Mini muffin option: press a spoonful into each well and flatten the tops.
- Make the cocoa topping. Melt the dark chocolate with coconut oil in the microwave or over a double boiler until smooth. Off the heat, stir in the 1/3 cup cocoa powder, 1/4 tsp vanilla extract, and 2 tbsp maple syrup until glossy and well combined.
- Texture cue: it should look shiny and pourable, like warm chocolate sauce, not grainy.
- Top the brownies. Pour the melted topping over the pressed base and spread it into an even layer. Take a moment to push it all the way to the edges so every slice gets a little top coat.
- Chill to set. Refrigerate or freeze for at least 1 hour, until the top is firm to the touch and the slab feels solid when you gently lift an edge of parchment.
- Slice and store. Lift out using the parchment, then slice into squares. (Or pop the bites out of the mini muffin pan.) Store in the fridge up to 1 week or in the freezer up to 3 months.
If you’re in a brownie mood and want a baked option another day, I also keep a couple of chocolate standards in rotation—like my go-to sugar-free chocolate brownies—but for pure convenience, this raw version wins on speed and cleanup.
Common Mistakes to Avoid
- Under-processing the base dough: If it stays crumbly, it won’t press or slice well. Fix: keep processing and scrape down the bowl until it clumps into a sticky mass.
- Over-processing after adding walnut chunks: You’ll lose the texture and end up with a uniform paste. Fix: pulse just a few times—stop while you can still see pieces.
- Not pressing firmly into the pan: A loose base can crumble when you cut it. Fix: press hard and evenly, especially in the corners and along the edges.
- Spreading the topping before it’s smooth: A grainy topping won’t look glossy or set as cleanly. Fix: melt fully and stir until shiny before pouring.
- Slicing before the chill time is up: The top can smear and the base can pull apart. Fix: wait the full hour minimum, and chill longer if your kitchen runs warm.
Variations and Swaps
- Add or skip the walnut chunks: The optional 1/3 cup walnuts are the simplest way to change texture without changing the structure.
- Choose your shape: An 8×8 pan gives classic bars; the mini silicone muffin pan makes built-in portions that freeze well.
- Chocolate-forward alternatives for other days: If you want a different format without changing your pantry too much, you might like chocolate brownie waffles for a weekend breakfast-style treat.
Serving Suggestions
- Slice small squares and serve straight from the fridge for the cleanest cuts and a firmer bite.
- For a more dessert-like feel, let a square sit at room temperature for a few minutes so the base softens slightly before eating.
- If you’re putting together a snack plate, pair a brownie square with something simple and not-too-sweet (so the cocoa still reads rich). On days I’m meal-prepping, I’ll also make a batch of quick chocolate fudge so there are a couple of options in the fridge.
Storage and Meal Prep
- Fridge: Store in a sealed container for up to 1 week. Keep them chilled for the neatest texture and easiest handling.
- Freezer: Freeze up to 3 months. Once firm, you can stack pieces with parchment between layers to prevent sticking.
- Meal prep note: If you’re making these for grab-and-go snacks, the mini muffin version is especially practical—no slicing, and you can pull one or two at a time.

FAQs
Can I make these ahead?
Yes—this recipe is designed for that. Make it, chill for at least 1 hour, then keep it in the fridge for the week or freeze for longer storage.
My base mixture is dry and won’t come together—what now?
Keep processing and scrape down the sides. The dough should turn sticky and clump; once it does, it will press into the pan easily.
How do I know they’re set enough to slice?
The topping should feel firm (not tacky), and the slab should lift cleanly with the parchment. If the top smears when you touch it, chill longer.
Should I store them in the fridge or freezer?
Fridge if you’ll eat them within a week. Freezer if you want longer storage or you prefer a firmer, chewier bite straight from cold.
Final Tip
For clean, sharp edges, slice straight from the fridge using a steady, confident cut—then wipe the knife between slices. If you’re making a second chocolate treat in the same week, these Greek yogurt brownies are a good baked contrast to keep in your rotation.
Conclusion
If you like comparing techniques, it’s helpful to read a couple of other approaches to raw brownies—especially for small differences in texture and topping style—like raw chocolate brownies from Love, Chef Laura, this straightforward raw brownie recipe from The Rawtarian, or the layered take in these raw vegan brownies from Loving It Vegan.
Raw Chocolate Brownies
Ingredients
Method
- Line an 8×8-inch pan with parchment paper.
- In a food processor, combine the 2 cups of walnuts, 2 cups of dates, 1/2 cup of cocoa powder, 1 tsp of vanilla extract, and a pinch of salt. Pulse until the mixture becomes a sticky dough.
- If using, add the 1/3 cup of walnut chunks and pulse a few times to mix.
- Press the dough into the prepared pan, smoothing the top.
- Melt the coconut oil with the cocoa powder in the microwave or over a double boiler until smooth.
- Stir in the 1/4 tsp of vanilla extract and 2 tbsp of maple syrup until glossy.
- Pour the topping over the pressed base and spread it evenly.
- Chill in the fridge or freezer for at least 1 hour until firm.
- Slice into squares or remove from mini muffin pan for bites.


