
If you want a dessert that feels bright and put-together without dragging out a stand mixer, these lemon raspberry bars are a smart play. You’re making one bowl for a simple shortbread crust, one bowl for the lemon filling, and the oven does the rest—no stovetop, no fussy layering.
They’re especially useful when you need something that slices cleanly and travels well: a crisp-crumbly base, a tart lemon center that sets like a soft custard, and little pockets of raspberry swirled through. If you like the lemon-forward direction of my creamy lemon meringue-style pie but want a simpler, bake-and-slice format, this is it.
Why This Recipe Works
- Cold butter + a quick cut-in method creates a tender, shortbread-style crust without any kneading or special equipment.
- Par-baking the crust sets it before the wet filling hits, so you get clean slices instead of a soggy bottom.
- Fresh lemon juice and zest give a sharp, clear citrus flavor—zest brings aroma, juice brings the tang.
- A small amount of baking powder helps the lemon layer bake up a touch lighter so it sets without feeling dense.
- Raspberry swirls add contrast: bursts of berry sweetness break up the tart lemon in a way that tastes intentional, not overly sweet.
- Make-ahead friendly: once cooled, these bars hold their shape well for packing, sharing, or portioning through the week.
Quick Kitchen Note
I rely on bar desserts like this when I want a reliable result with predictable timing: par-bake the crust while you whisk the filling, then bake again and let it cool. The only “patience” part is cooling before slicing—worth it for neat edges.
What It Tastes Like
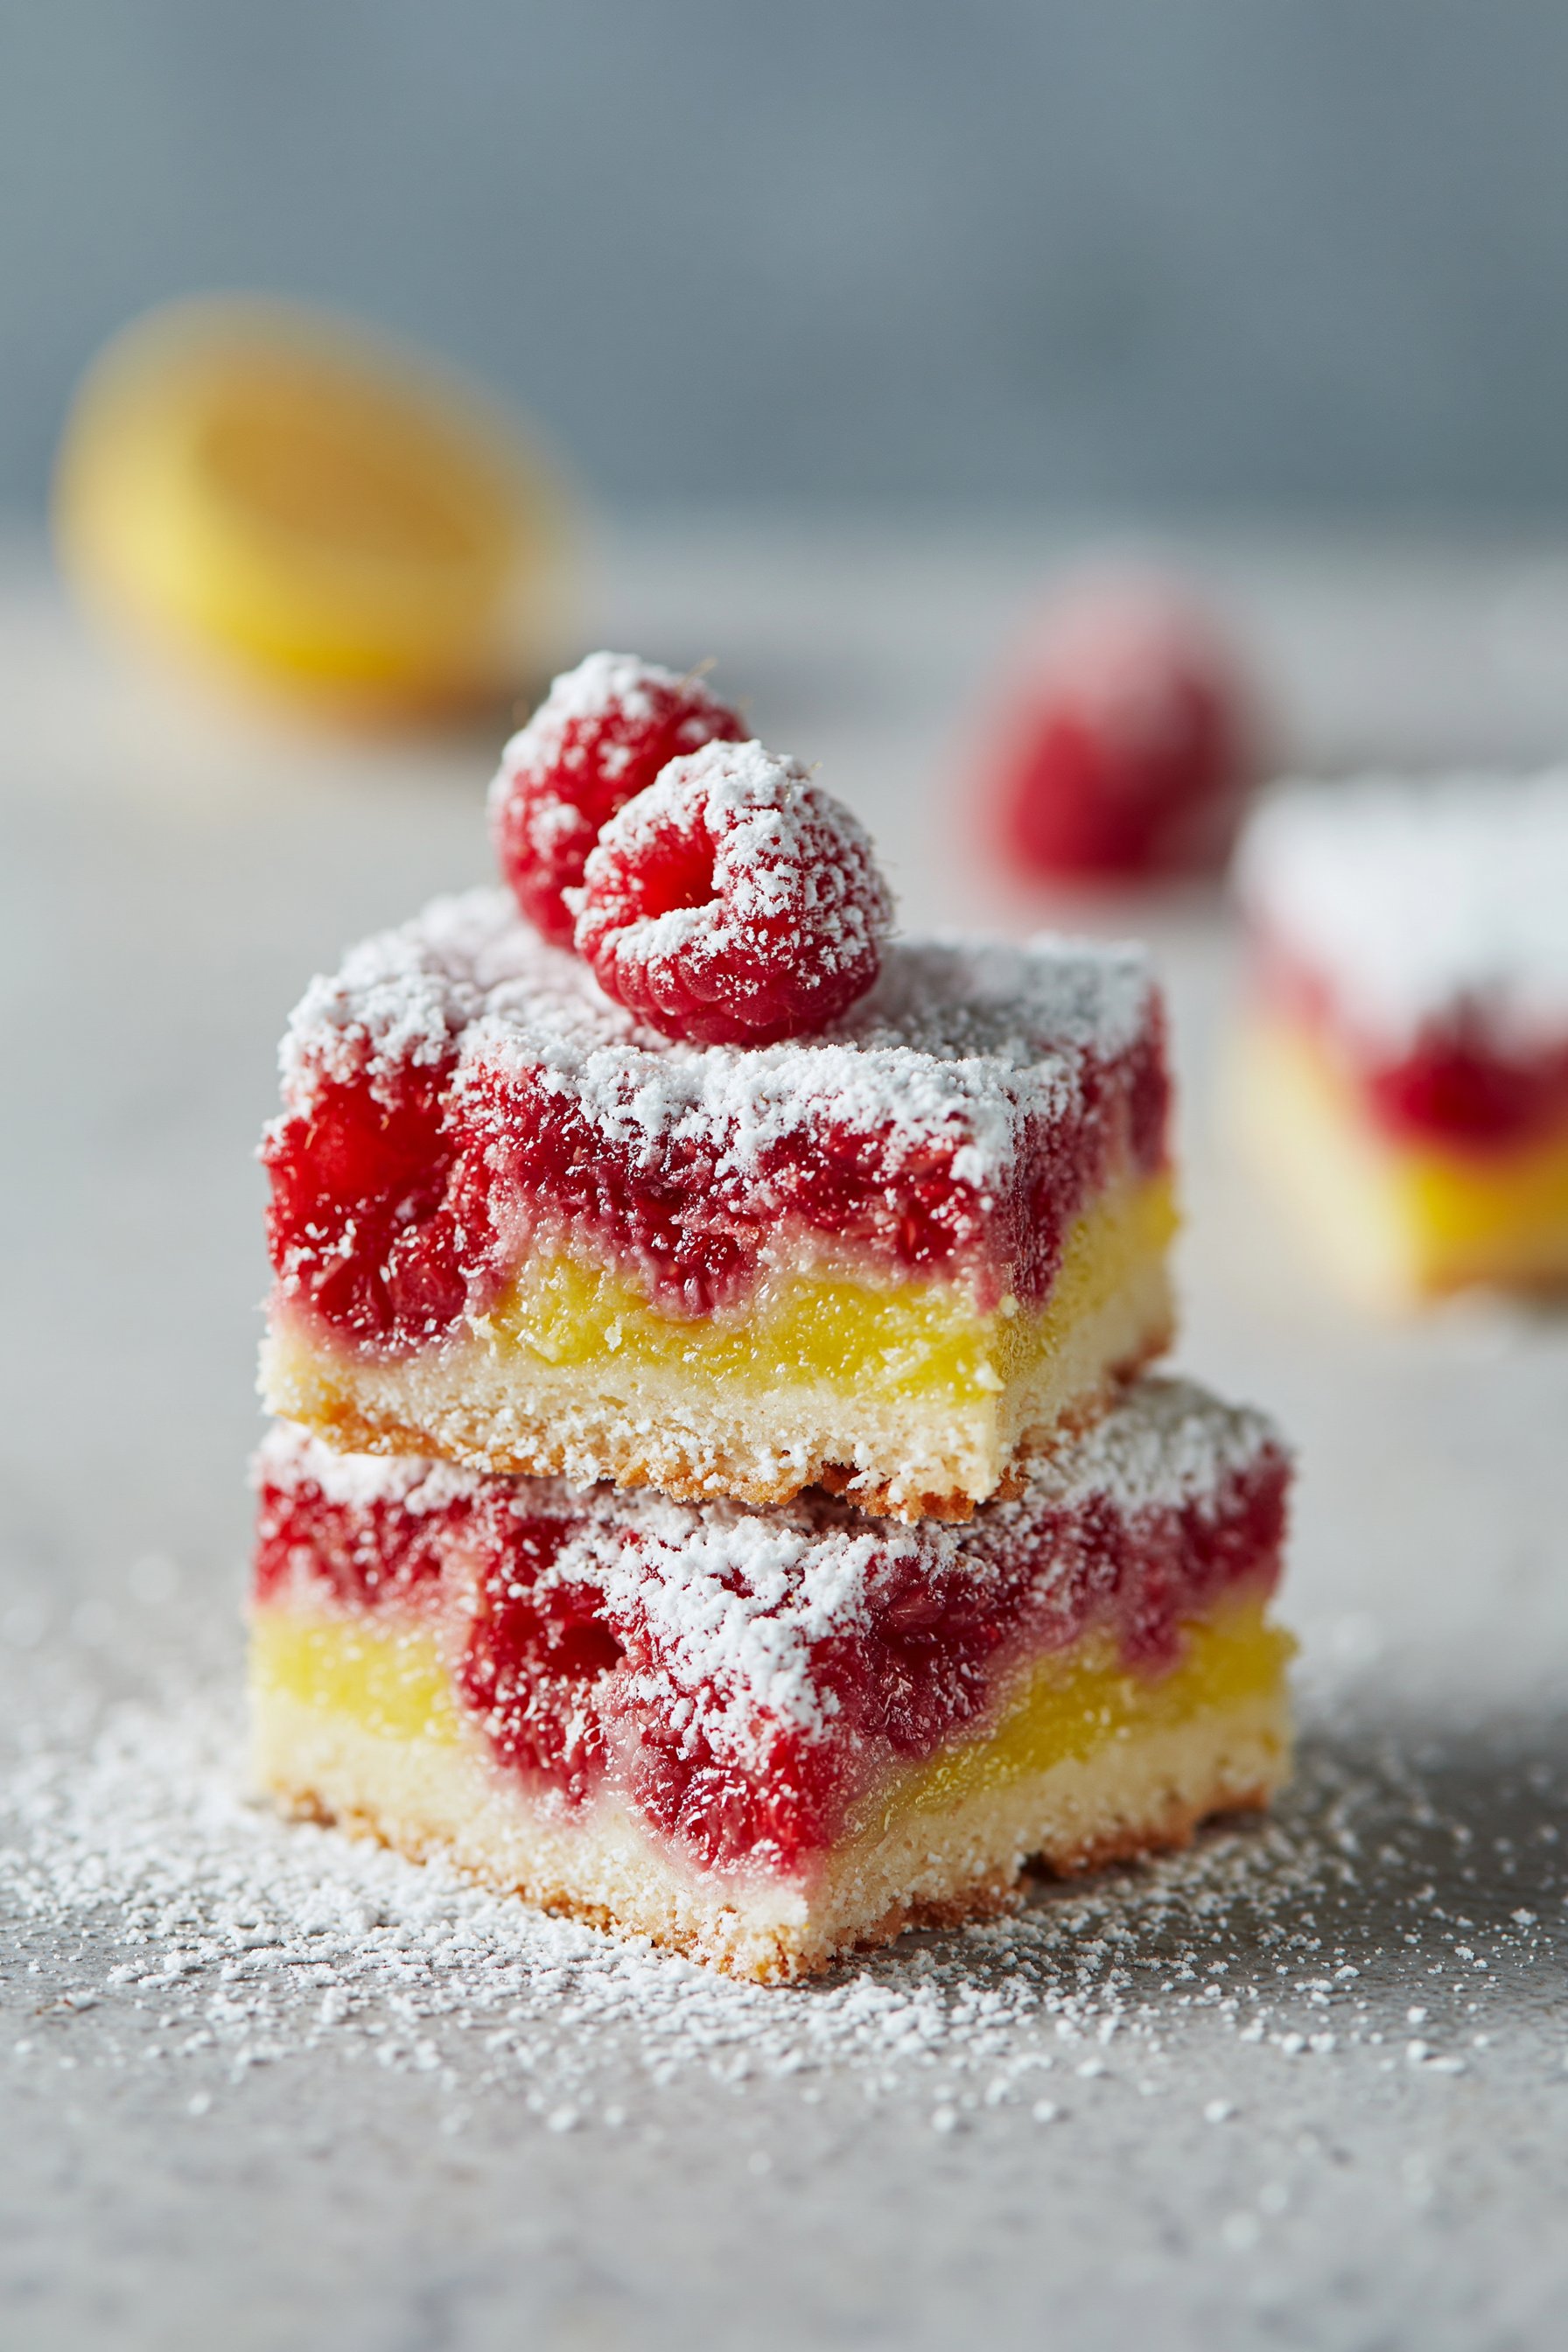
These bars are tangy and lemony first, with a buttery, lightly sweet crust underneath. The top bakes up smooth and glossy, then settles into a soft set with a slight jiggle at the center when it’s just done. Raspberries melt into jammy streaks, and the powdered sugar finish softens the sharp citrus edge without turning it into a sugar bomb.
Ingredients
This recipe is built around a shortbread-style crust (flour, powdered sugar, cold butter) and a simple lemon custard layer (eggs, sugar, lemon juice, zest, baking powder). Fresh raspberries are best here for distinct bursts and swirls; if your berries are very delicate, handle them gently so they don’t disappear into the filling.
- 1 cup all-purpose flour
- 1/4 cup powdered sugar
- 1/2 cup cold butter, diced
- 2 large eggs
- 1 cup granulated sugar
- 2/3 cup fresh lemon juice
- 1 tablespoon lemon zest
- 1/2 cup fresh raspberries
- 1/4 teaspoon baking powder
- Powdered sugar for dusting
Step-by-Step Instructions
- Heat the oven and prep the pan. Preheat to 350°F (175°C). Grease a baking dish well so the bars release easily after cooling.
- Make the crust mixture. In a bowl, stir together the flour and powdered sugar. Add the cold, diced butter and cut it in until the mixture looks crumbly, like damp sand with a few small butter bits still visible.
- Press and par-bake. Press the crumb mixture firmly into the prepared dish in an even layer (take a moment to compact it so it holds together). Par-bake for 15–20 minutes, until the crust is set and golden at the edges.
- Whisk the lemon filling. While the crust bakes, whisk eggs and granulated sugar in a separate bowl until smooth and well combined. Whisk in the lemon juice, lemon zest, and baking powder until the mixture looks uniform.
- Pour over the warm crust. When the crust comes out, pour the lemon mixture over it while it’s still warm. (Warm crust helps the layers bond.)
- Add raspberries and swirl. Drop spoonfuls of fresh raspberries over the top. Use a knife to gently swirl them through the lemon layer—aim for streaks, not fully mixing them in.
- Bake until set. Bake for 20–25 minutes, until the edges look set and the center is slightly jiggly (it should move as one piece, not slosh).
- Cool, dust, and slice. Cool completely before slicing for the cleanest bars. Dust with powdered sugar right before serving.
Common Mistakes to Avoid
- Not compacting the crust: A loose press makes a crumbly base that won’t slice cleanly. Fix: press firmly and evenly, especially in corners.
- Underbaking the par-baked crust: If the crust doesn’t set and lightly brown at the edges, the filling can soak in. Fix: look for golden edges before adding filling.
- Over-swirling the raspberries: Too much swirling turns the top muddy and can make the berry flavor disappear. Fix: a few gentle knife passes is enough.
- Overbaking the lemon layer: Baking until it’s fully firm in the center can lead to a drier, tougher set. Fix: pull it when the center is still a little jiggy.
- Slicing warm bars: Warm filling is delicate and will drag on the knife. Fix: cool completely, then slice.
Variations and Swaps
- Skip the swirl for a cleaner look: Keep raspberries mostly on top (still press them in lightly) and do only one or two swipes with the knife.
- Lean into extra lemon aroma: Add the full tablespoon of zest as written; it’s what makes the lemon read as “fresh” instead of just “sour.”
- Different pan shapes: You can bake in a similar-sized baking dish you already own; just follow the visual cues—golden edges on the crust, slight jiggle in the center for doneness. (Time can shift slightly.)
Serving Suggestions
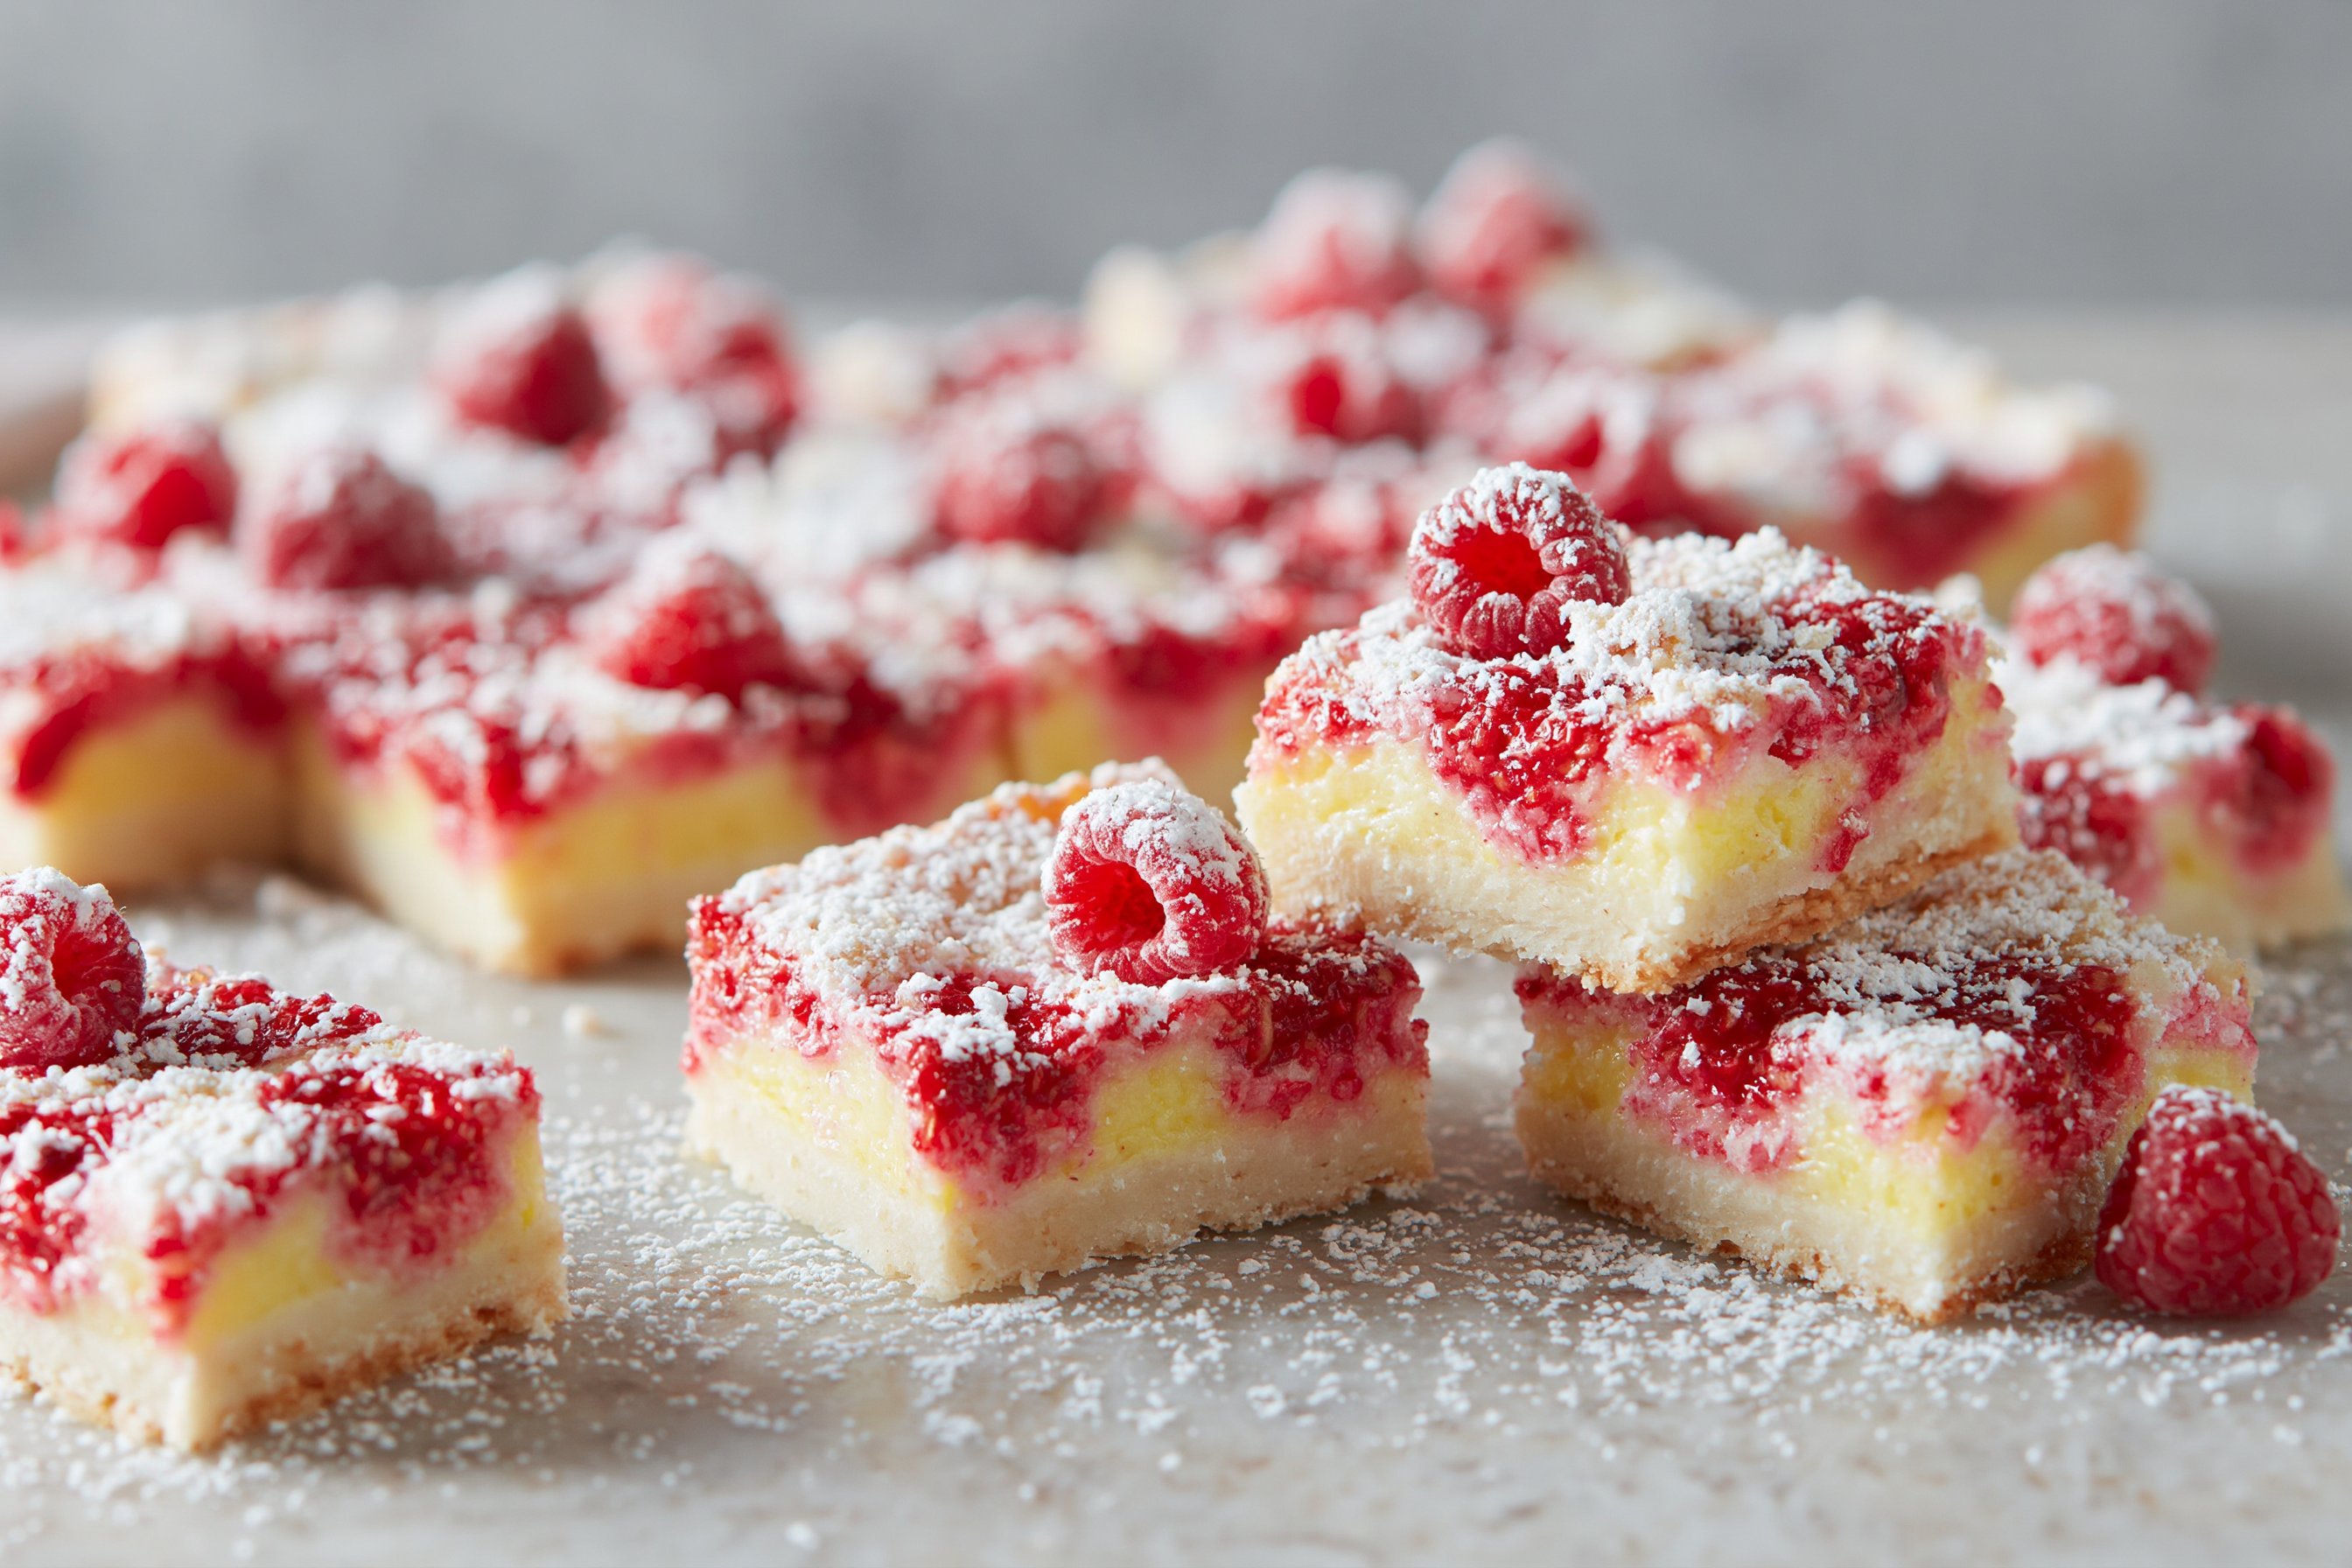
Serve chilled or at cool room temp with a light dusting of powdered sugar. For a simple dessert plate, pair with fresh raspberries on the side. If you’re building a lemon dessert lineup, these fit nicely next to crisp lemon cookies or a slice-style bar like mango cheesecake bars for contrast.
Storage and Meal Prep
Once fully cooled, store bars covered in the refrigerator so the lemon layer stays firmly set and the slices stay neat. Dust with powdered sugar just before serving, since it will dissolve into the surface over time. For easy portioning, slice first, then store pieces in a single layer or with parchment between layers to keep edges tidy.
FAQs
Can I make these ahead?
Yes. Bake, cool completely, and refrigerate. Dust with powdered sugar right before serving.
How do I know the lemon layer is done?
Look for set edges and a center that’s slightly jiggly—it should wobble gently, not look wet or sloshy.
Why did my crust crumble when I sliced?
Usually the crust wasn’t pressed firmly enough, or the bars were sliced before fully cooling. Compact the crust well and cool completely before cutting.
Can I use bottled lemon juice?
Fresh lemon juice is what’s listed and gives the cleanest flavor here, especially paired with fresh zest.
Final Tip
For the cleanest slices, use a sharp knife and wipe the blade between cuts—especially when you hit a raspberry swirl. It takes an extra minute and makes the bars look as good as they taste.
Conclusion
If you want to compare approaches to this same flavor combo, it’s helpful to look at a few methods—like the crust and swirl technique in Raspberry Lemon Bars Recipe – Jessica Gavin, the summery presentation in Lemon Raspberry Bars {Summer Favorite} – Two Peas & Their Pod, and the streamlined bake-and-slice format in Easy Lemon Raspberry Bars – Sugar Geek Show. My main advice: stick to the doneness cues (golden crust edges, slight center jiggle), then let cooling do the final setting work.
Lemon Raspberry Bars
Ingredients
Method
- Preheat the oven to 350°F (175°C) and grease a baking dish well.
- In a bowl, stir together the flour and powdered sugar. Add the cold, diced butter and cut it in until the mixture resembles damp sand with small butter bits.
- Press the crumb mixture firmly into the prepared dish in an even layer and par-bake for 15–20 minutes, until set and golden at the edges.
- While the crust is baking, whisk the eggs and granulated sugar in a separate bowl until smooth and well combined.
- Whisk in the lemon juice, lemon zest, and baking powder until uniform.
- Pour the lemon mixture over the warm crust.
- Drop spoonfuls of fresh raspberries over the filling and gently swirl them in with a knife.
- Bake for 20–25 minutes, until the edges look set and the center is slightly jiggly.
- Cool completely before slicing to achieve clean edges.
- Dust with powdered sugar right before serving.
