

random start humanly writing that will be good entry for recipe make it random and interesting to read
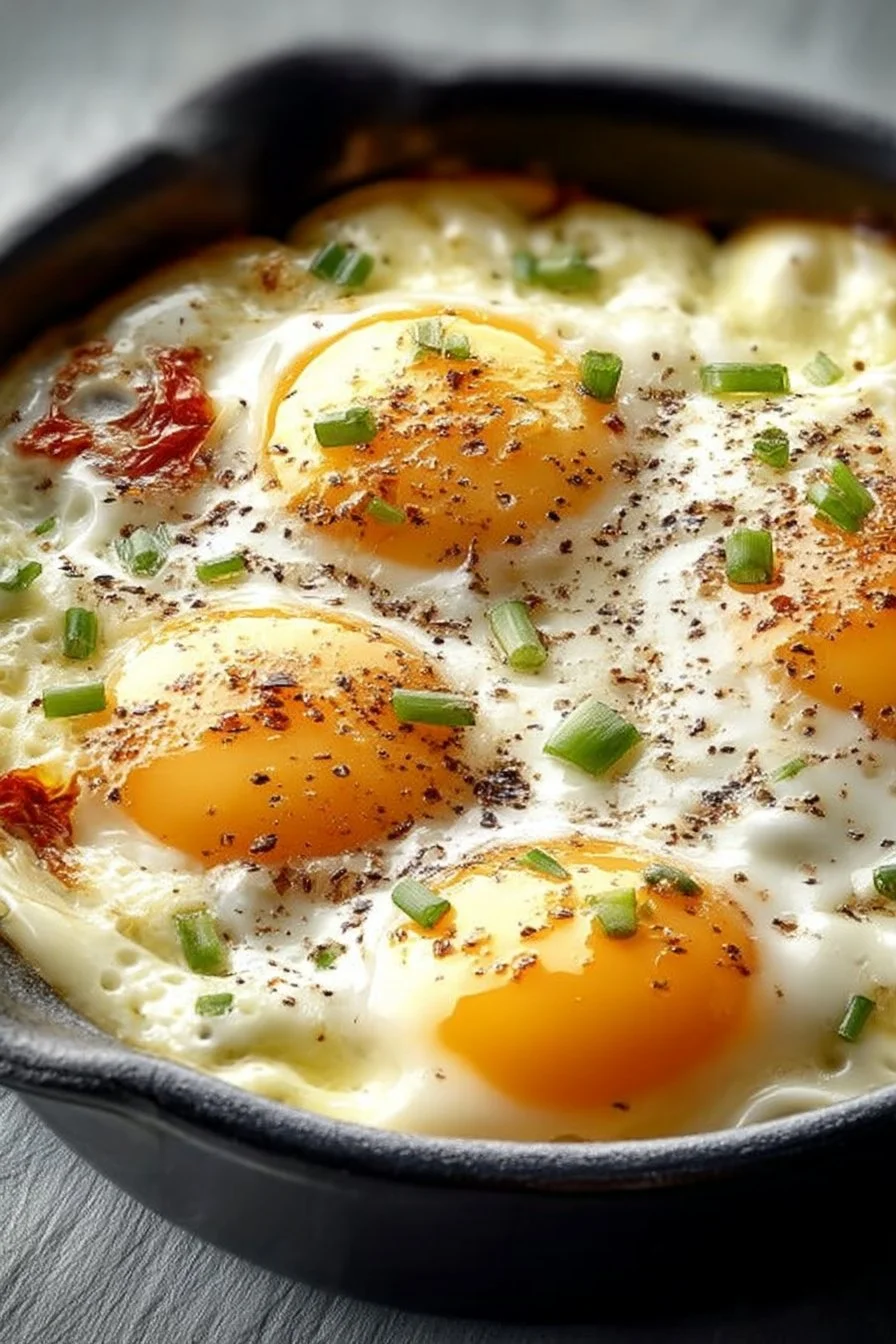
A tray of gently baked eggs is one of the easiest ways to feel put together in the morning or pull together a light dinner without a long grocery list. This version is cream-forward and forgiving: pour, crack, bake, and you have tender whites and silkily set yolks with just one pan to wash.
It’s especially useful when you want something that cooks while you do the rest of the evening — set the oven, nibble on bread, and everything finishes at the same time. If you enjoy simple oven-baked dishes like my oven-baked chicken parm, this fits the same easy workflow.
Why This Recipe Works
- Straightforward richness: heavy cream creates a delicate, custard-like base so the eggs bake moist rather than rubbery.
- Melting cheese for contrast: a 1/4 cup of grated cheese gives a salty, slightly toasted top while letting the egg texture shine.
- Minimal hands-on time: once assembled the oven does the work — about 15–20 minutes total baking — so you can prep a side or set the table.
- Forgiving doneness window: the eggs hold well between slightly runny and fully set, so 15–20 minutes accommodates different preferences without precise timing.
- Low cleanup, high payoff: one buttered baking dish, one spoon to create wells, and a single baking step — the kind of recipe that makes weeknights quieter and dishes fewer.
- Works across meal types: keep it for breakfast, or pair with a salad or grain for a light supper; it sits next to other creamy bakes like my creamy keto chicken alfredo broccoli bake in terms of comfort and simplicity.
Quick Kitchen Note
I reach for this recipe when I want something reliably creamy and fast — it’s a dependable “fill the oven and move on” technique that scales to company or solo meals; for a similarly straightforward creamy approach in a different flavor profile, see my Tuscan-style chicken.
What It Tastes Like
This is a gently rich egg dish: the cream keeps the yolks tender and the whites softly set, while the grated cheese adds a savory, slightly nutty top to each bite. Aromas are simple — butter and warm cheese — and the finish is savory without being heavy, because the eggs themselves stay delicate rather than overcooked.
Ingredients
These few ingredients do the heavy lifting: heavy cream creates a silky bed for the eggs, cheese adds savory depth and a touch of browning, and butter keeps the dish from sticking and adds flavor. You can swap a similar melting cheese for variety, but the method stays the same.
- 4 large eggs
- 1/2 cup heavy cream
- 1/4 cup grated cheese (such as Gruyère or cheddar)
- 1 tablespoon butter
- Salt and pepper to taste
- Chives or parsley for garnish (optional)
Step-by-Step Instructions
- Preheat the oven to 375°F (190°C). Position a rack in the center so the dish bakes evenly.
- Grease a baking dish with the tablespoon of butter, rubbing it over the bottom and sides so the cream won’t stick and the edges brown lightly.
- Pour the 1/2 cup heavy cream into the dish and use the back of a spoon to make four shallow wells spaced evenly; these depressions help the eggs sit upright and cook more evenly.
- Crack one egg into each well. Season each egg with a pinch of salt and a little black pepper. The cream will help temper the salt, so be moderate.
- Sprinkle the 1/4 cup grated cheese evenly over the top so each egg gets some coverage; the cheese will melt and form a thin, savory crust.
- Bake for about 15–20 minutes. Start checking at 15 minutes: the whites should be set and opaque; the yolks will range from glossy and slightly soft (about 15 minutes) to fully set (closer to 20). Visually, done eggs have firm white edges and a slightly jiggly center if you prefer runny yolks.
- Remove from the oven and let sit 1 minute; the residual heat evens the texture. Garnish with chopped chives or parsley if you like, then serve straight from the dish.
Notes on doneness: if you want very runny yolks, watch closely at 14–15 minutes. For fully set yolks that can be sliced, allow the full 20 minutes. Avoid overbaking — dry, chalky yolks are a sign it’s gone too long.
Common Mistakes to Avoid
- Overcrowding the dish: cramming more eggs into a small dish causes uneven cooking; keep wells spaced so heat circulates.
- Skipping the wells: without shallow wells the eggs spread and may bake unevenly; use the spoon to form indentations first.
- Over-salting before baking: salt concentrates as moisture reduces — season lightly, taste afterwards, and add salt at the table if needed.
- Ignoring visual cues: rely on the whites becoming opaque and the centers’ jiggle to judge doneness rather than an exact timer.
- Using low-fat substitutes: thin creams won’t give the same custardy texture; stick with heavy cream for this result.
Variations and Swaps
- Cheese swaps: use any good melting cheese of similar strength to Gruyère or cheddar — the amount stays the same.
- Herb finishes: fresh chives or parsley are listed; a small sprinkle of lemon zest at the end brightens the dish, if desired.
- Make it an entrée: serve over a bowl of warm grains or alongside roasted vegetables to turn this into a fuller meal, similar in spirit to other creamy bakes like the low-carb chicken casserole.
Serving Suggestions
Keep it simple: scoop the eggs onto buttered toast, serve with a crisp mixed salad, or ladle over warm rice for contrast — and for an easy finish, a small sweet cookie pairs well after this savory bite; try a straightforward recipe like my Cool Whip cookies for a no-fuss dessert.
Storage and Meal Prep
- Fridge: store baked eggs in an airtight container for up to 2 days. The texture softens in the fridge but reheats well.
- Reheating: gently rewarm in a 300°F (150°C) oven for 8–10 minutes to avoid rubbery whites; a microwave will warm faster but may tighten the texture.
- Meal prep: you can assemble the dish ahead (but don’t crack the eggs) and refrigerate for a few hours; add eggs and bake when ready. Freezing is not recommended — the texture changes and becomes watery.

FAQs
Q: Can I make this ahead of time?
A: Assemble the buttered dish and cream wells, refrigerate briefly, then crack the eggs and bake when you’re ready. Don’t bake more than a few hours ahead.
Q: What if my yolks set too quickly?
A: Reduce baking time by checking at 14–15 minutes next time, and consider using a slightly larger dish so heat is less concentrated.
Q: Can I use milk instead of heavy cream?
A: Milk won’t give the same custardy texture; heavy cream is the recommended ingredient for this recipe.
Q: How can I make more portions?
A: Use a larger baking dish and maintain spacing for wells; baking time may increase a few minutes — watch for the same visual cues.
Final Tip
Set a timer and check visually at the early end of the range — the color and jiggle of the yolks are the best guides. Baking once will tell you how your oven runs and make the next batch effortless.
Conclusion
For another take on a cream-forward baked egg recipe, see this version at Creamy Baked Eggs – Food52, which explores slightly different seasonings and proportions. If you want additional step-by-step inspiration for individual shirred eggs, compare approaches at Easy Baked Eggs (Shirred Eggs) – Pinch and Swirl. For one more variation emphasizing texture and cheese, this recipe is a useful reference: Creamy Baked Eggs – Grace and Good Eats.

Creamy Baked Eggs
Ingredients
Method
- Preheat the oven to 375°F (190°C). Position a rack in the center.
- Grease a baking dish with butter, rubbing it over the bottom and sides.
- Pour heavy cream into the dish and make four shallow wells with a spoon.
- Crack one egg into each well and season with a pinch of salt and pepper.
- Sprinkle grated cheese evenly over the eggs.
- Bake for about 15-20 minutes. Start checking at 15 minutes.
- Remove from the oven and let sit for 1 minute before serving.
- Garnish with chopped chives or parsley if desired.
